This past weekend I did a project somewhere other than my house and I’m here to share it with you! Hard to believe, right?!
Well the project was at my mom’s, who has a gorgeous home that’s absolutely to die for. But she has this spot in her foyer that needed a little sprucing up. The foyer has a “niche”, as I like to call it, or an inset dry-wall box on the wall to the right when you walk in. She wanted to dress it up, and add a wooden initial carving she bought online.
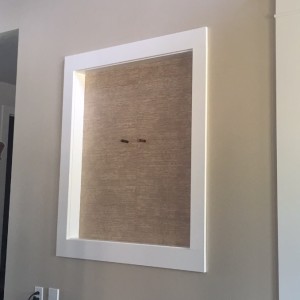
Here’s the “niche” I’m talking about. She recently painted the walls, and added a textured wallpaper to the back of the niche.
As you can see, the house has quite a bit of molding. I wanted to emulate the molding that was already there to make it seem like this niche had been framed out all along. I studied the current molding pretty well to figure out my plan to copy it.
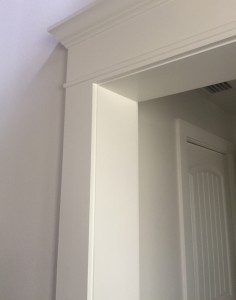
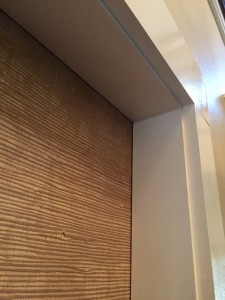
Here is some of the current molding on the door frame next to the niche.
I wanted to keep the niche much more simple than this and did not want compete with the door frame and crown molding etc. But I knew I wanted to copy the edges, where it has a small ledge, if you will.
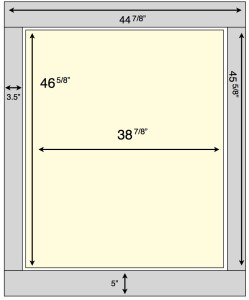
Here was my drawing. The cuts were going to be straight and simple, no mitering, since that’s how all the other molding was done in her house by the builder. There were essentially going to be 2 “layers” of wood, which is hard to depict in the drawing: 1) the inside framing of the niche, and 2) the outside molding on the wall. So 8 pieces of wood in total.
I used good quality pieces of pine for this project. Pretty pricey as far as wood projects go, but again, I wanted to make sure I was making it look as close as possible to her current molding.
2 – 5″ wide pieces of pine (for top and bottom wall pieces)
6 – 3.5″ wide pieces of pine (2 for side wall pieces and 4 for inside niche frame)
I painted 2 coats of pure white paint on all the boards BEFORE I installed them. So much easier, trust me!! (This was the same white paint left by the builder that was used on the original trim, but a semi or high gloss would work in most cases similar to this)
I nailed in the niche frame pieces first. Again, no mitering on these. Just nailed in the top and bottom pieces first and then the side pieces, making sure the boards were exactly the width of the niche and therefore flush with the wall. This was important once I installed the wall pieces to make sure everything was flush.
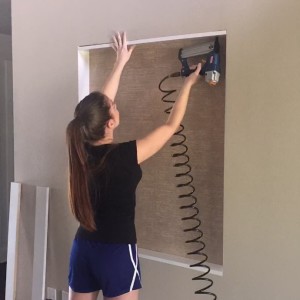
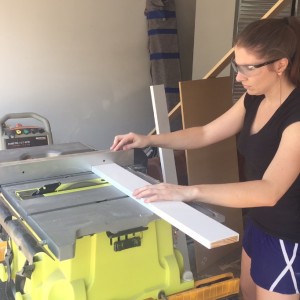
I cut the top and bottom pieces for the wall next, according to my drawing.
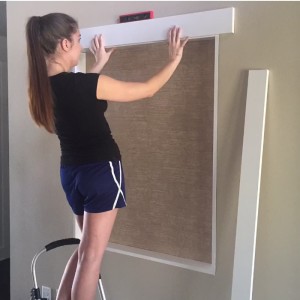
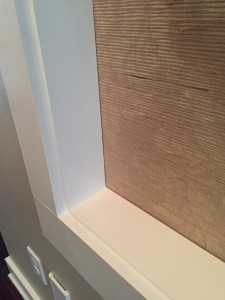
Below you can see that I’m placing the top wall board OVER 3/4 of the width of the inside niche board. This is how I created that “ledge” I mentioned before. I show a close up down below.
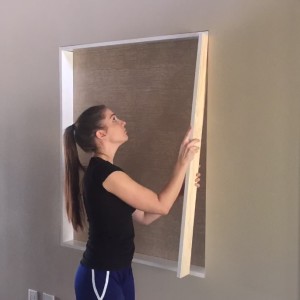
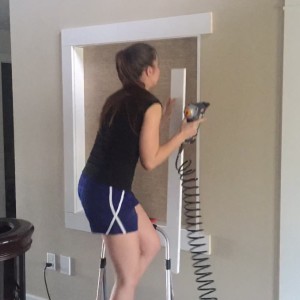
Installed the 2 wall side pieces last.
Here is what I’m referring to about the ledge I created by overlapping the two pieces.
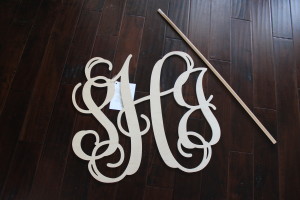
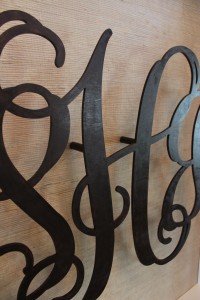
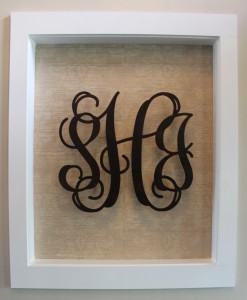
After all the wood framing was installed, it was time to hang her wooden initials (I think these can be bought on etsy). I bought a wooden dowel from Home Depot for a few dollars to attach the initial to the wall about 3″ out, giving it a neat 3D effect.
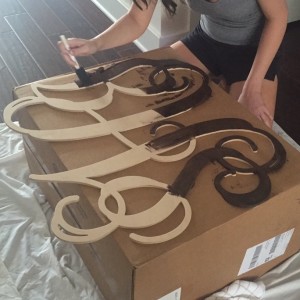
I stained it using the stain my mom had leftover from the wood floors, handrails, etc. I just used a children’s foam brush and gave it 2 coats. Thanks to my sister for her help staining this with me! It was much more tedious than it appears!
I cut two 3″ pieces from the dowel and stained them the same color.
I predrilled a hole in one end of each dowel, and screwed in a double sided screw in one side of the dowel, and the other side into the wall.
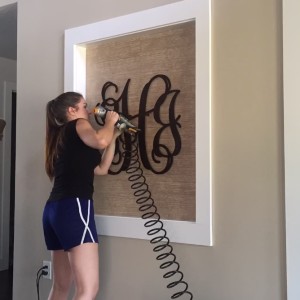
Then I nailed the initial straight into the dowels, one nail in each dowel.
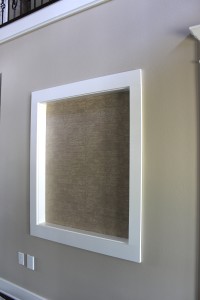
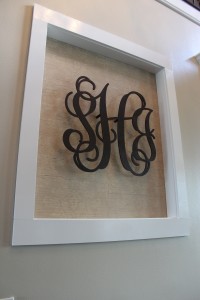
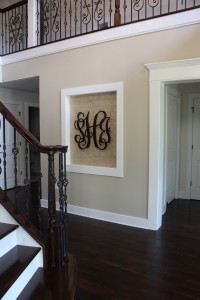
Caulked all the edges and seams, touch up paint, and it was done! Here are the beautiful after pictures!
Reminder of the BEFORE:
And the AFTER:
Comment and let me know what you think, or if you have any questions I didn’t address. I love hearing from you guys!

