Some of you may remember from last year when I posted my tutorial for the Easiest Crown Molding Ever that I installed in my downstairs living room, dining room, & kitchen. Well when it came to designing the nursery, I knew I wanted more crown molding. I think it adds so much class, interest, and not to mention value to a space. But like I mentioned before, crown molding is NOT an easy project to take on. It requires a ton of precision and patience, and quite frankly, it’s not something I’m willing to spend the time on. Especially when I can do it the CHEAT way and it looks just as awesome in my opinion!
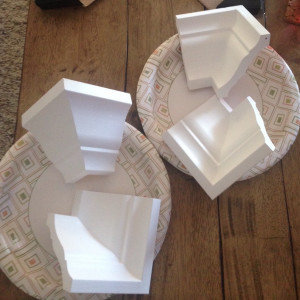
So here’s how I cheat: I buy these pre made corners from Lowe’s that match the crown molding that I use. They come in a natural wood and I just give them 2 coats of semi gloss pure white paint. I needed 6 corners for the nursery.
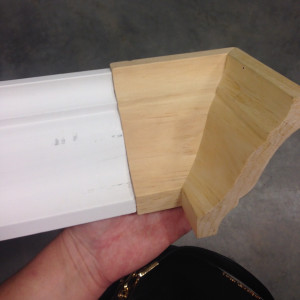
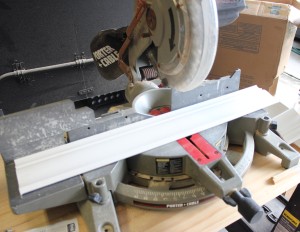
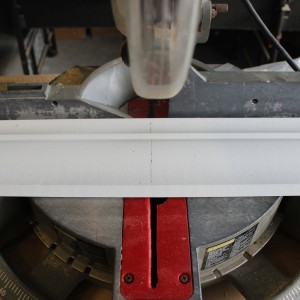
Here’s the crown molding that I use up against the corners. (I buy the crown in 8 foot pieces for the sheer fact that anything larger won’t fit in my car.) The corners are the same design as the crown, but slightly larger since they’re reversible and can be used for both inside and outside edge corners. It gives it a “decorative” look. I needed 6 8-foot pieces for the nursery. Total cost of supplies (corners + crown) = $163.92! Hiring this out would cost significantly more!
The crown molding already comes primed white, so I give it one more coat of pure white semi gloss paint and they’re ready to be installed. [Don’t mind my messy garage. Remember it’s on the list of 2016 projects and plans. Ha.]
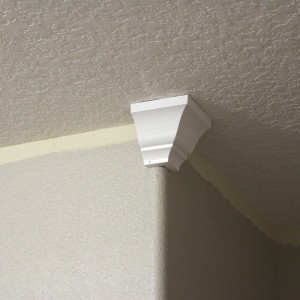
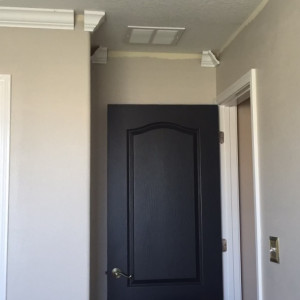
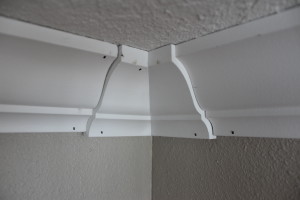
The first thing I do is nail my corner pieces to the corners of the wall. They have flat edges on the back side so you simply line them up flush on the ceiling and wall and place a couple nails into the bottom to the wall and a couple through the top into the ceiling. Notice my walls are rounded on the outside corners and my corner pieces are not. No big deal in my opinion, nothing a little caulk won’t hide.
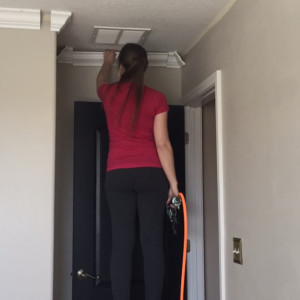
Next I take full 8 foot pieces of crown (no cuts made thus far) and line one side up against one side of the corner piece.
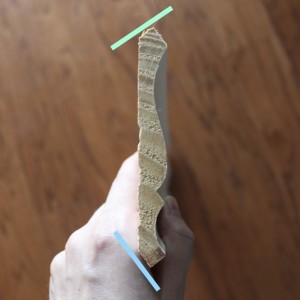
See in my diagram above that each piece of crown has a flat edge on the bottom and top. These are to be lined up flush with the ceiling and the wall as shown below.
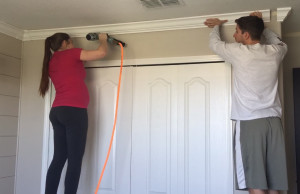
Therefore, there’s really no measuring or anything involved. I use those flat edges as a guide and hold them in place as I use the nail gun to place a nail every 18″ or so. Here’s the awesome hubby demonstrating this with me. He just holds his side flush in place while I go along and put nails in using my nail gun.
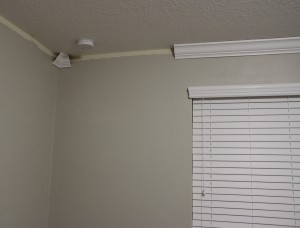
Here are my corners installed and then I just go through, measure the distance between, and make cuts for the pieces of crown that will fit between them.
All the cuts are straight on and easy. No mitering involved.
I just measure, draw a line, and cut.
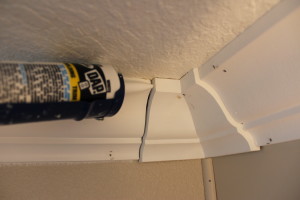
Here’s how the joints look once I’ve nailed everything in place. Some small gaps, but again, nothing the caulk won’t hide. Caulk is my BFF.
I also go through and hammer in any of the nail heads that didn’t quite make it flush with the crown. I caulk everything up, and then go through with touch up paint to hide the nails and blend the caulk with the wood crown.
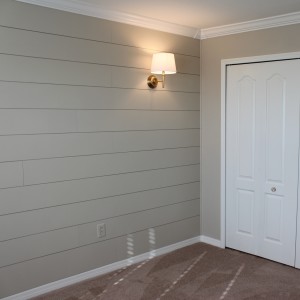
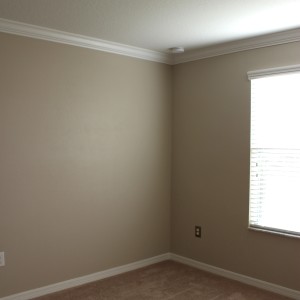
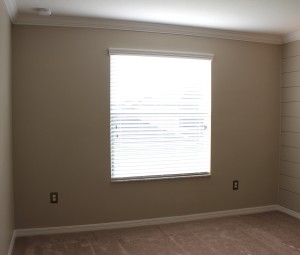
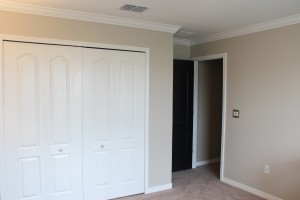
Here’s the finished product!
(More to come on these sconce lights next week!)
What do you guys think? For a cost of only $163.92, I think it’s a great investment and upgrade to the home! I absolutely love how it turned out. Next week I’ll be sharing more on the sconce lights and the overhead light I’ve installed also!
