I sometimes have an item picked out in my head before I ever find it in a store. I can visualize what needs to go in a certain place, how big it needs to be, and what color it needs to be long before I’ve ever gone shopping for it. 99% of the time this is not a good thing. Why? Because I almost never find that item that I’ve been visualizing in my head online or in a store. So that usually means I end up having to make it myself. Which was the case for these two projects in this post.
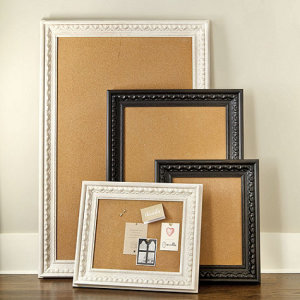
For the first project – I wanted a cork board for our bedroom that I could hang pictures & jewelry on that had a nice decorative frame and didn’t look like a boring classroom cork board. I searched and searched and could only find one that fit my requirements. The problem? It was $179! Are you joking? For a CORK BOARD? I’ll pass.
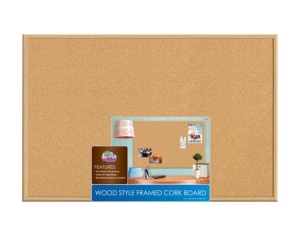
So off I went to Target. And purchased this cork board for $10.99.
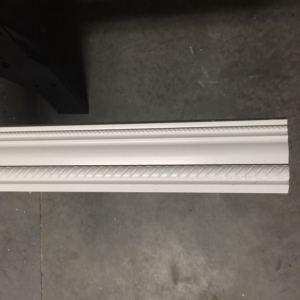
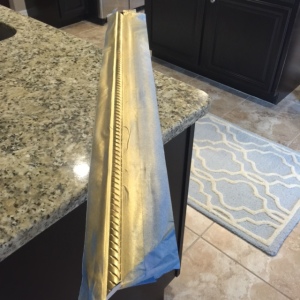
Then I needed a frame. And I wanted something detailed and pretty. So I went to Lowe’s and shopped the crown moulding aisle figuring out which kind would make the best picture frame. I decided on this. It came in 8′ pieces and cost $15 for each piece. It took me 2 pieces for the whole frame.
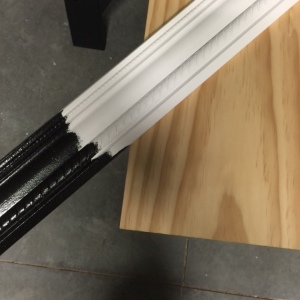
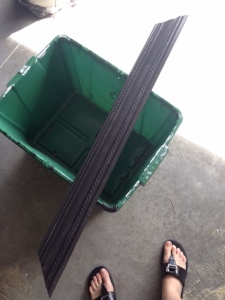
Next, I painted it with some glossy black house paint that I already had. It’s the same paint I used on all my interior doors.
Then I measured the edges of the cork board and cut 4 pieces of moulding at 45 degree angles.
All that was left was nailing them in place! I used my nail gun and compressor for this part and nailed it to the existing wood frame on the cork board.
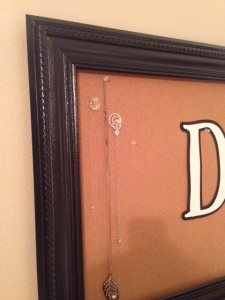
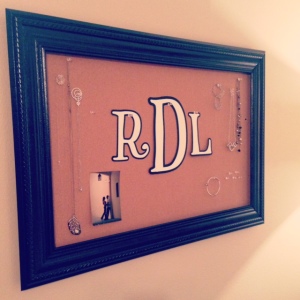
Caulked and painted and edges and that’s it! The letters were cut using my Cricut machine and everything is just pinned up with clear push pins. The total cost was $43 which is a heck of a lot better than $179 if you ask me! And can you tell that they look any different???
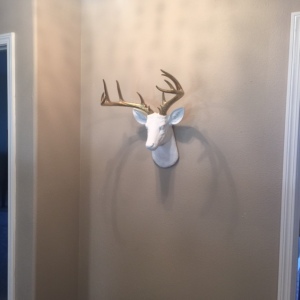
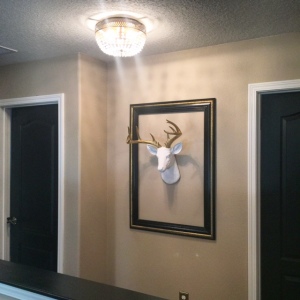
For part B of this project – I recently purchased a deer head for my hallway and it just felt like he needed something around him. I think maybe he felt too small for the wall. I know you’re probably thinking, a deer head? I know it’s a little strange. Even my husband hasn’t fully accepted it yet. But I fell in love with it as soon as I saw it. I think it’s the country mixed with glam, mixed with interesting 3D decor that makes me googly-eyed.
So here he is.
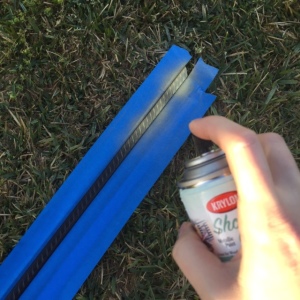
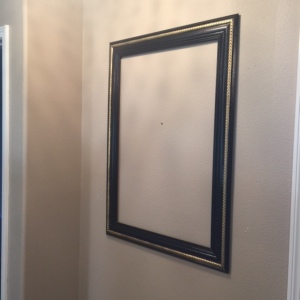
I wanted the same type of frame that I used on the cork board. And I already had some leftover moulding. So I did the exact same steps listed above except for this one I wanted to add some gold detail. I thought it would tie in with his antlers and look a little more fancy.
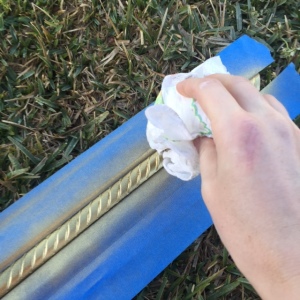
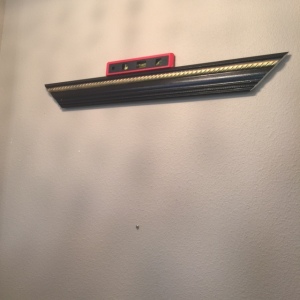
Immediately after spraying on the gold, I wiped it down with a paper towel to kind of give it somewhat of a distressed look. Then I brought it inside and hung it up using a level, and my nail gun & compressor.
And here’s the finished product! Comment and let me know your thoughts!
