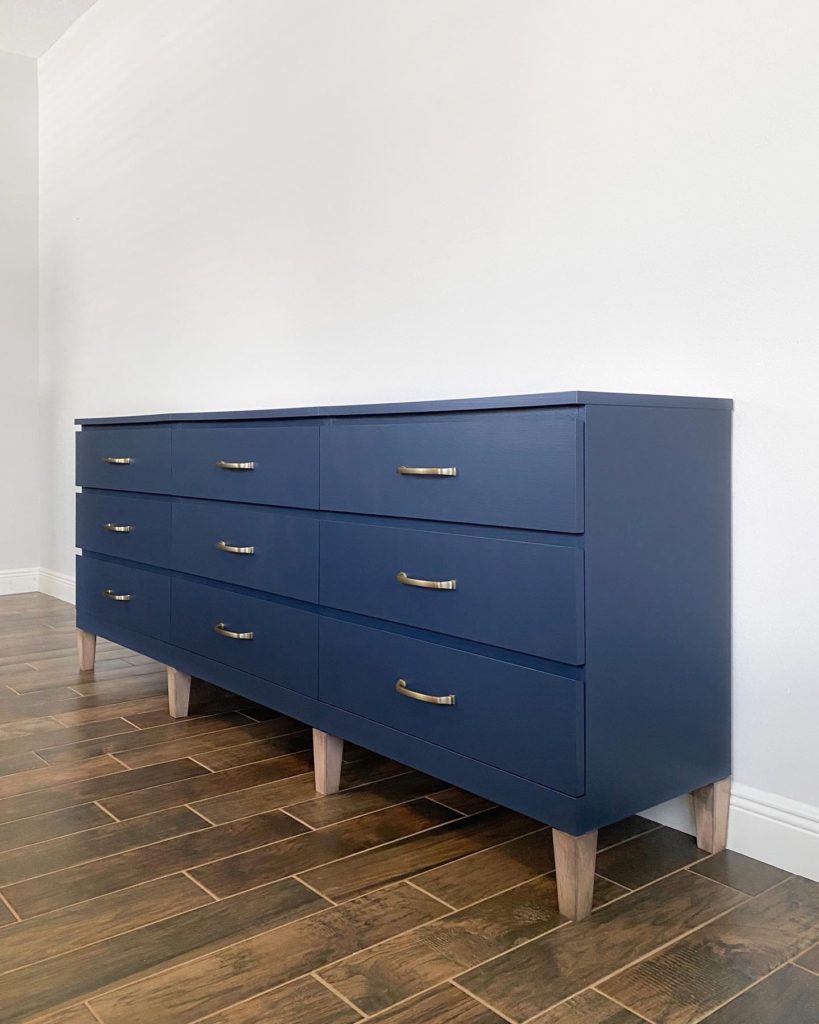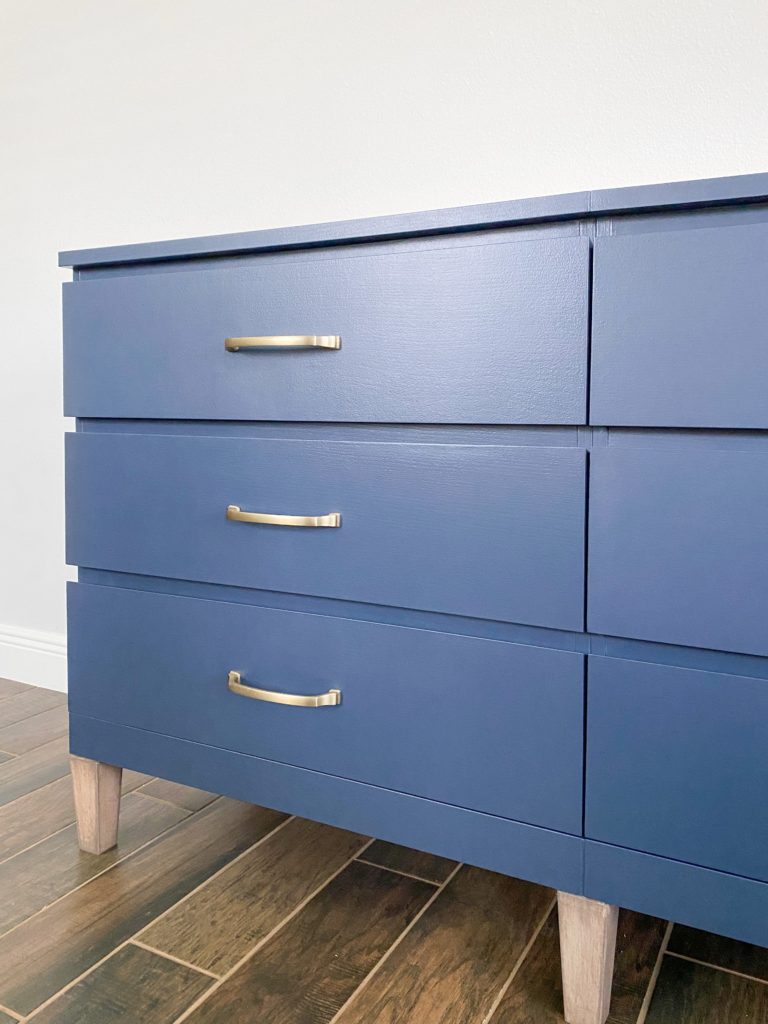
This Navy IKEA Malm Dresser Hack was the perfect addition to my neighbor’s master bedroom makeover! Keep scrolling for a step-by-step on how to create a DIY dresser by transforming basic IKEA dressers into something beautiful.
Step 1: Assemble the IKEA Malm Dressers
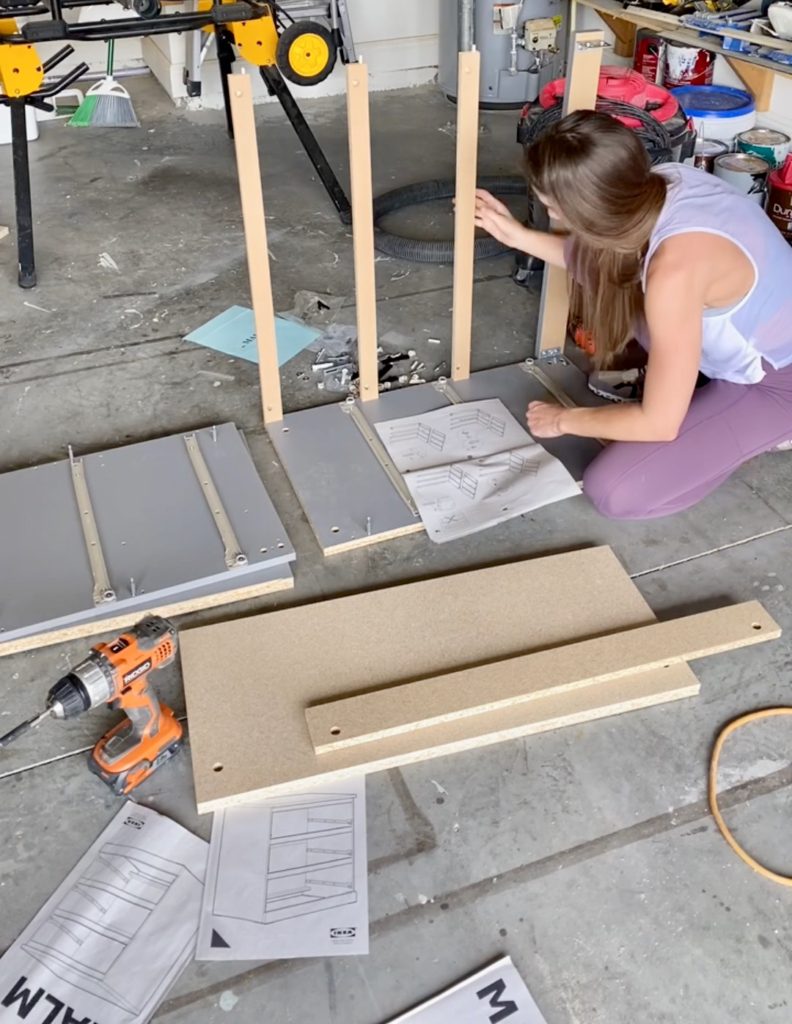
First, I bought three IKEA Malm Dressers and assembled them.
Step 2: Sand & Prime

Sanding and priming IKEA furniture is key for a good result. I used 120 grit sandpaper to sand it all down and BIN primer. Then, did a light sand with 220 grit, primed again, light sand again, and cleaned with tack cloth.
Step 3: Paint

Next, I painted with a paint roller instead of spraying it because the entire dresser is all flat surfaces, it’s therapeutic, and loading and cleaning the sprayer is a pain. The color is BM Hale Navy.
Step 4: The Legs
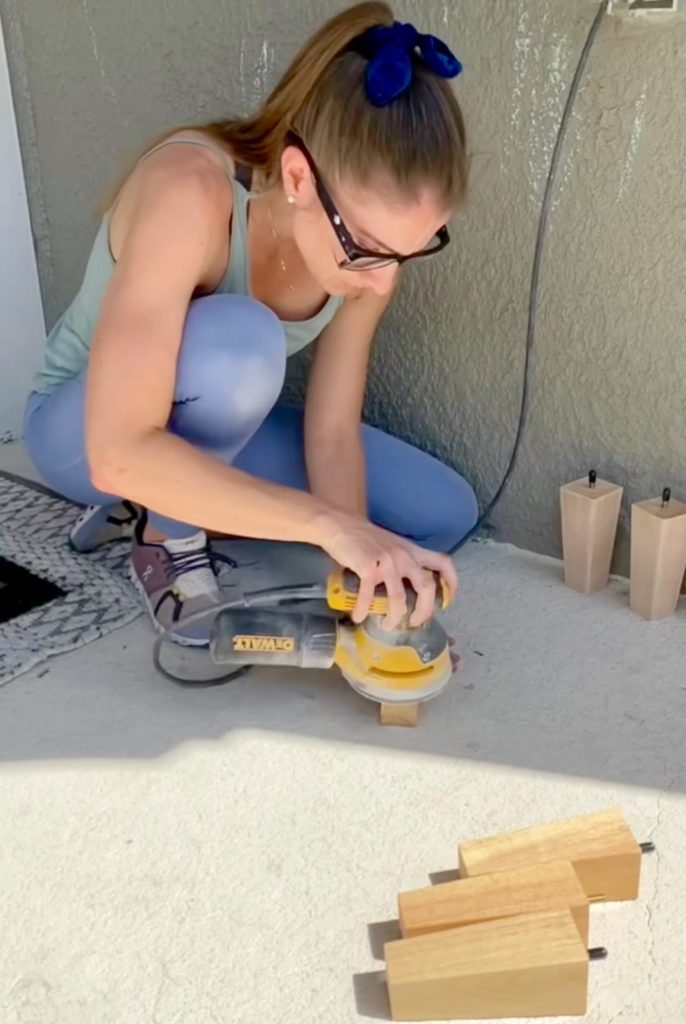
While waiting between paint coats, I sanded the legs with my favorite sander.
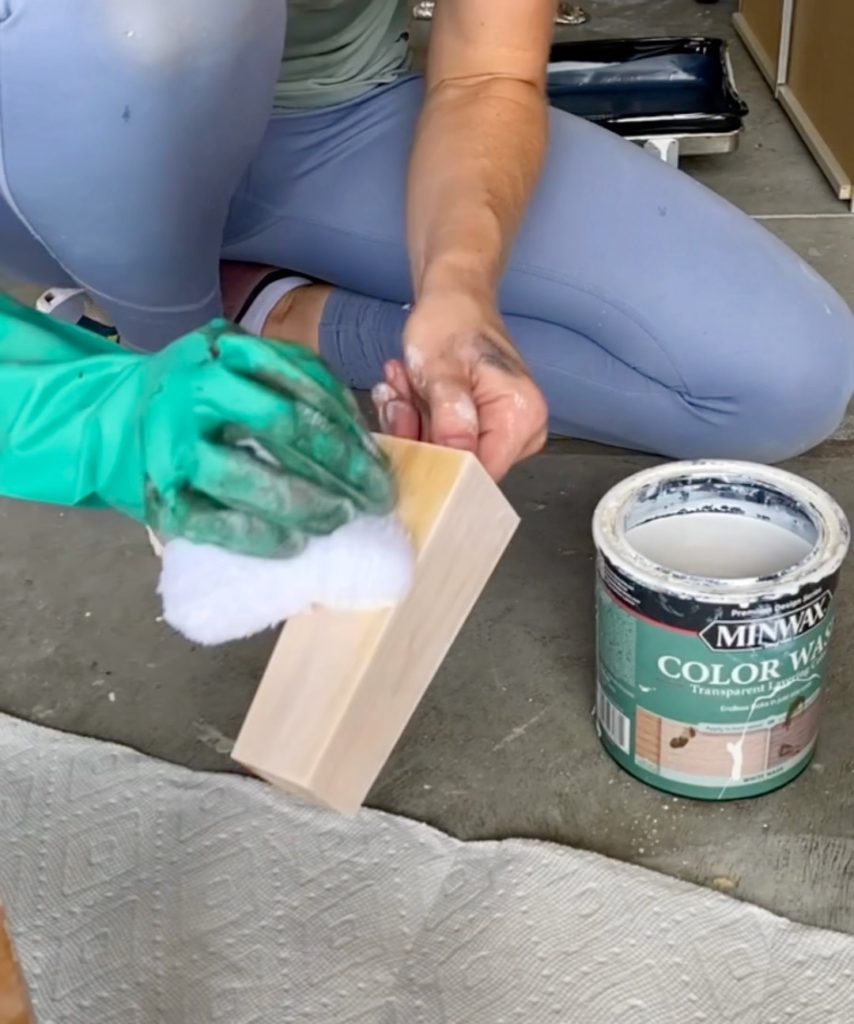
Then, I used a whitewash to tone down the yellow in the wood and stained them Varathane Briarsmoke.
Step 5: Add Hardware

I drilled in hardware holes and used these gold pulls.
Step 6: Screw Dressers Together

I clamped the dressers together and added popsicle sticks to make the dressers flush against each other. A lot of screws went inside going both directions.
Step 7: Attach Legs

First, I added blocks to give a surface for the legs to attach to. Then, I clamped scraps to know where to line the legs up to the edge of the dresser, traced the plate, screwed in the plate, and twisted the leg on.
Step 8: Caulk
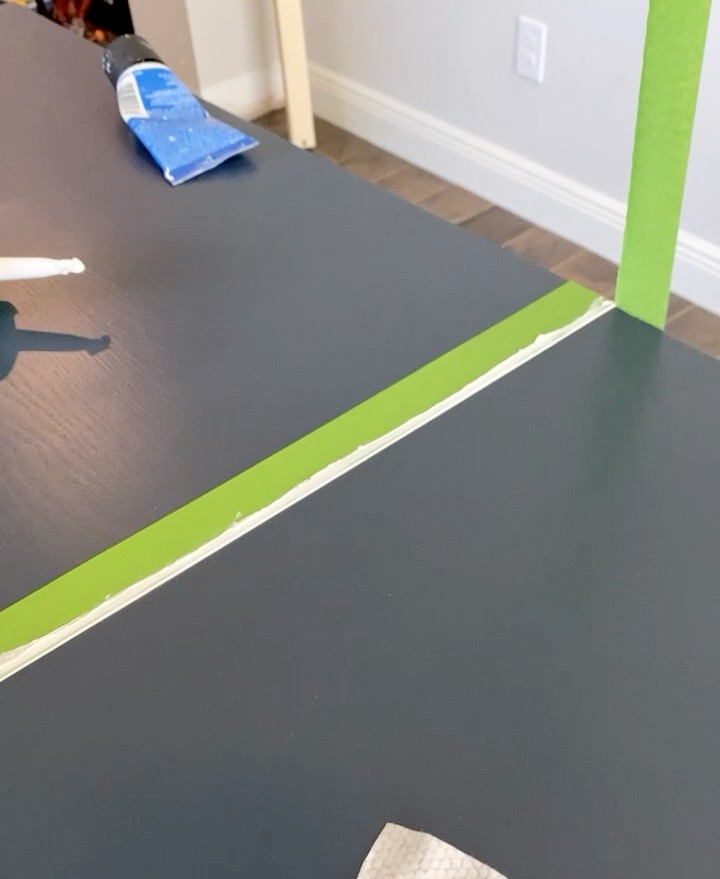
Last, I caulked the seams on the top and fronts to hide them.

The Final Navy IKEA Malm Dresser Hack
