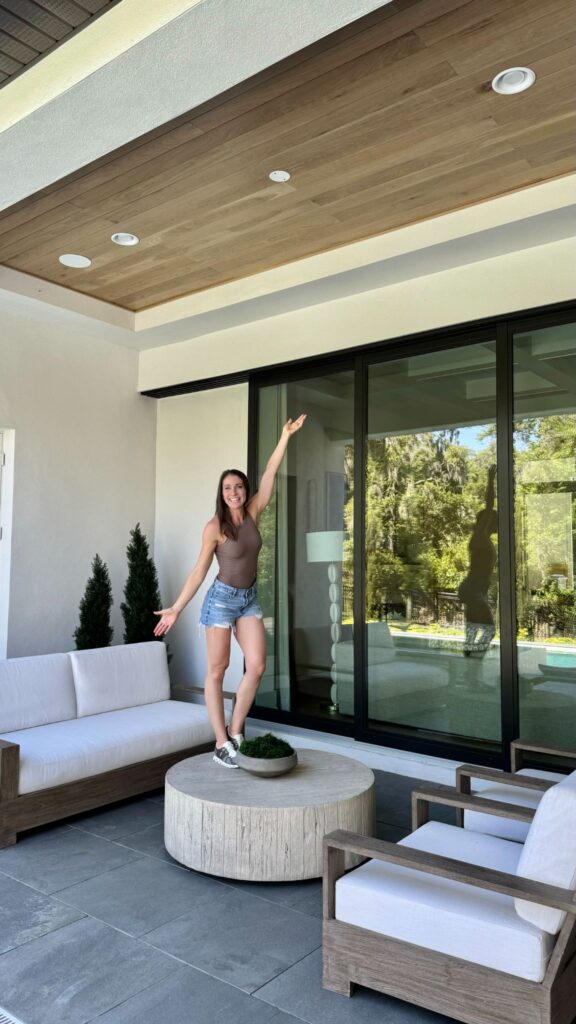
I’ve been working on a fantastic project: planking the two tray ceilings on our outdoor patio with white oak. After finishing the outdoor kitchen, I felt it was missing some warmth, and the wood on the ceiling would bring a cozy, indoor feel outside! The wood is white oak, because duh!
I started with the side of my patio where all my outdoor furniture is located. It is caddy-cornered to where my outdoor kitchen and dining table sit. This is the first part of the patio you see when looking out our full-length sliding glass doors from the living room so it needed to be tackled ASAP.

The hardest part? Picking a stain color for the wood. I narrowed it down to two contenders and nailed them up to see them from different angles. Once I made my decision, the process for each board was stain, seal, sand seal, and repeat—32 times! Soooo much staining and sealing.


Then came the tricky part: putting the boards up. Lining the first two boards perfectly straight was crucial, as every other board depended on them. My good friend Corey came over to help since hanging boards with my husband never goes well. Suffice to say we got quite the shoulder workout and were drenched in sweat in the FL heat. For those wondering about bugs, we made sure to load the boards with bug spray and liquid nails before nailing them on the ceiling with 2-inch 18 gauge brad nails. I cross-nailed at alternating angles, to lock the boards to the ceiling. This way I didn’t have to worry about hitting any studs.


Once the boards were up, I created a custom trim piece to cover the gaps and give it a polished look. They’re so beautiful and give the space the exact vibe I was hoping for! I’m beyond excited to start on the other side of the patio!


Next came ceiling number two, which is right above the outdoor kitchen and dining table. This time, I used scaffolding instead of a ladder, which involved standing on the scaffolding, holding the board above my head, squeezing the nail gun and mallet between my legs, and making sure the board was perfectly in place—true multitasking! We repeated this about 70 times. I could hardly lift my arms above my head once we were done. Thank goodness Corey was there to help me again. She’s a lifesaver!


To ensure durability, we mitered and glued every seam, so that when the wood expands and contracts with the weather, the gaps will be less noticeable.
I’m thrilled with how it turned out! It makes all the sweat and sore arms worth it in the end. I can’t wait to enjoy this cozy, warm outdoor space with my family! The boys are already loving to have dinners out here a few times each week. I may even start enjoying my oreos out here!


To watch the final outdoor patio reveal click here!
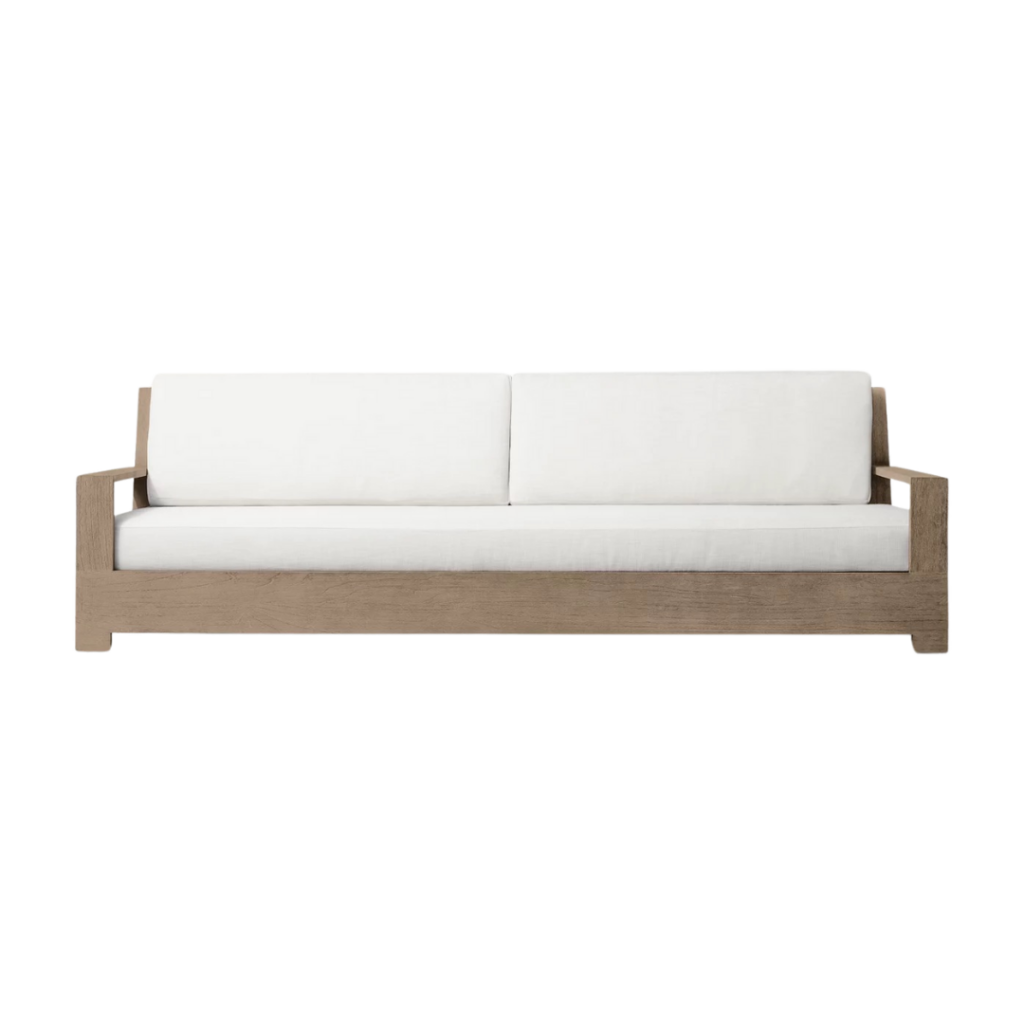
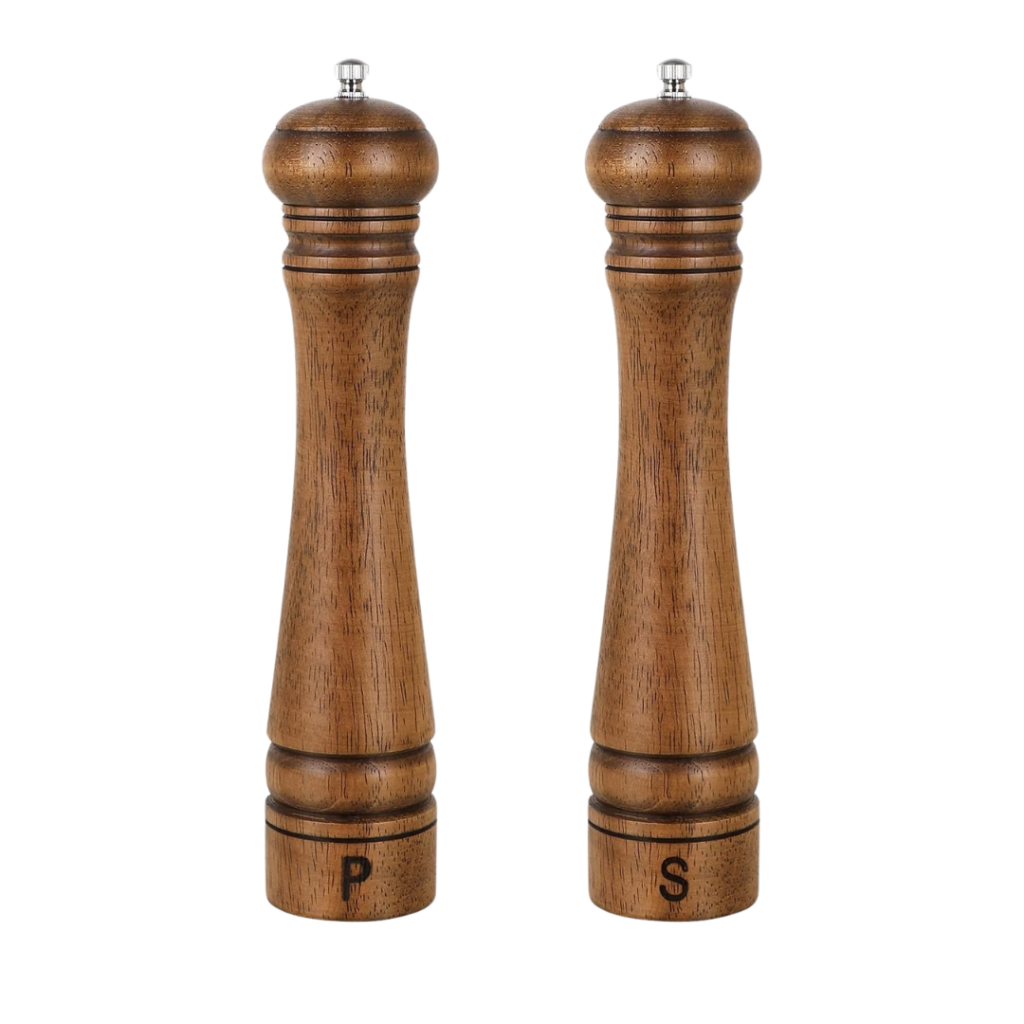
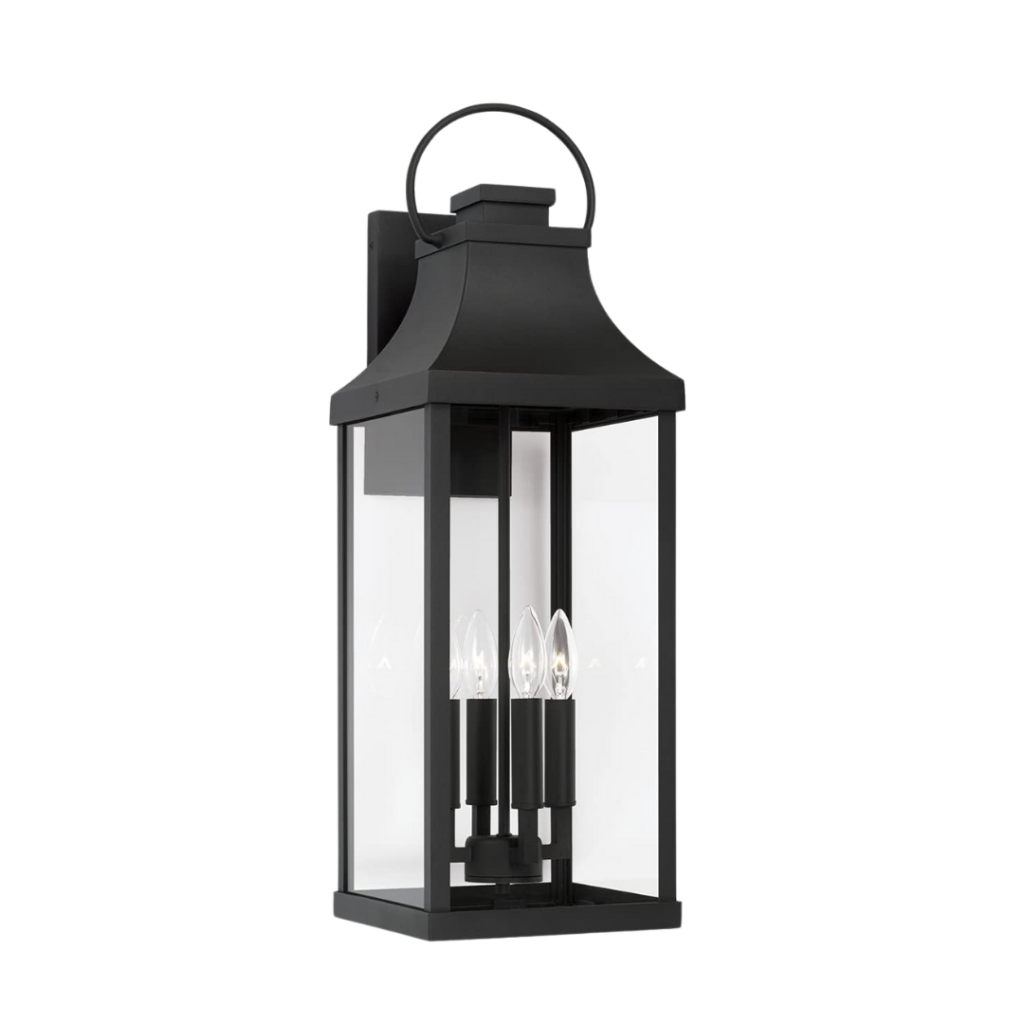
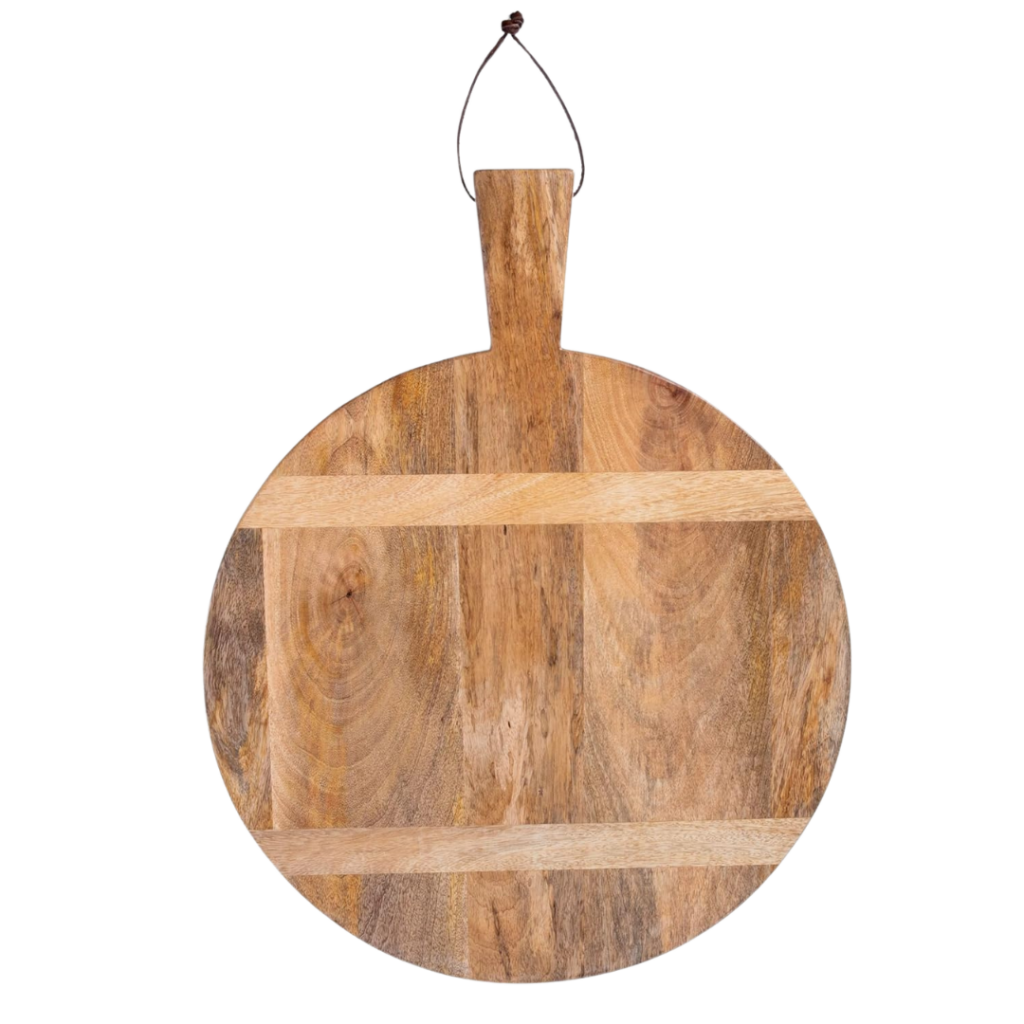
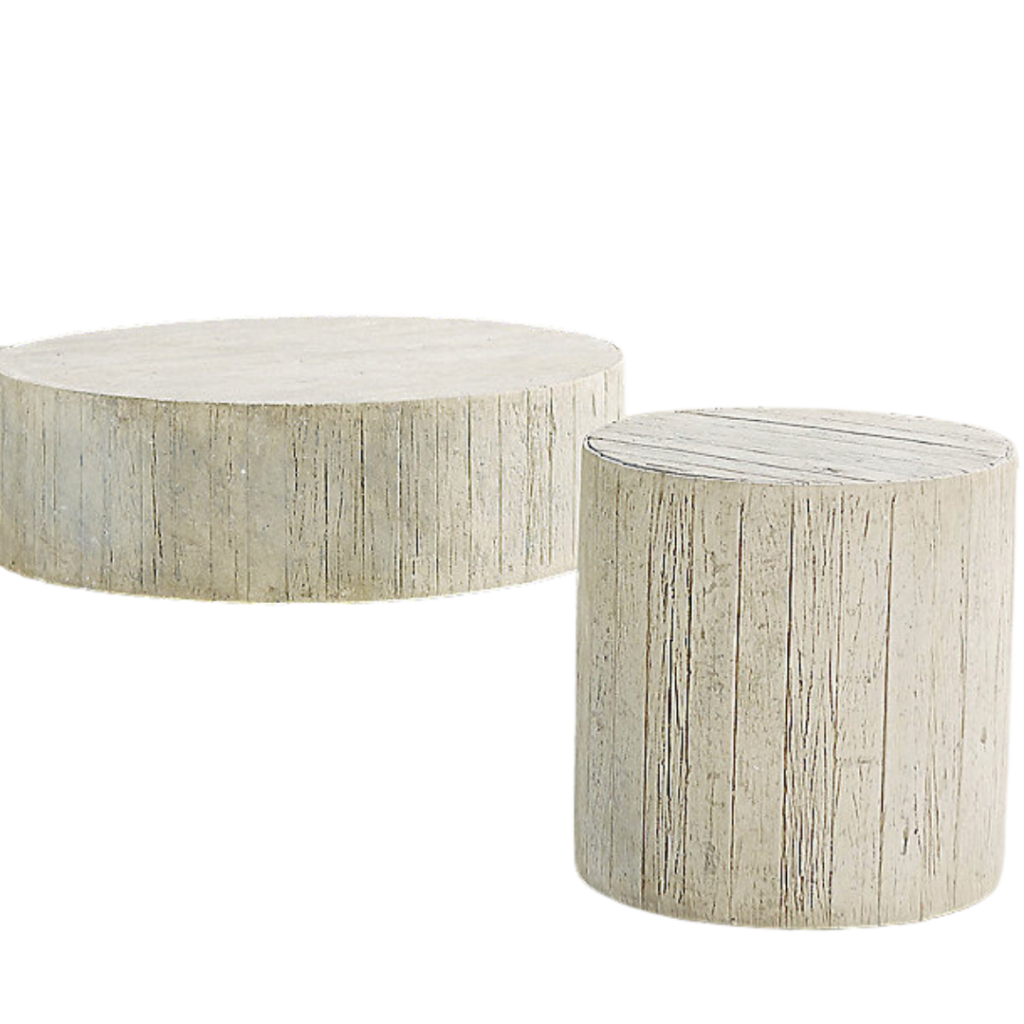
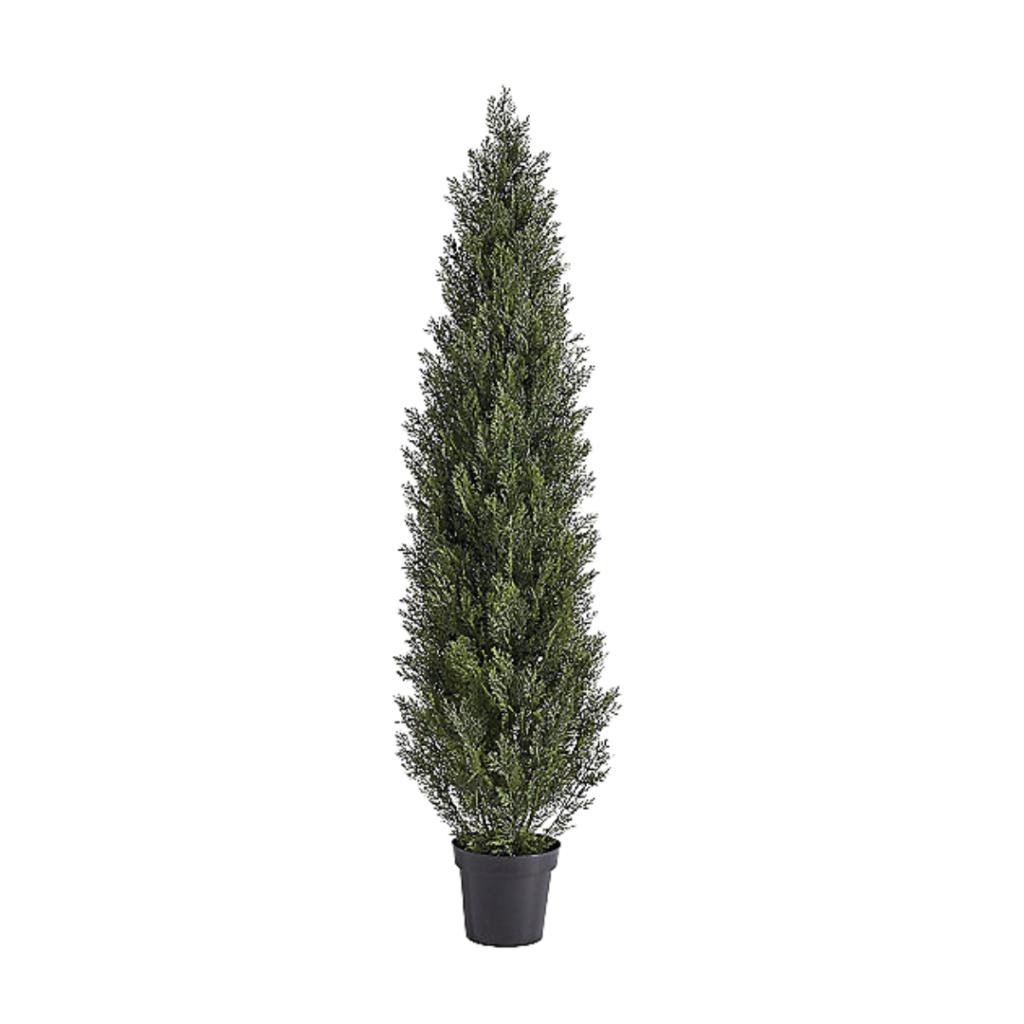
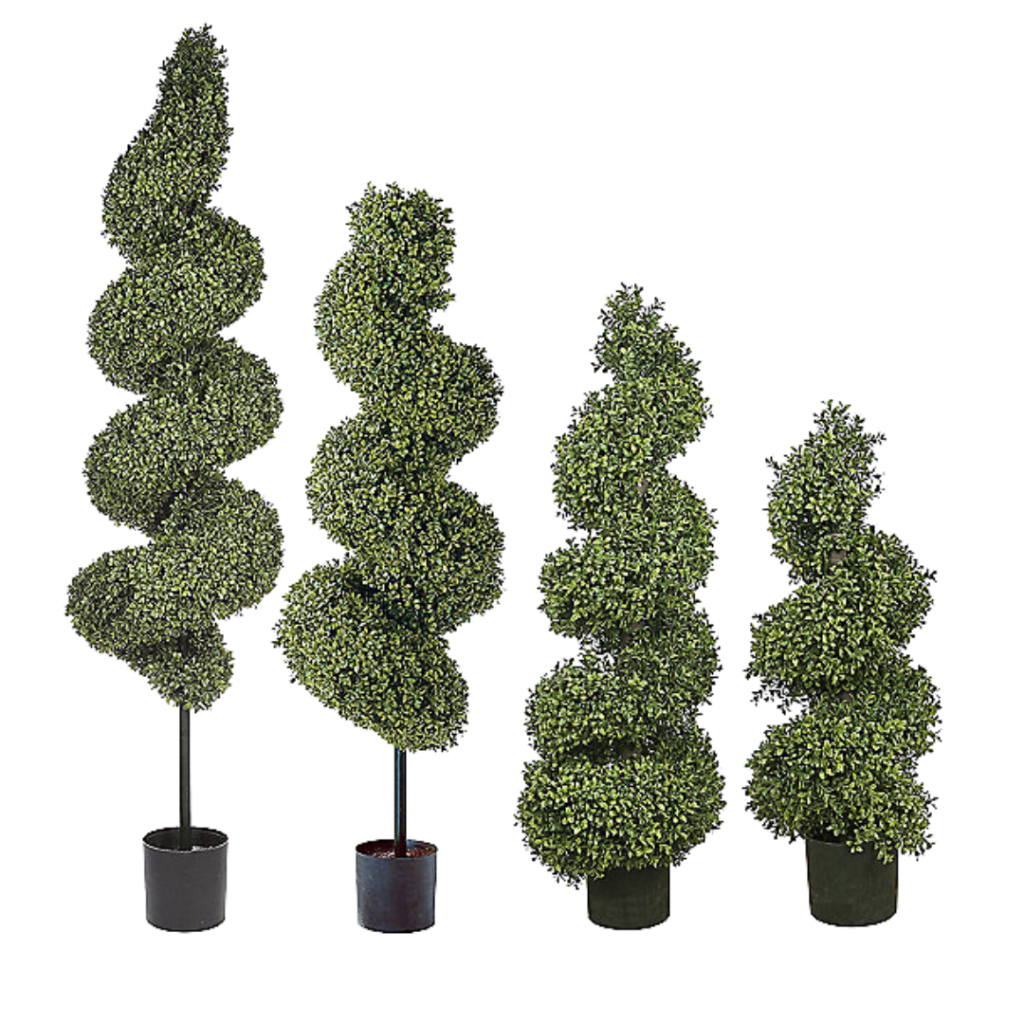
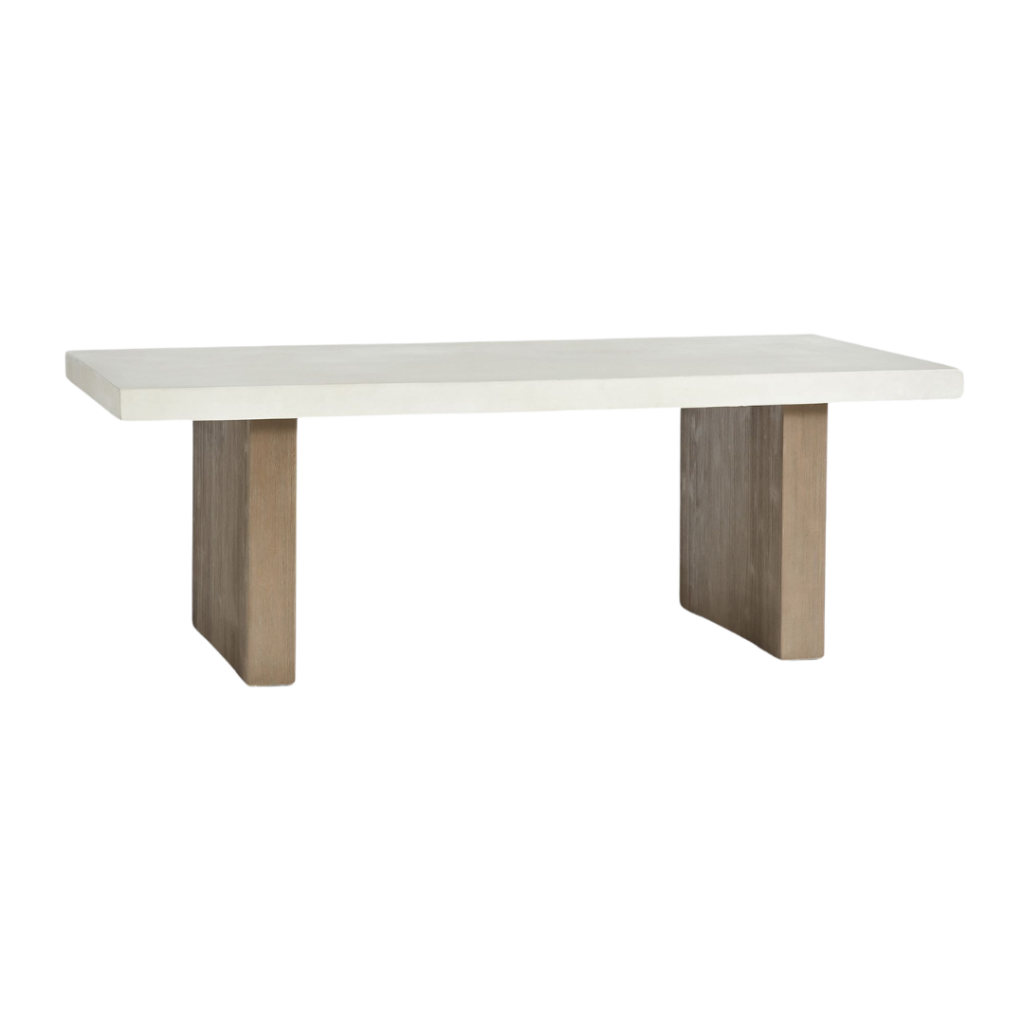
To shop my outdoor kitchen simply click the links below!
FAQs: Outdoor Patio Edition
Q: What floor tiles do you have outside?
A: The floor tiles on my deck are from @everbluepavers.
Q: Where do you source the white Oak tongue and groove planks from?
A: I got mine from Home Depot, A family-owned Mill @Swanerhardwood is the supplier and they sell through Home Depot. You can ship to a store or directly to your house. You can find the Link Here!
Q: How are the boards attached to the ceiling?
A: Before nailing them on the ceiling with 2-inch 18 gauge brad nails, I cross-nailed at alternating angles, to lock the boards to the ceiling. This way I didn’t have to worry about hitting any studs.
Q: What seal do you use on the wood to protect it from weather?
A: I seal my wood with 3 coats of Minwax Helmsman “Clear Satin” Indoor/Outdoor. It’s linked here: Seal. I use a foam roller to apply it.
Q: Did you sand between coats?
A: I used a 400 grit sanding block, to go over the boards between coats of sealer to smooth them. I used a tack cloth to wipe them down after sanding before another coat of sealer.
Q: What stain did you use on the wood?
A: I used a special stain, and I will link it below if you would like to recreate it! I used a stain pad to apply it.

