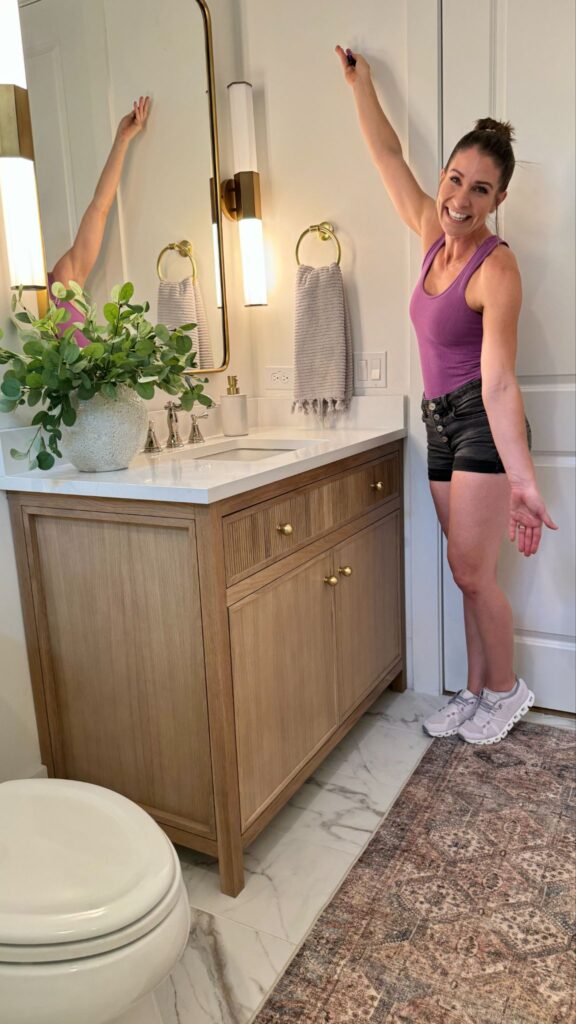
Creating my first bathroom vanity was a journey filled with excitement and a touch of uncertainty. There’s a first for everything, and I was determined to make my vision a reality.
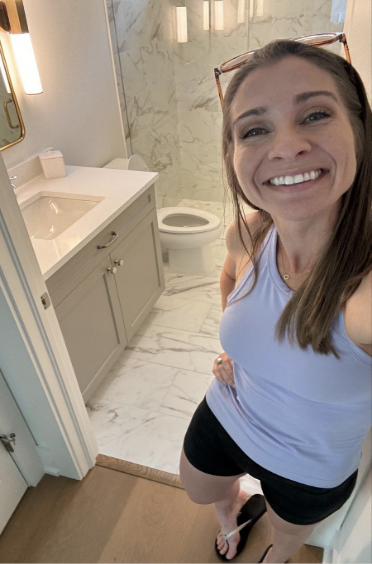
I envisioned a vanity that was both elegant and unique, so I spent the entire day working towards that goal. Utilizing all the scrap wood I had on hand, I started by building the cabinet box to give the vanity its shape. Using leftover wood from previous projects made this my lowest cost white oak DIY to date. I can’t believe it turned into this!
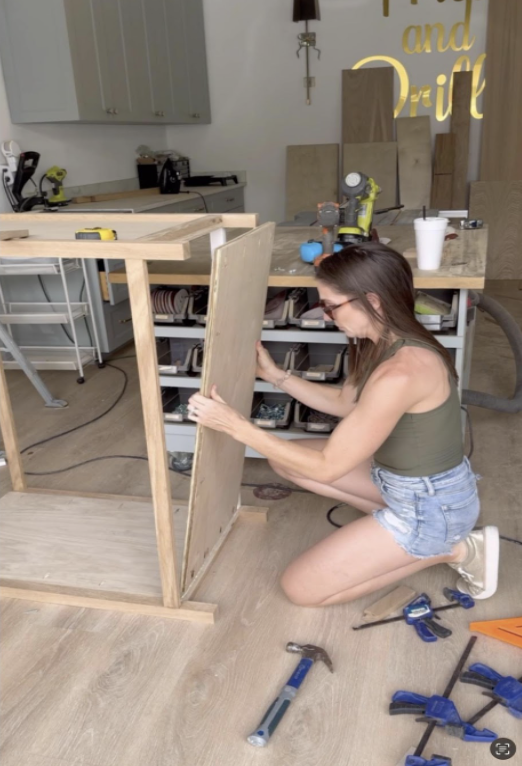
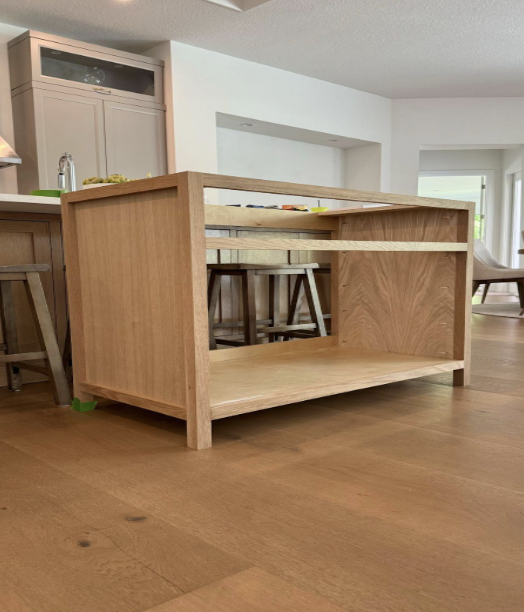
The real magic happened when I decided to use reeded white oak for the exterior. This reeded effect was made from leftover tongue and groove pieces from my outdoor ceiling project, adding a beautiful texture to the vanity. It’s the perfect customized look that I desired!
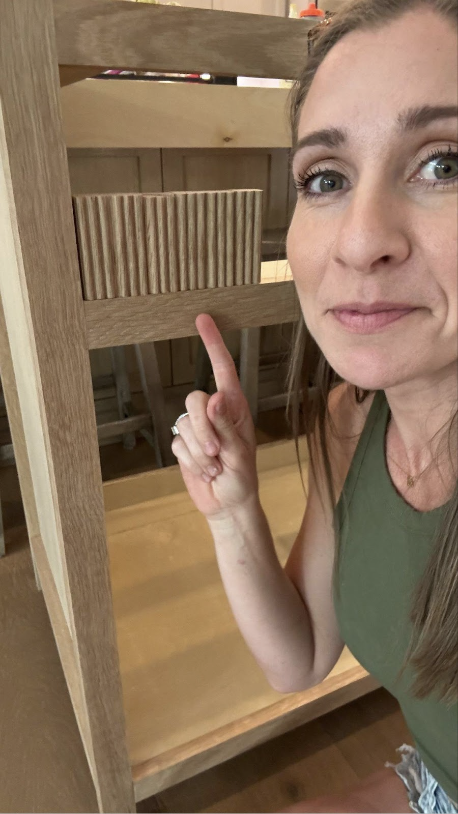
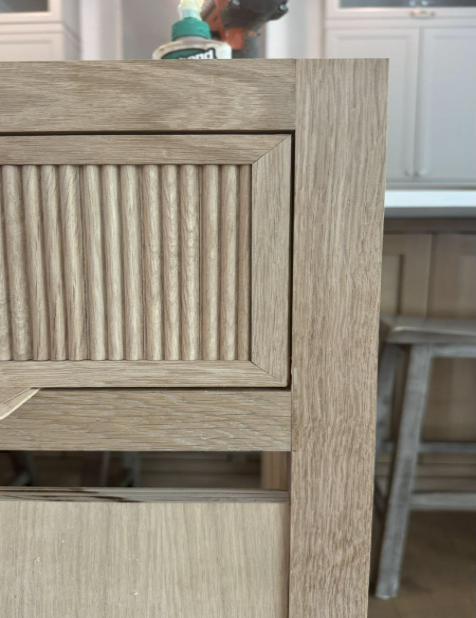
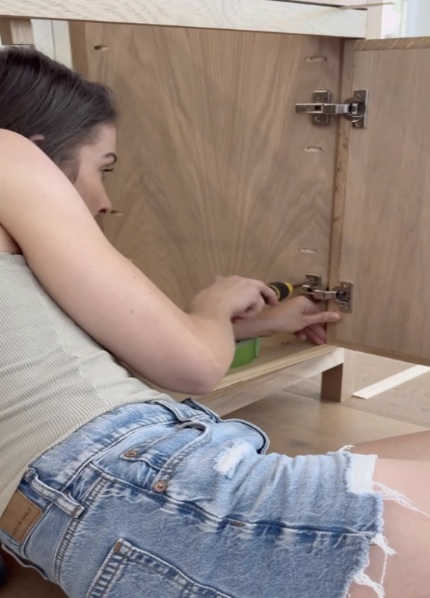
Finally, I installed the doors and added the same detailed border, tying the entire piece together.
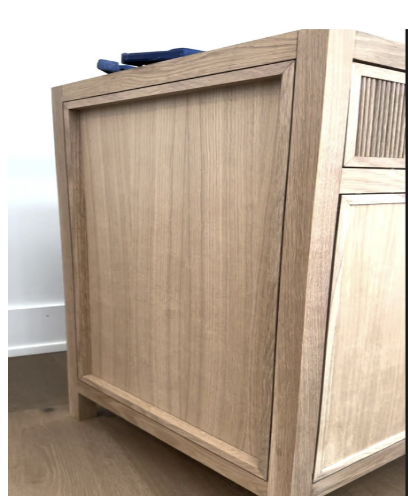
The result? A stunning white oak vanity that not only serves its purpose but also adds a touch of elegance to my bathroom. It’s crazy what one piece of furniture can do to a room! This project taught me that with patience and creativity, even leftover materials can be transformed into something truly special.
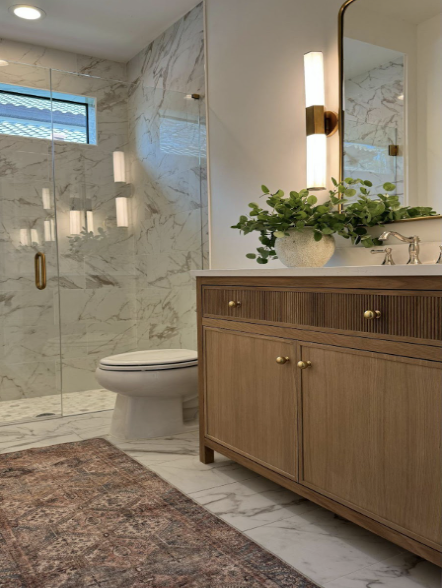
To watch the final vanity reveal click here!
To shop my vanity, simply click the links below!
FAQs: Bathroom Vanity Edition
Q: How do you make reeded wood?
A: I put it through a triple-bead router bit.
Q: Where is the wood you used from?
A: I got mine from Home Depot, A family-owned Mill @Swanerhardwood is the supplier and they sell through Home Depot. You can ship to a store or directly to your house. You can find the Link Here.
Q: How did you make the doors for the Vanity?
A: I took a piece of ¾ inch white oak plywood and made trim to wrap around. The trim is ⅝ inch thick by ⅞ inch wide, and you glue it around the edges. I put them on slow-set inset hinges and it’s good to go!
