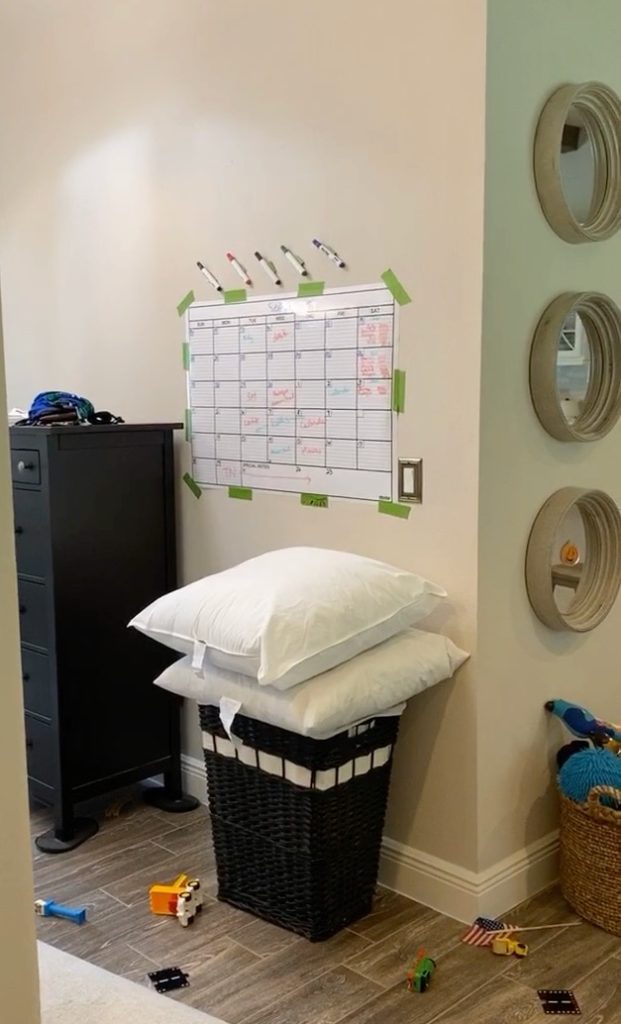
Before this makeover, my entry hallway was cluttered, messy, and obviously needed work as you can see in the before photo below. Also, I desperately needed a new calendar and this DIY Acrylic Calendar fit perfectly. It’s a super simple DIY project, so keep scrolling to see the step-by-step if you want to make one, too!
To watch a visual of the process, click HERE for the Instagram highlight.
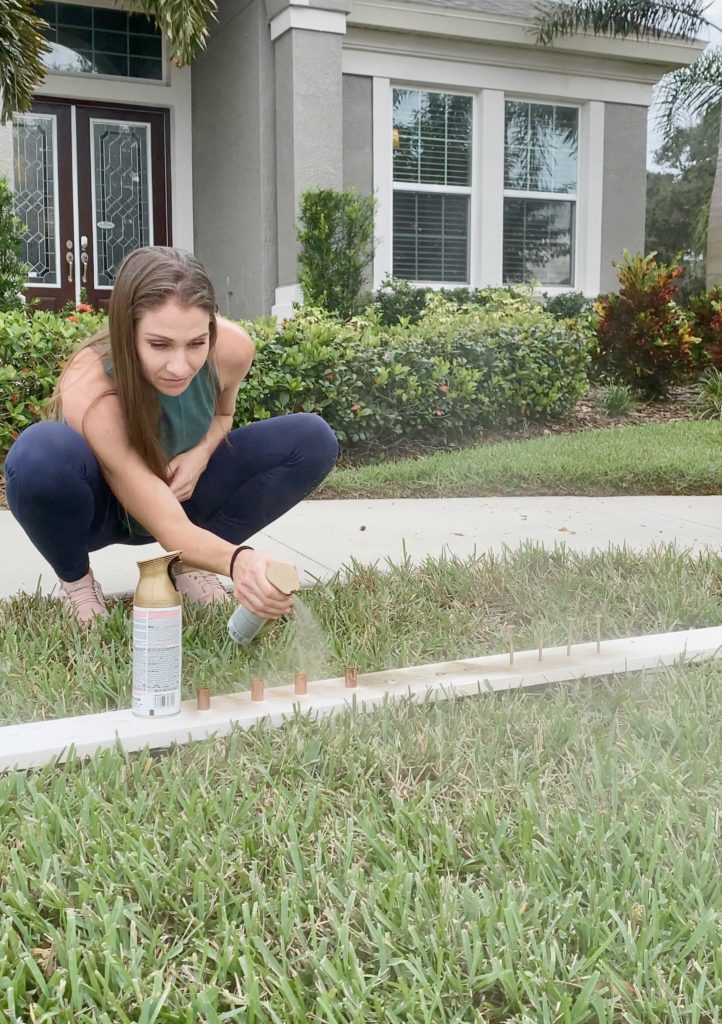
Step 1: Spray Paint the Hardware
I purchased hardware and spray painted it gold. I let the pieces dry while doing the rest of the project.
Step 2: Create the Outline
First, I cut gold strips to create the outline for each day on the calendar.

For each day of the month, I created 35 boxes. I also applied transfer paper.
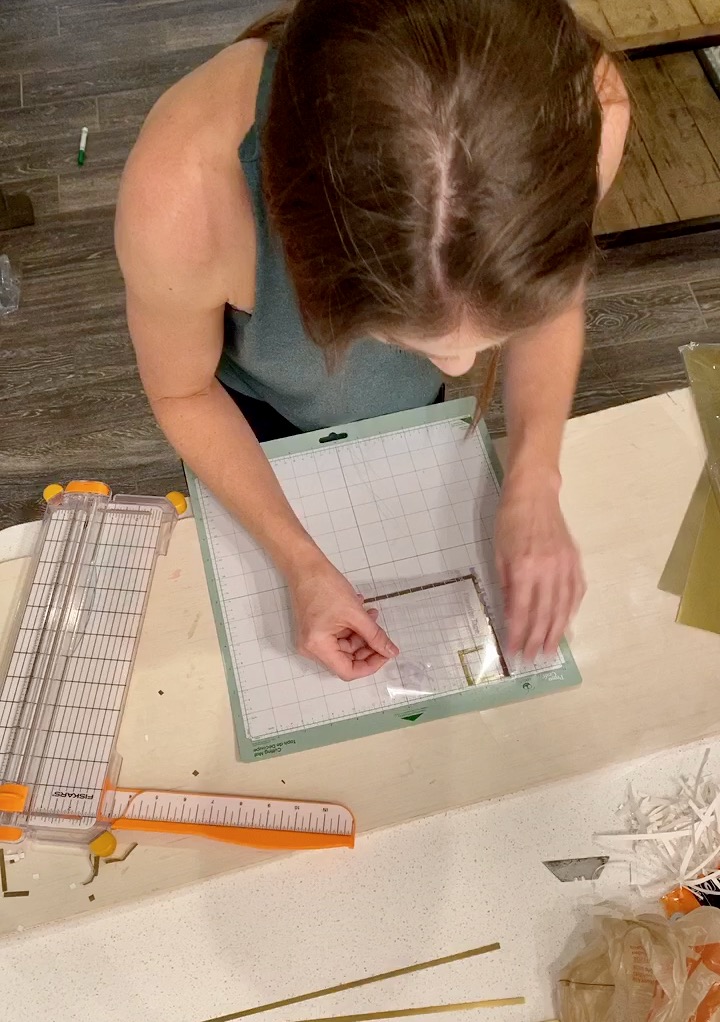
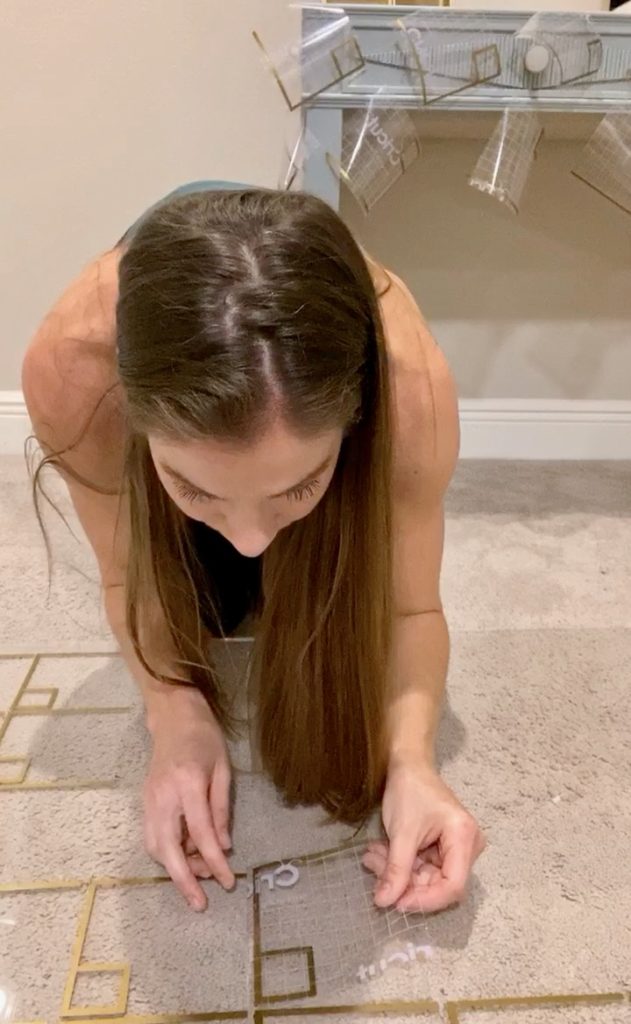
Using the transfer paper, I applied each box to the calendar.
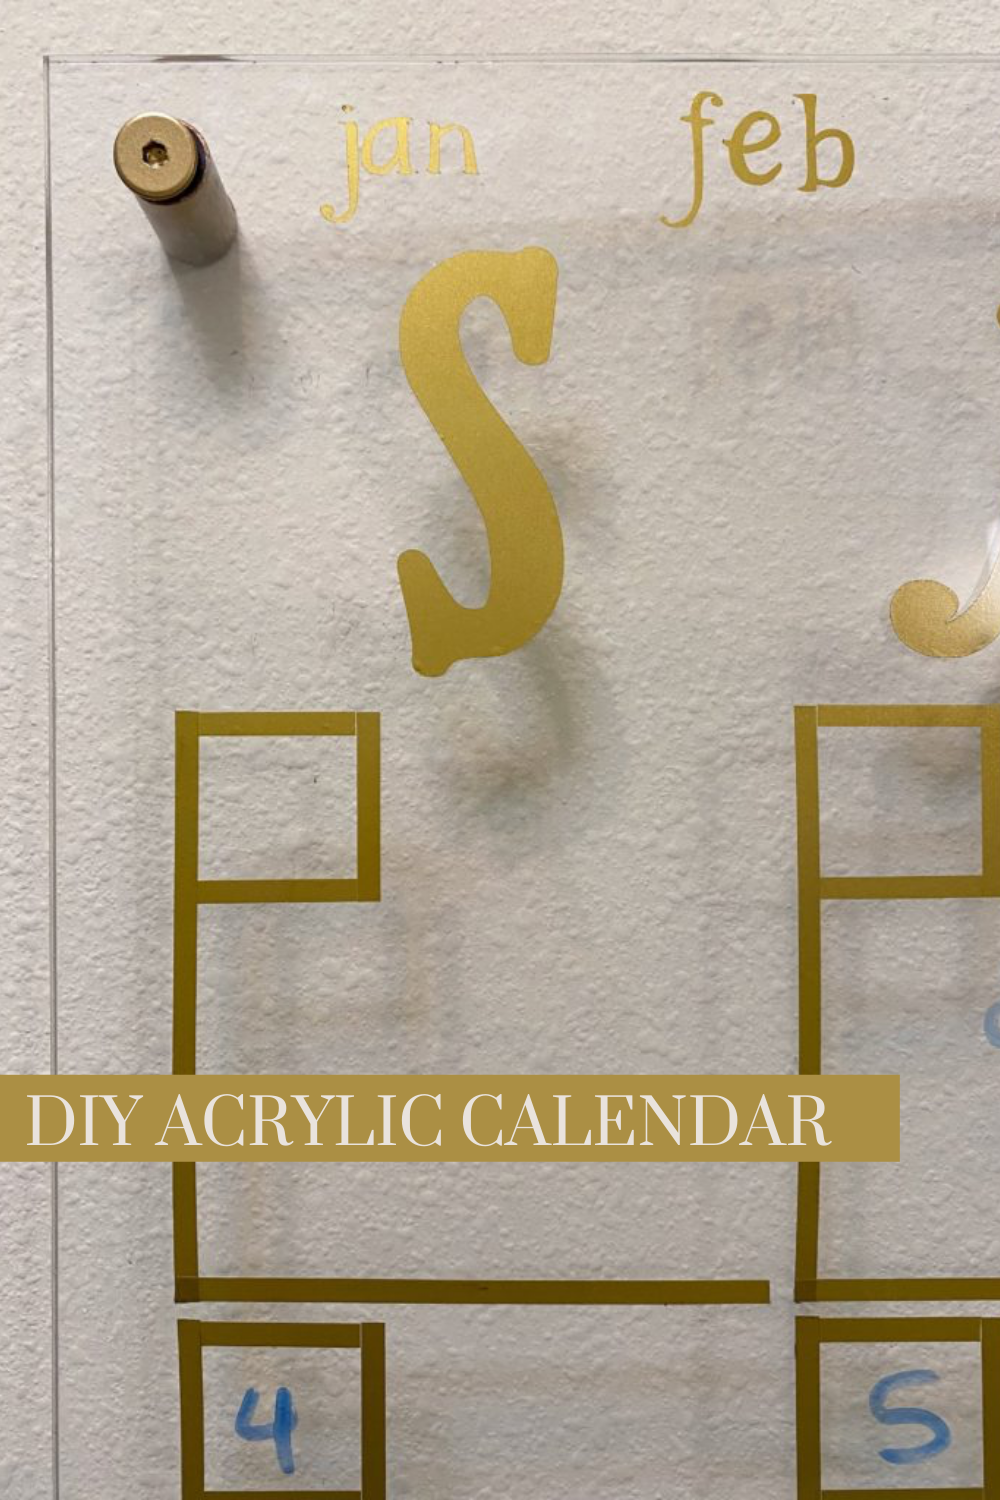
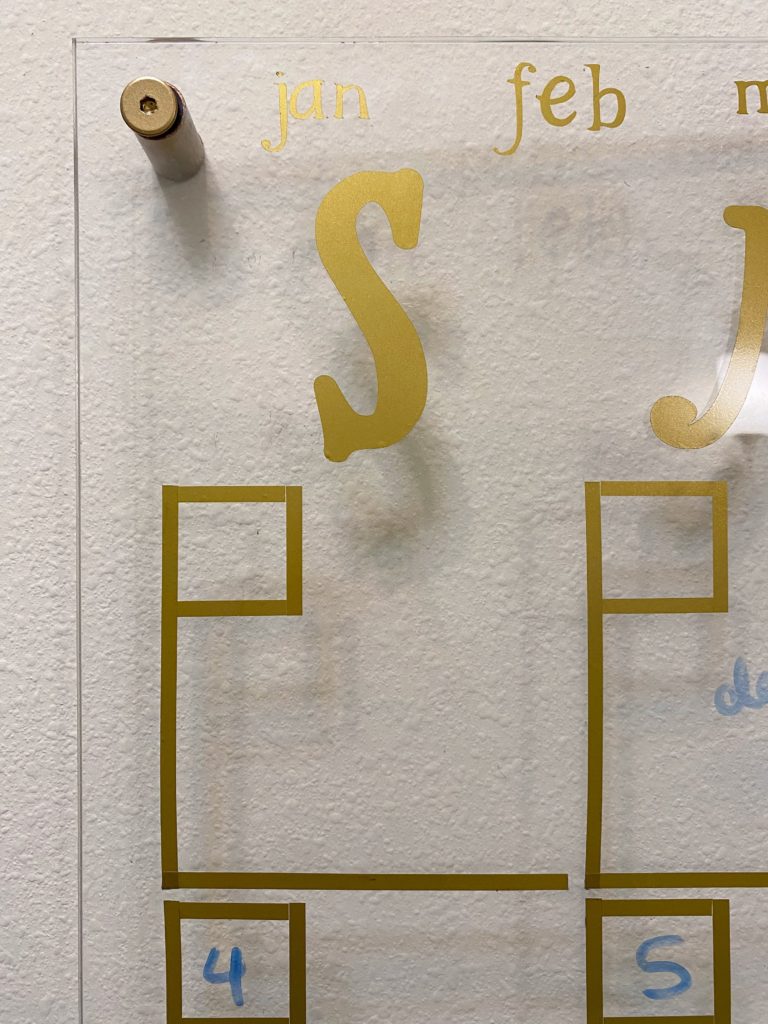
Step 3: Create the Letters of the Week
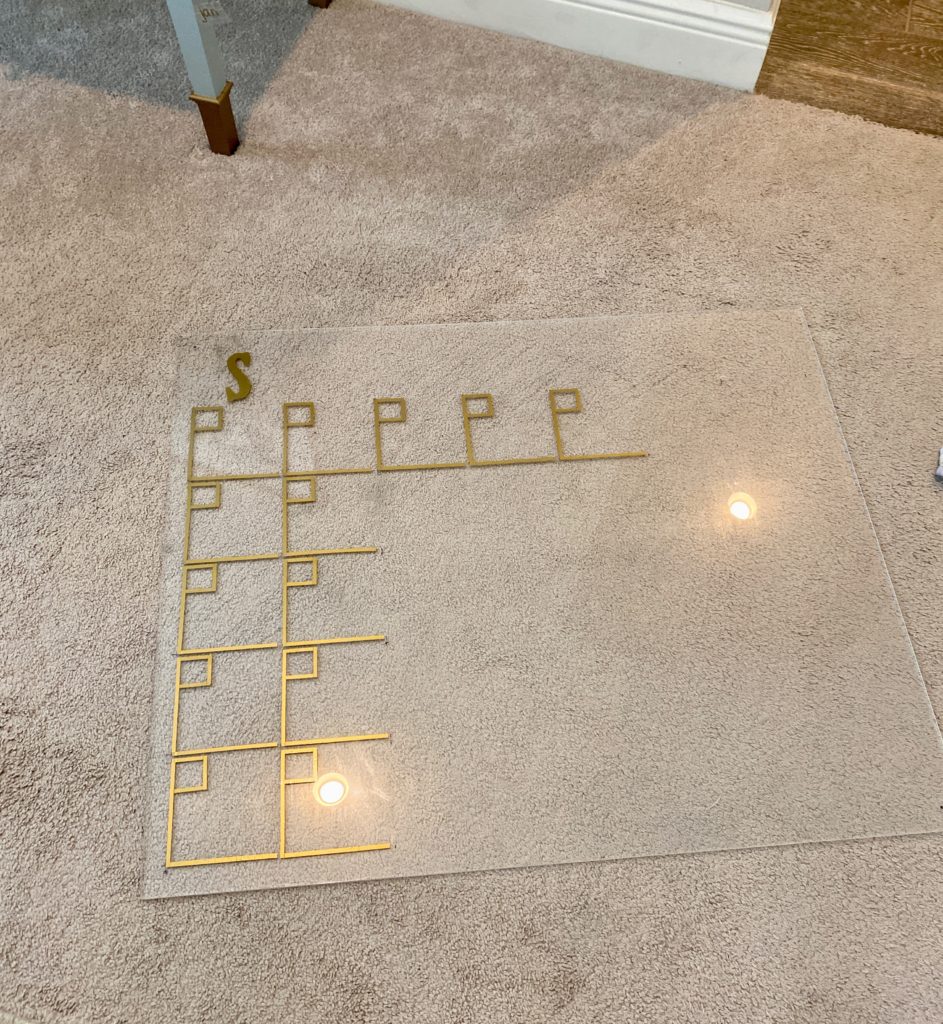
I used my Cricut for the letters and applied them to the calendar.

This is what it should look like around half complete with the acrylic sheet!
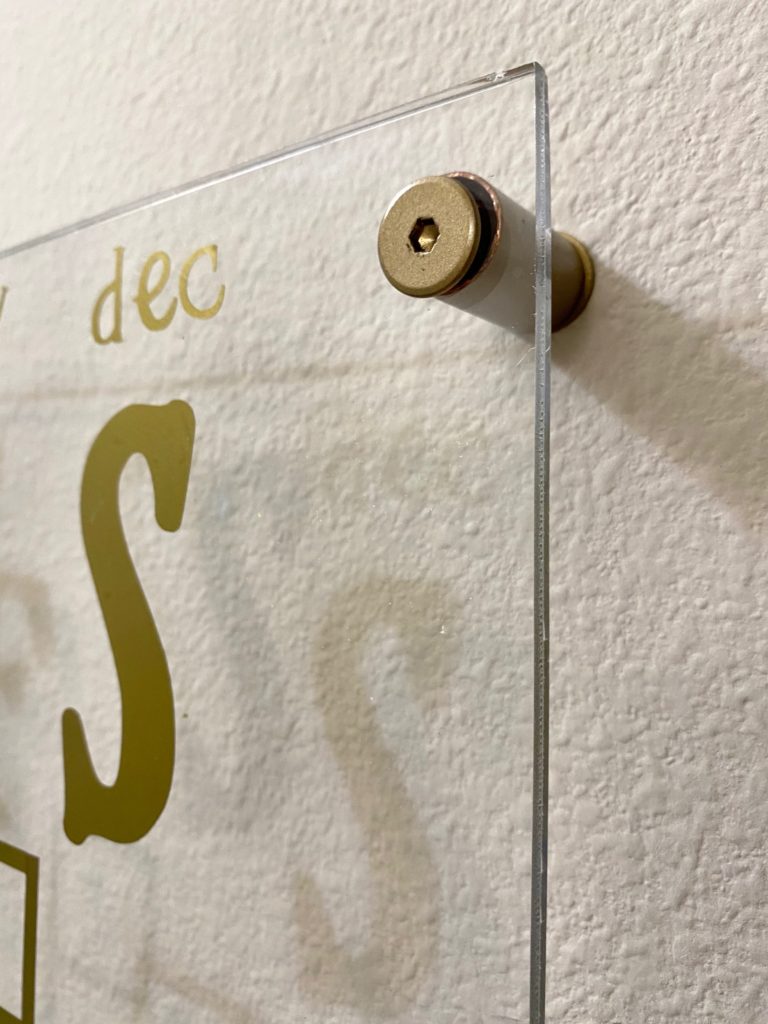
Step 4: Mount the calendar
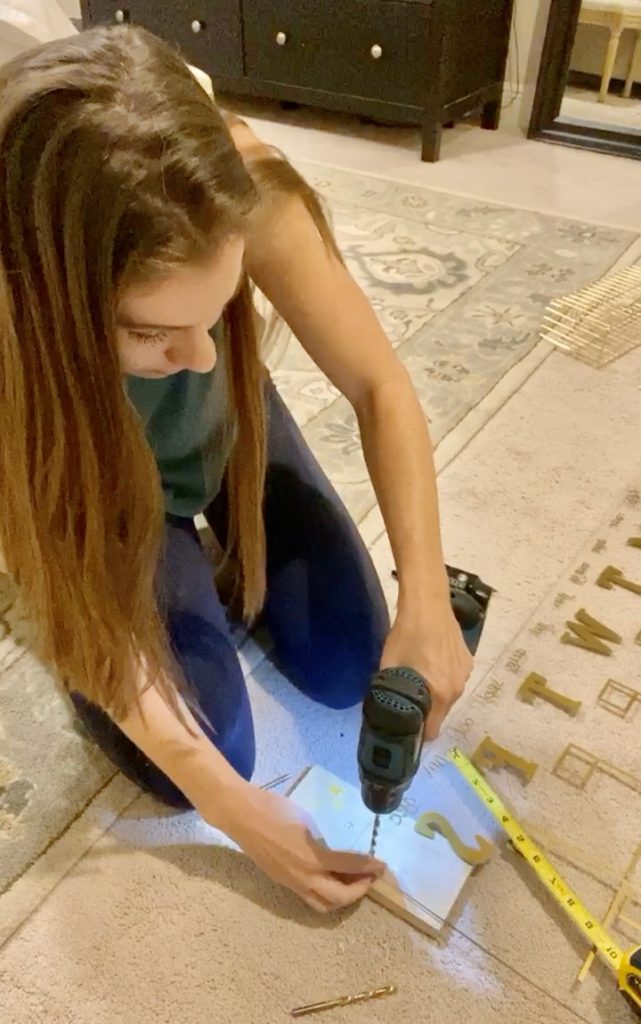
I set the drill in reverse and placed a piece of wood behind the acrylic. I drilled the holes in the sheet about 1″ from the sides.
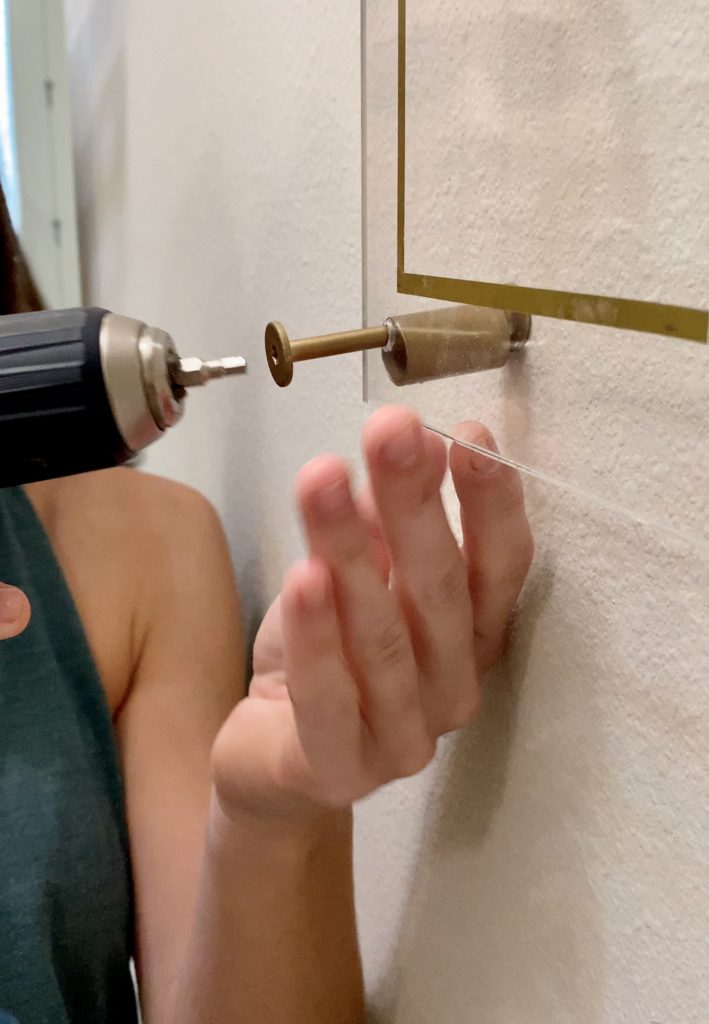
Then, I pre-drilled a hole into the wall and drilled the bolt into the wall for each corner. The links to the hardware and drill are down below!

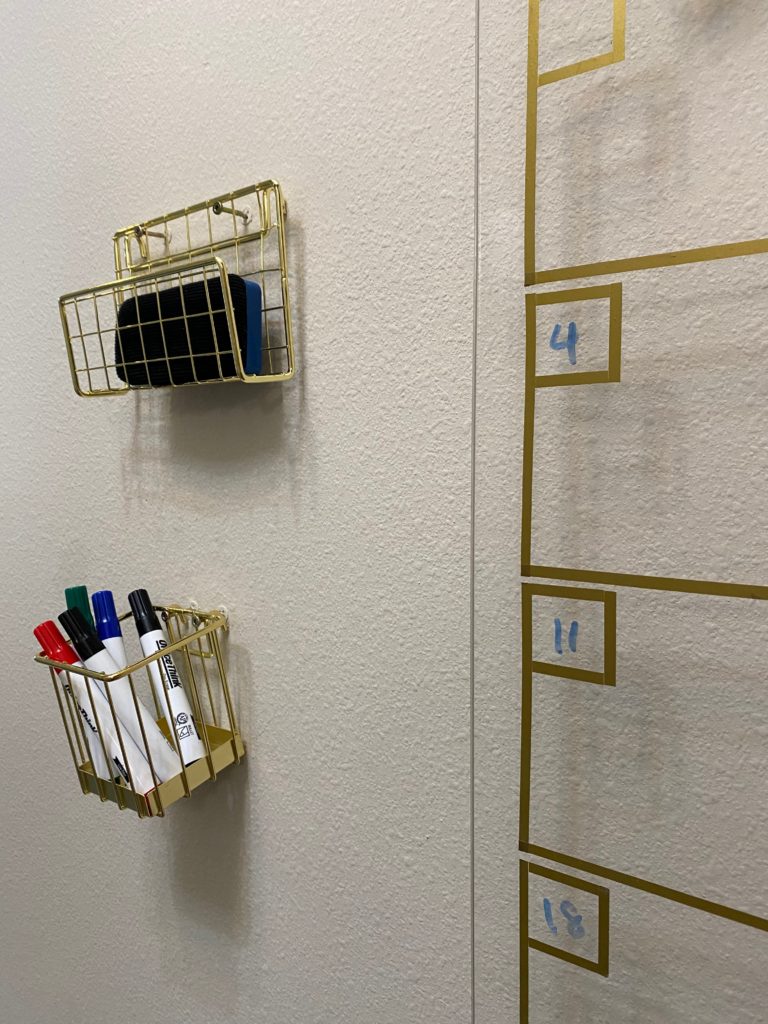
Step 5: Add Extra Details
The small gold wall holders worked perfectly for markers and the eraser.
The Final DIY Acrylic Calendar
PIN THIS FOR LATER: