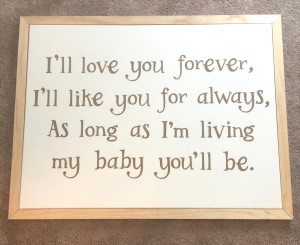
I know It’s been a few weeks since any nursery update, but today I’m excited to be blogging a DIY canvas sign I made for the baby’s room. I’m so happy with how it turned out and can’t wait to share the tutorial with you guys. This baby will be here in no time!! Aren’t you ready for the reveal already?? 😉
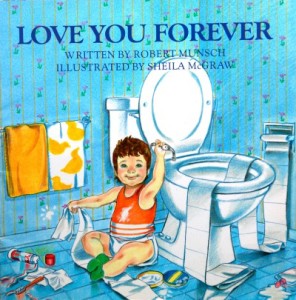
I planned on hanging a sign over the baby’s dresser/changing table that included a quote from my favorite childhood book, Love You Forever by Robert Munsch. I didn’t know whether I was going to purchase the sign from someone who makes these professionally (there are lots of talented ladies who sell them on Instagram!) or if I was actually going to attempt to make it myself. After thinking about it for a couple weeks, I decided I wanted to give it a go myself. It would save me a little bit of money, but more importantly I felt that making it myself would be more sentimental and meaningful for my little boy.
Here’s the nursery design board plan I shared several months ago.
And my favorite book! If you’re aren’t familiar, I highly recommend reading it. And having a box of tissues in hand.
Here’s the tutorial I shared a few weeks ago on the makeover of the dresser that will be his changing table also. The canvas sign will go right above this!
And here’s the dresser once we got it set up in the nursery.
DIY Canvas Sign Supplies:
- Canvas size of your choice from a local craft store (mine is 24″x36″)
- Paper letters (either purchased or cut out yourself)
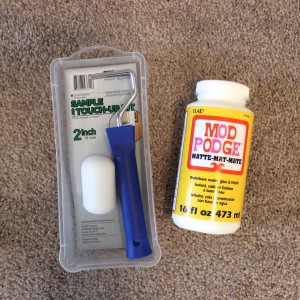
- Mod Podge & foam roller
- Elmer’s glue
- 2 – 8′ pieces of 1x2x8 pine
- Mitre box or mitre saw
- Wood stain color of your choice
- Foam brush
- Nail gun or nails & hammer
- Measuring tape
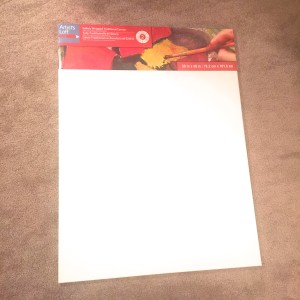
This is the canvas I bought from my local Michael’s. They run sales on these frequently so I made sure I went during a sale and picked up this 24″x36″ canvas. It’s not very thick and definitely not their “high end” canvas brand.
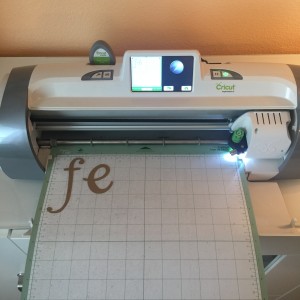
For the lettering, I chose a brown color construction paper that I also found at Michael’s. It’s basically the shade of cardboard. I used my Cricut machine to cut out the letters using a font cartridge called Candy Font. (My Cricut is many years old, but a similar one can be found here on Amazon.)
Here’s how the letters turned out using 4.5″ sizing.
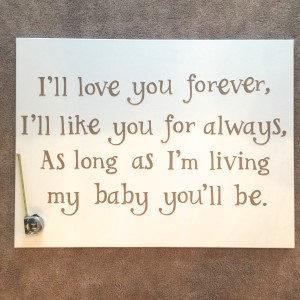
I used my tape measure along with good ol’ technical eyeballing to get the letters centered as well as possible on the canvas.
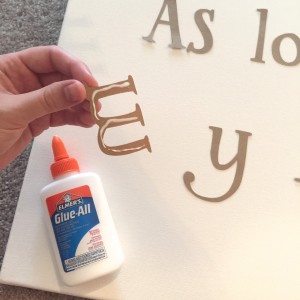
Then I picked up the letters one by one and applied Elmer’s glue to the backs and put them back down to dry.
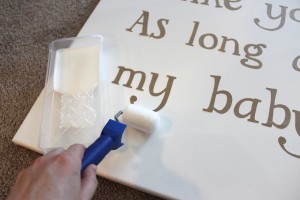
I waited a few hours for the glue to dry and then used Mod Podge and a 2″ foam roller from Lowe’s to apply it overtop of the letters.
I spread a generous amount over the entire canvas sign covering all the letters and all the white space.
Here you can see it once it was applied and still wet.
I let that dry for several hours, and applied a second coat before it was finished. Now on to the frame!
I bought 2 8′ pieces of 1x2x8 select pine from Lowe’s to make the frame.
I measured the sides of the canvas sign and cut 4 pieces for all 4 sides of the frame at a 45 degree angle.
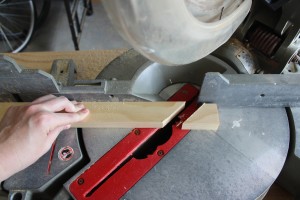
Here’s how it looks with the cut pieces of pine against the sign.
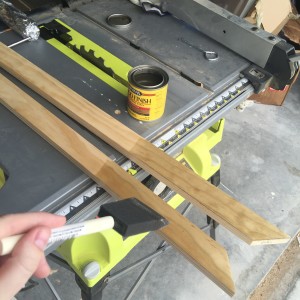
After making sure each piece was the proper size, I brought them back out to the garage for staining. I used this Minwax wood finish in Driftwood color.
I used a cheap foam brush and painted on 3-4 coats of the stain allowing dry time in between each coat.
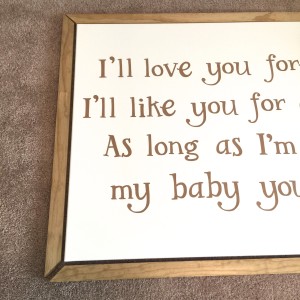
After it was completely dry I brought it inside and began nailing it to my canvas sign with my nail gun.

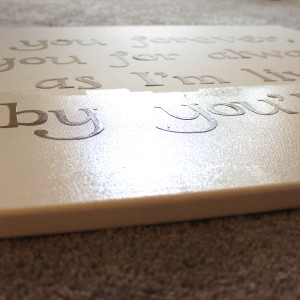
I used the longest nails I had (2.25″) and placed one nail on the end of each piece going directly into the sign. The sign has a wood frame already so it was simply nailing my wood frame to the existing wood frame underneath.

I hope these pictures can show where the nails were placed. As you can see in the photos above and below, I didn’t align my frame exactly flush with the front of the canvas. I brought my frame forward some so the canvas sign was kind of “inset” into the frame.

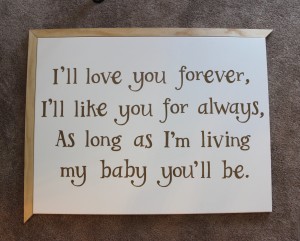
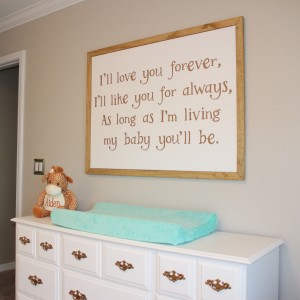
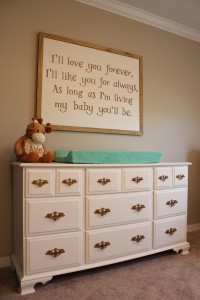
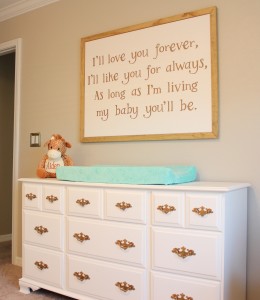
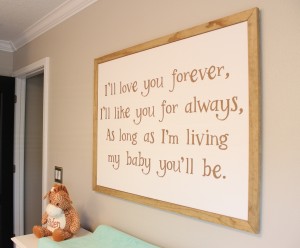
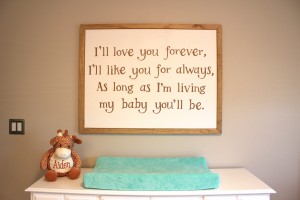
And here it is all finished!






Additional Sources:
- Stuffed Monogrammed Giraffe from my Baby Shower: Etsy
- Mint colored chaning pad cover: Kohl’s.com
What are your thoughts on my DIY Canvas sign? Stay tuned for the reveal, it’s coming soon, I promise!! Comment and let me know, I love hearing from you guys!


