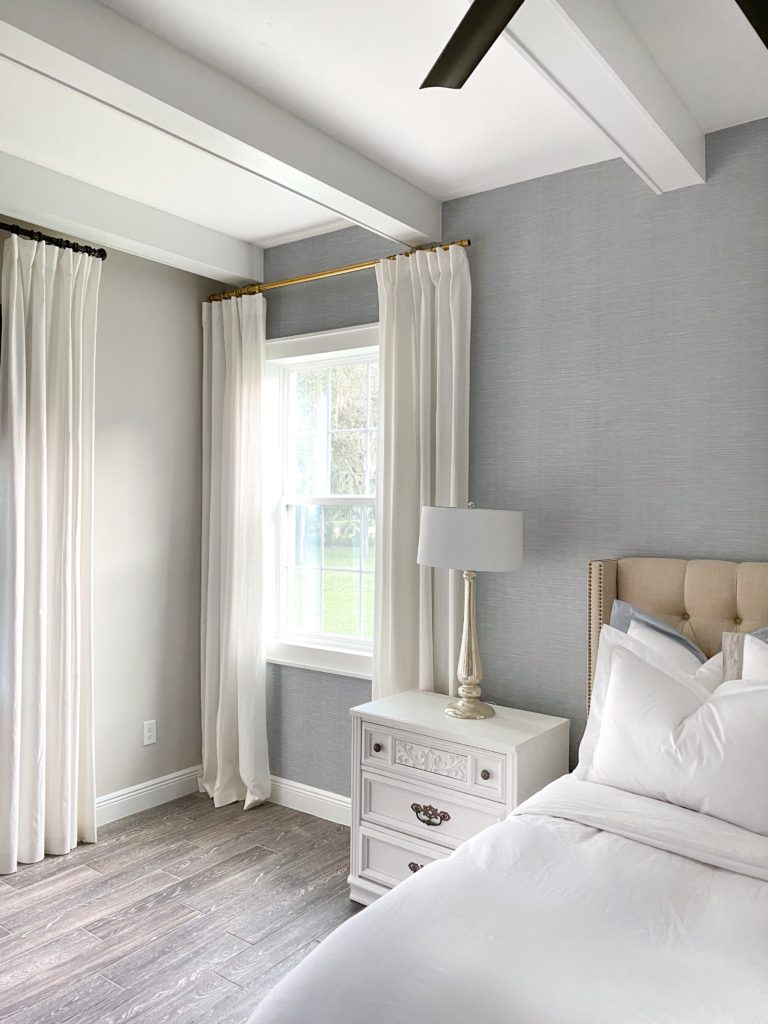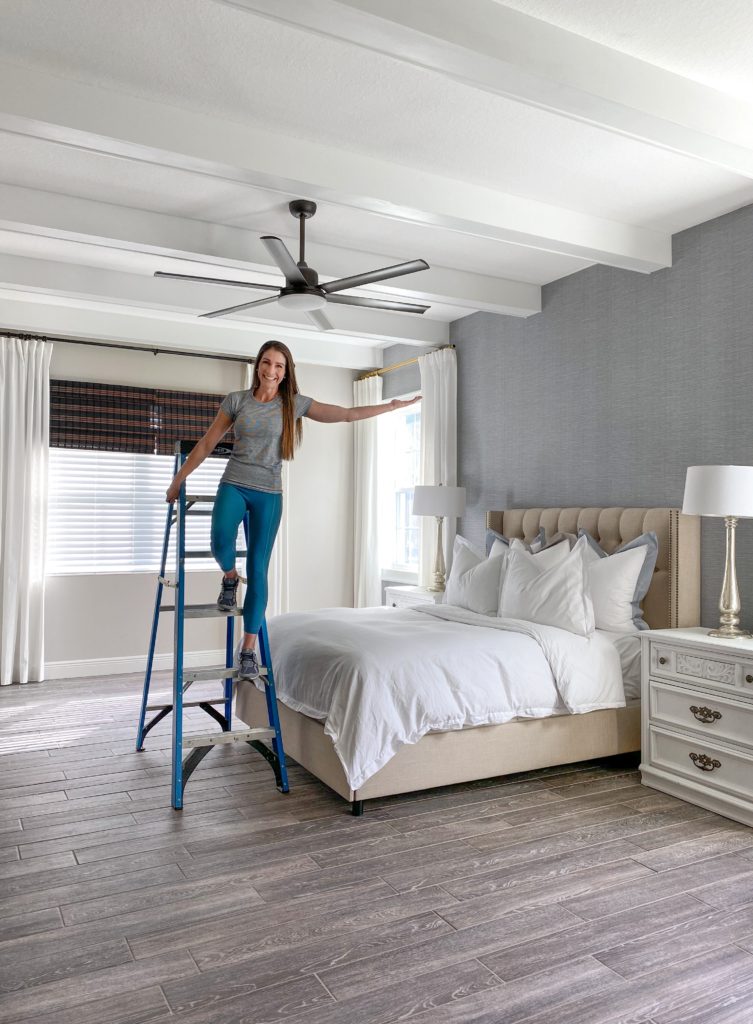
These DIY Coffered Beams made such a great difference in my bedroom makeover! Here is the before and after as well as a full tutorial on how to do this yourself.
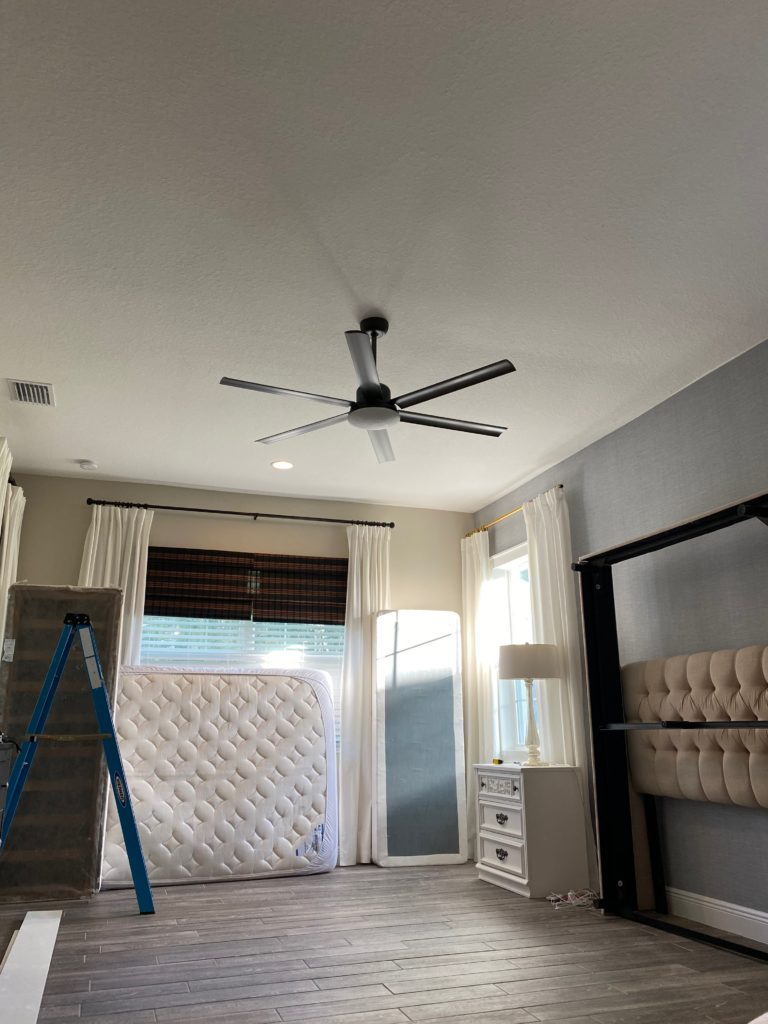
Step 1: Prep
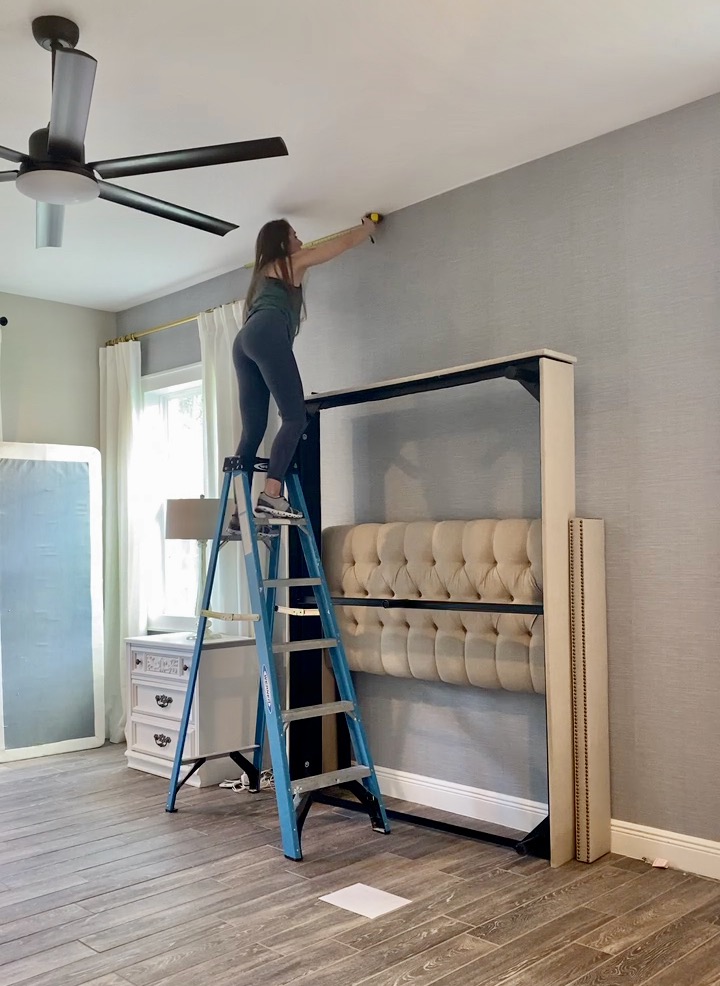
First, I measured the ceiling to see how many beams could fit. I also marked the walls to figure out where the beams should go.
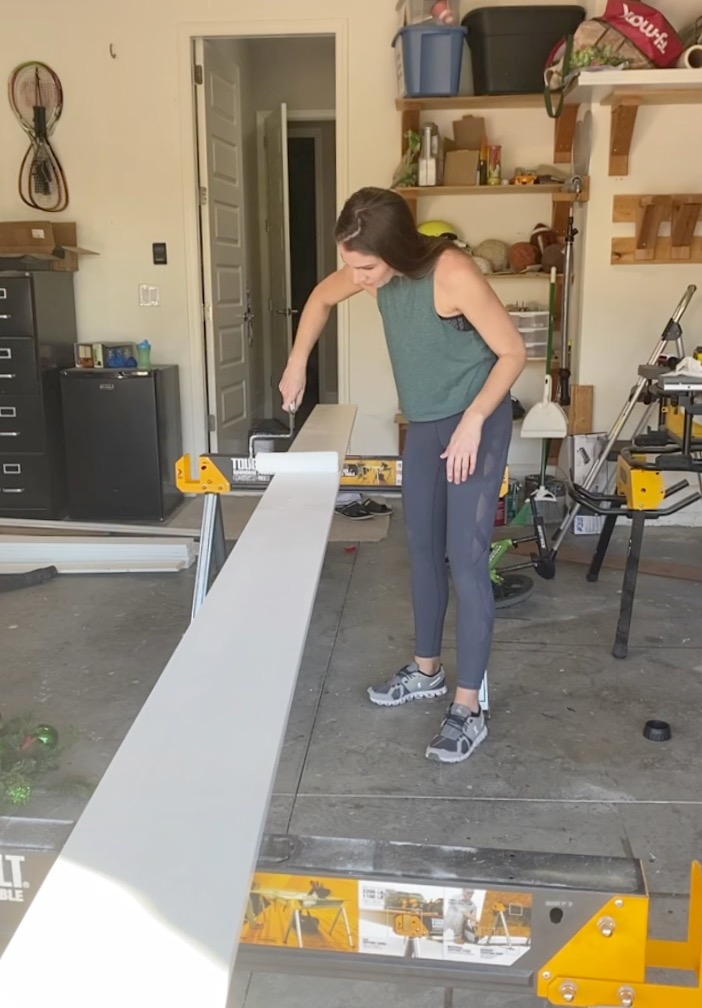
Then, I pre painted all of the 1×6 and 1×8 boards with the color SW pure white. I only painted on the visible sides. Below are my favorite painting supplies!
Step 2: Construct the Beams
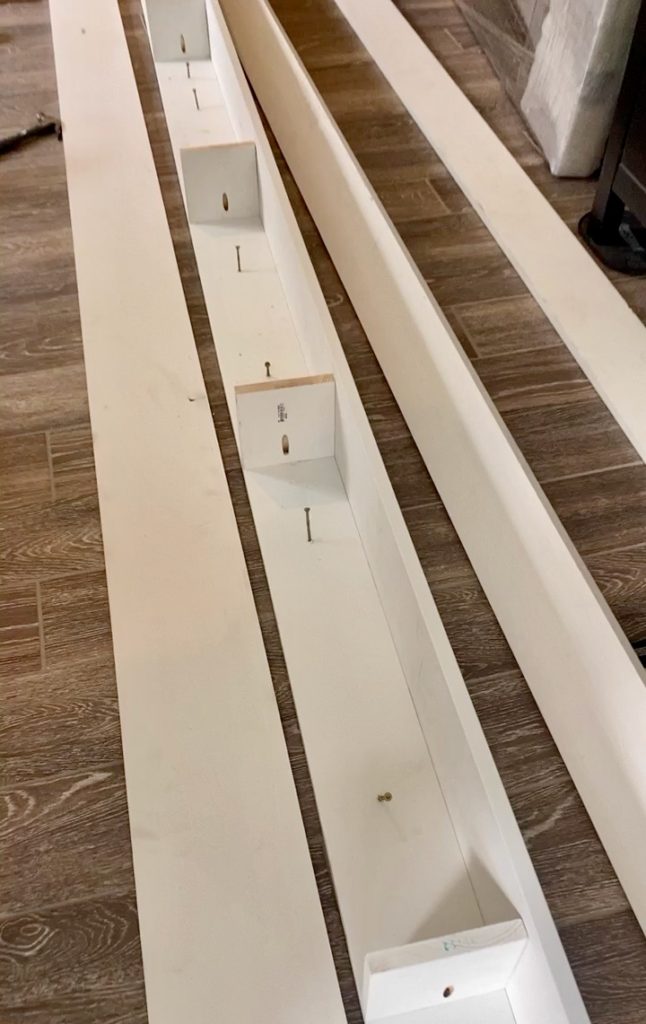
Spacers were placed in the middle and I built the box beam before hanging them with this drill.
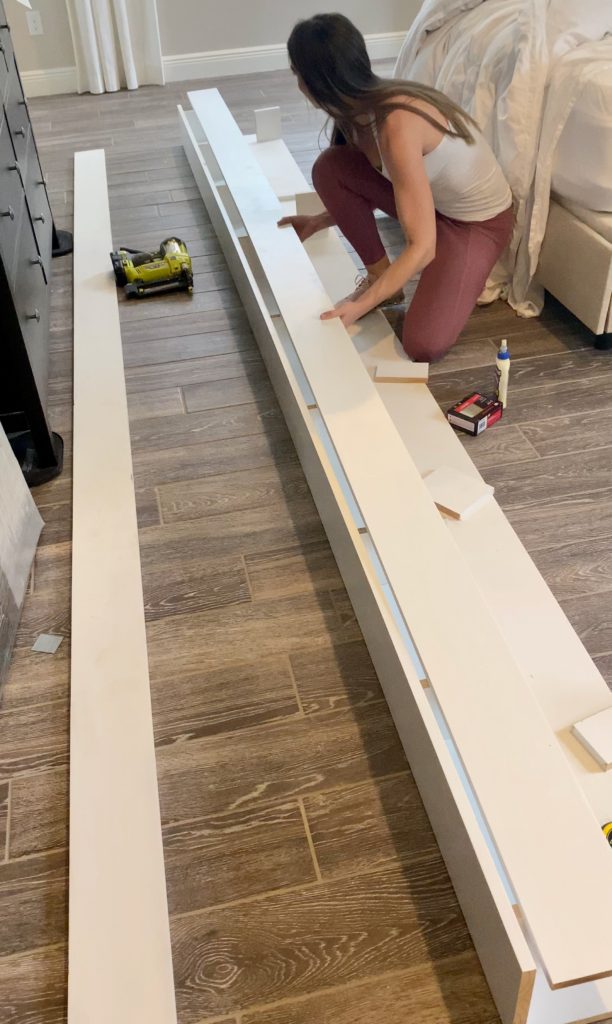
I used liquid nails and side brackets to hang them.
Step 3: Build L Brackets
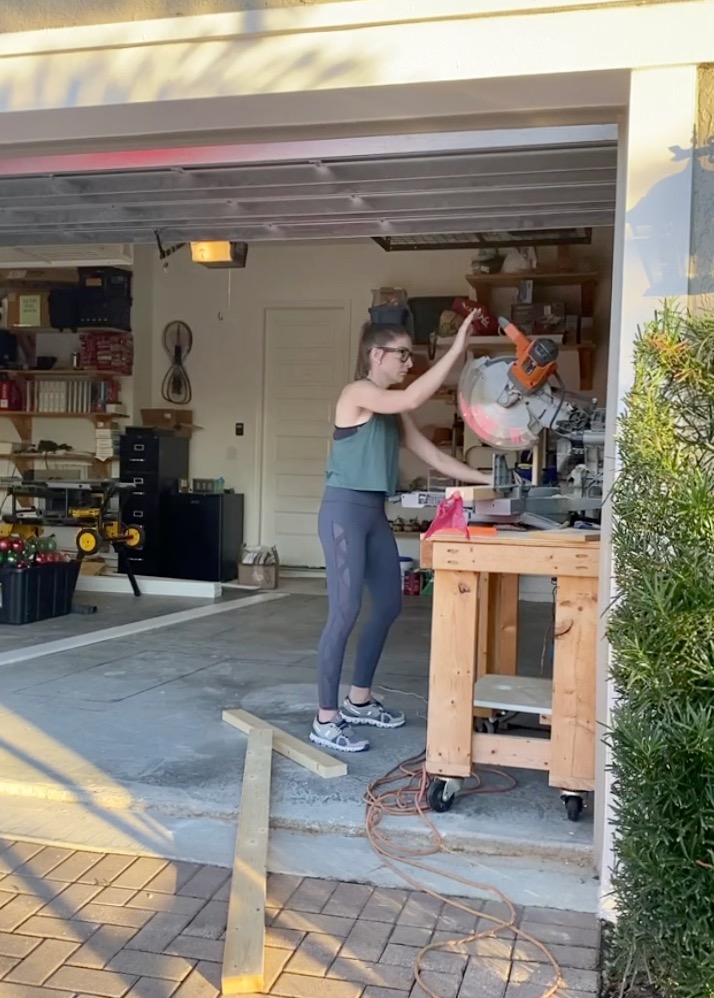
Next, I used scrap pieces of wood and my miter saw to create the L shaped brackets and this is what they look like on the wall. If you’re looking for a miter saw as a beginner, I recommend this one!
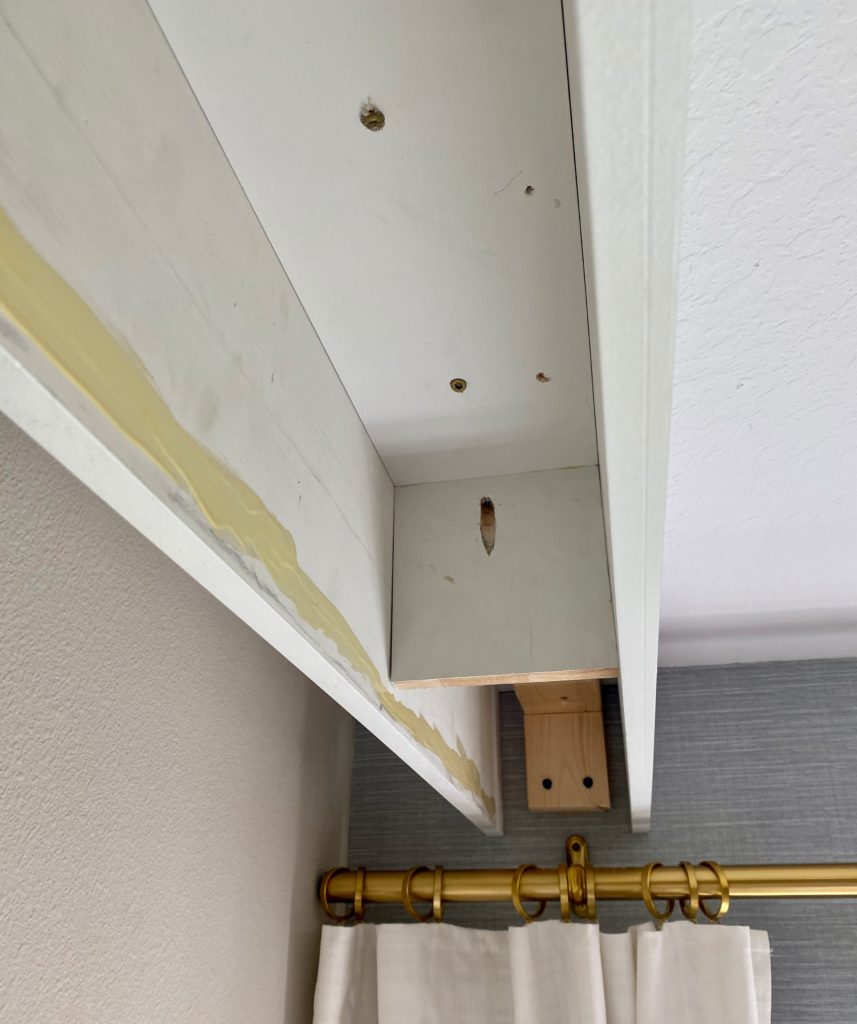
Step 4: Hang the Beams
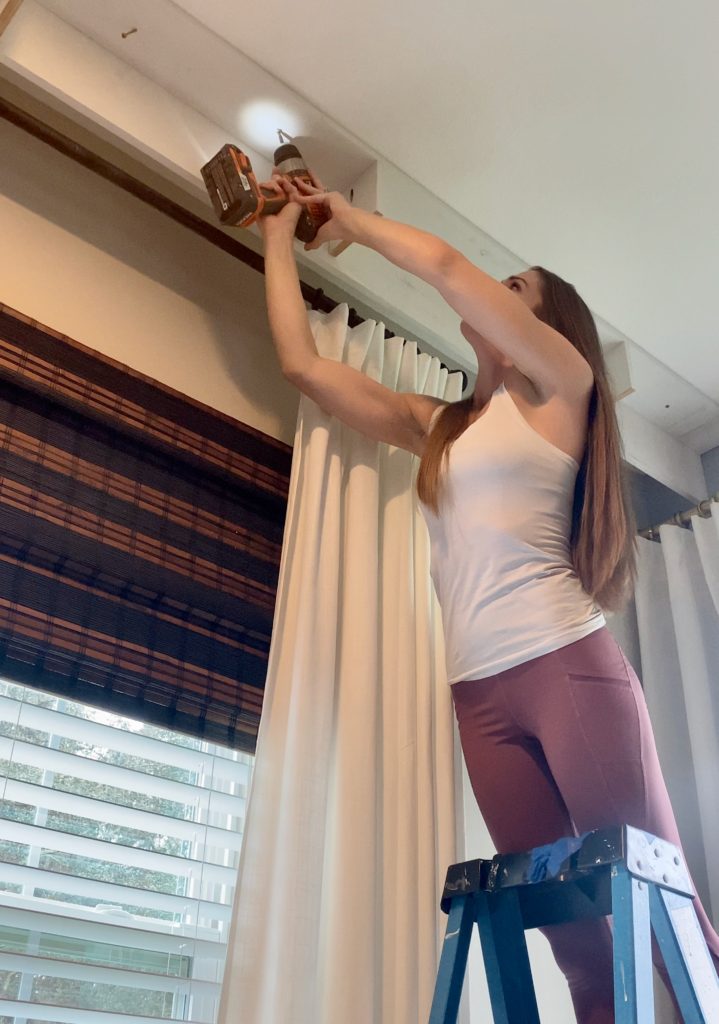
Liquid nails were used on the ceiling and the screws were used in the drywall. The screws were at alternating angles which helps to grab and hold better. The spacers hold the bottom up.
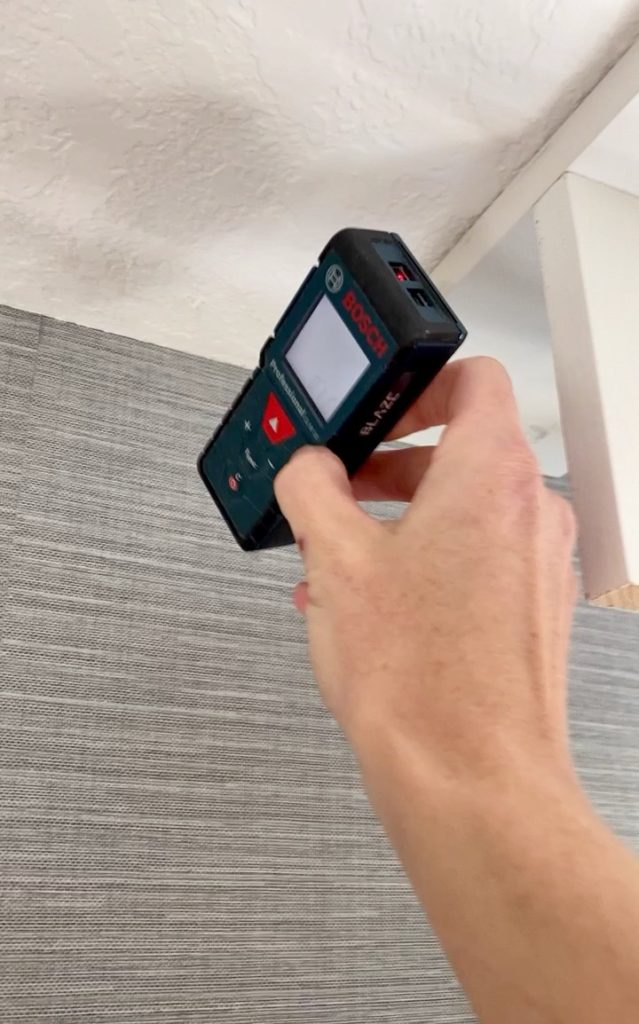
The secret to getting the perfect measurements for the beams is this awesome laser measure.
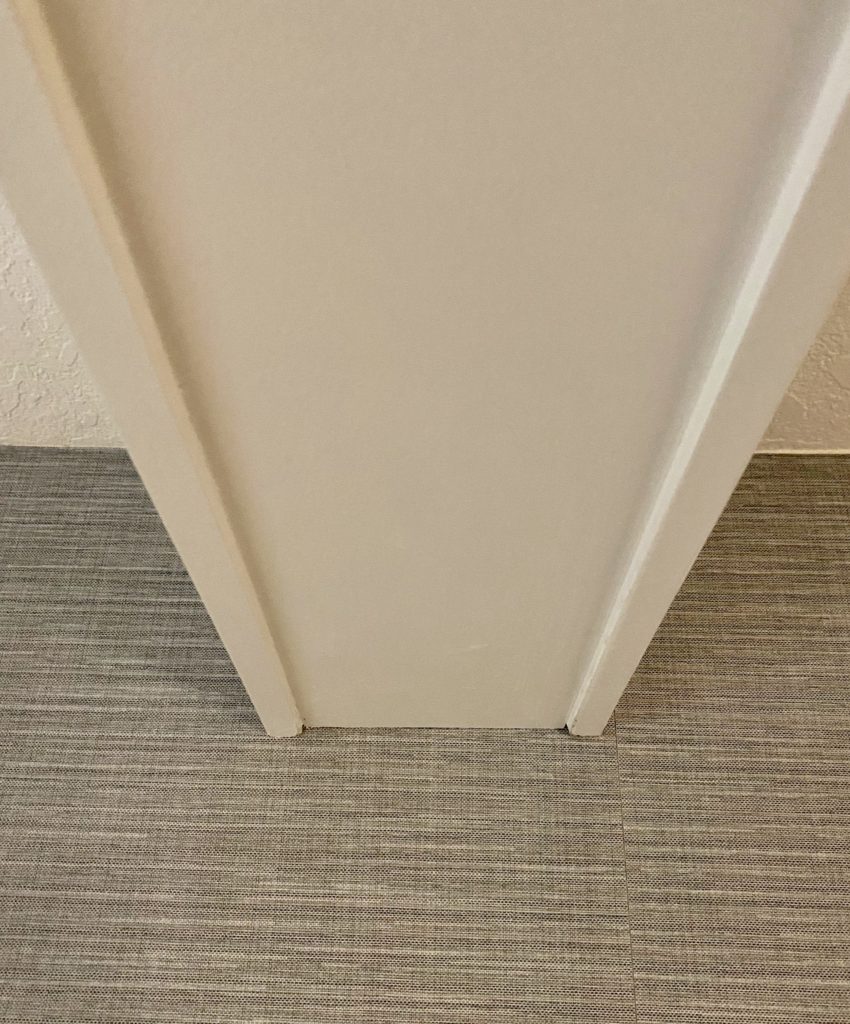
I designed these where the bottom is inset and it has a coffered style. I didn’t want them flush.
Step 5: Caulk
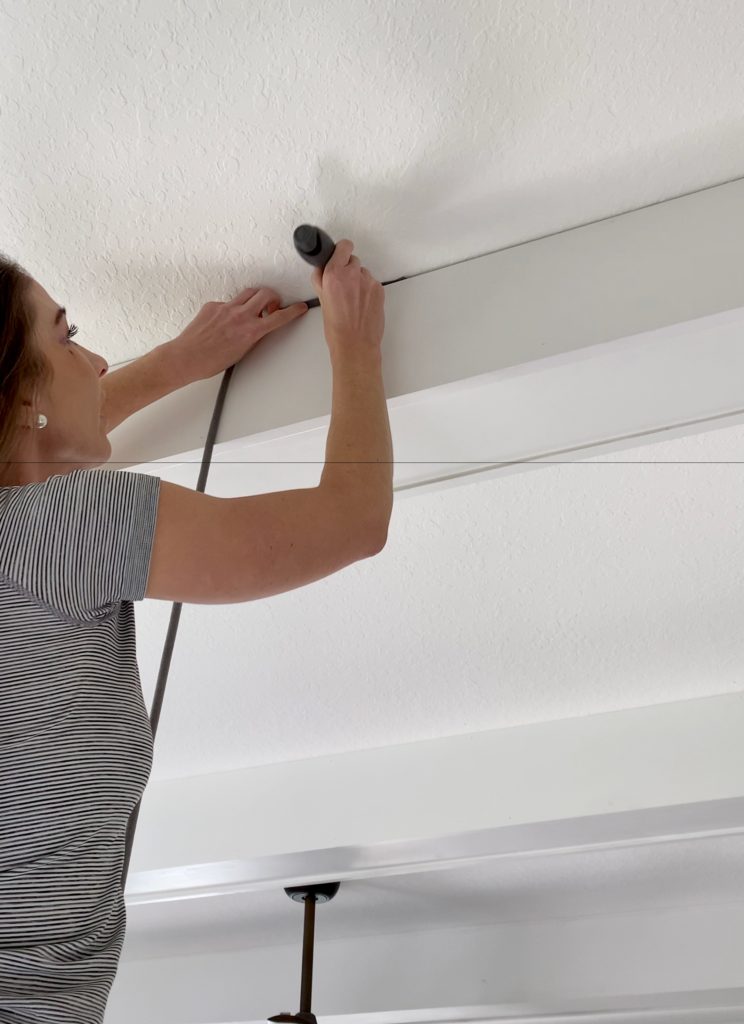
These backer rods are perfect to use and their are three different sizes janky (small 3/8″), hella janky (medium 5/8″), and light your house on fire (3/4″).

You want to apply the caulk, then rub with your finger. You can find my favorite caulk HERE.
The Completed DIY White Coffered Beams
