
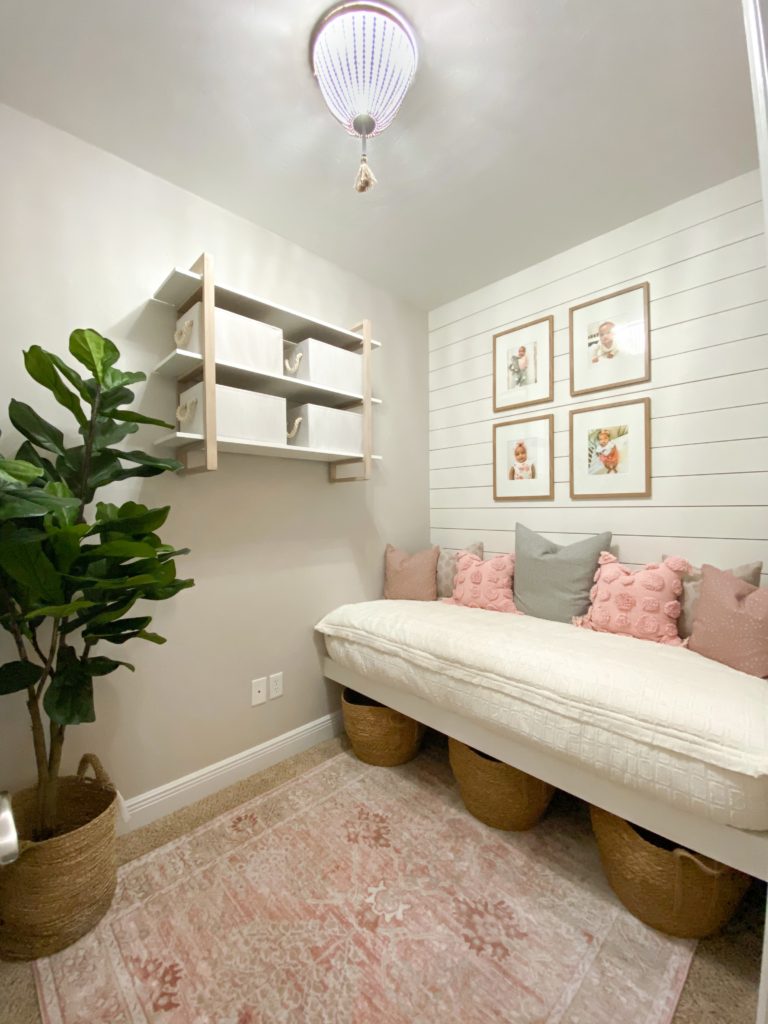
I recently transformed this awkward room in my best friend’s home into a beautiful playroom with a DIY floating bed! It was such a fun project. Keep scrolling to see how I created this space into a fun and functional room with a floating bed.
To watch the full step-by-step tutorial in an Instagram highlight, click HERE.
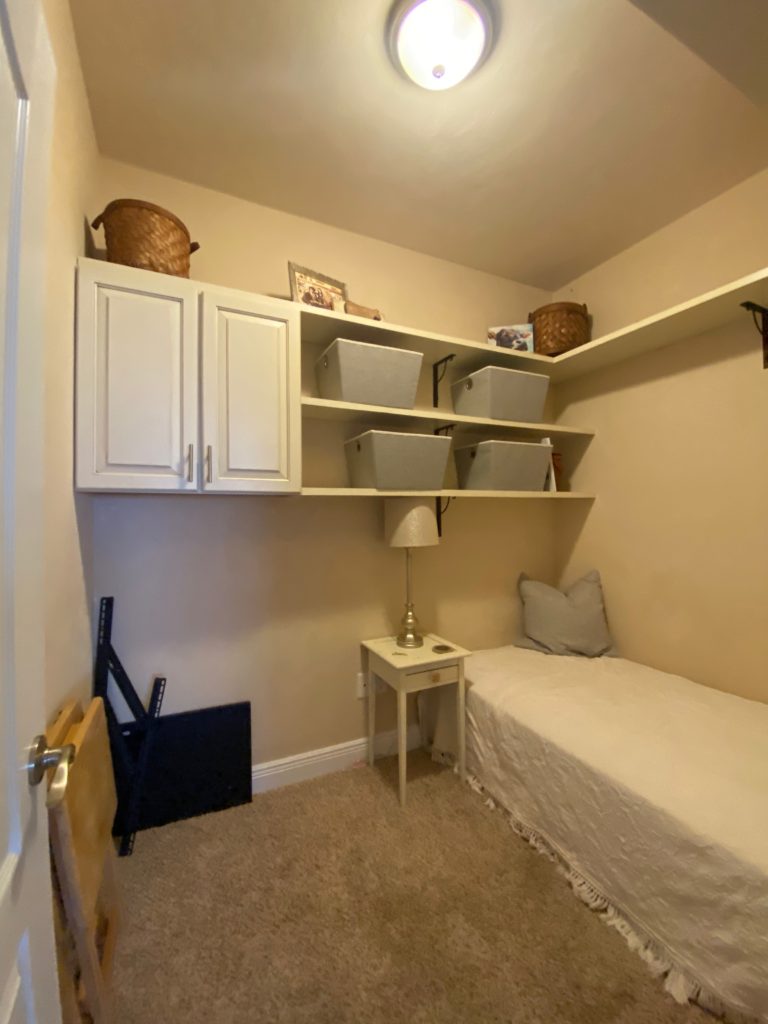
Below is a photo of what the room looked like before the makeover:
Step 1: Delete Everything
Before I even got started on the renovations, I took everything down and out of the room (shelves, lighting, cabinets, etc.) so I could start from scratch.
Step 2: Build a Floating Platform + Arm Supports
I used 2×4 boards to frame the bed out and attached it with studs all the way around.
Then, I added arm supports and attached them with glue and screws. The back, two sides, and even the front piece landed on studs that I angle screwed into making it super secure.
Then, glue and plywood the top with a piece of trim on the front, and the platform of the bed is done.
Step 3: Shiplap Back Wall
I used 1×6 primed pine boards with 2 nickels as spacers. Once all the boards are securely on the wall, add wood filler and caulk.
Step 4: Paint The Wall
I used Sherwin Williams color Pure White in satin for the shiplap wall.
Pro tip: Use a brush to paint all the edges first, then go over it all with a paint roller to get rid of the brush strokes!
We decided to paint the surrounding walls a light contrast.
To patch any holes in the drywall, I used this $9 kit instead of hiring a drywall guy without even knowing how it would turn out! I totally recommend it.
Here is everything I used in this room. You can click any photo to shop:
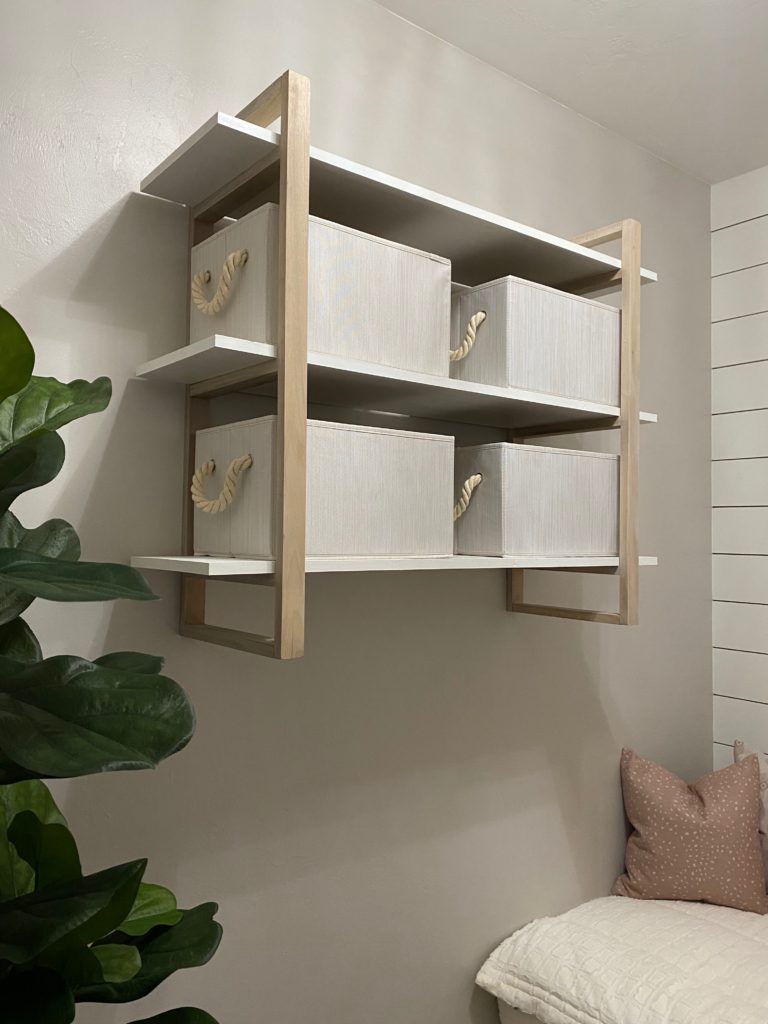
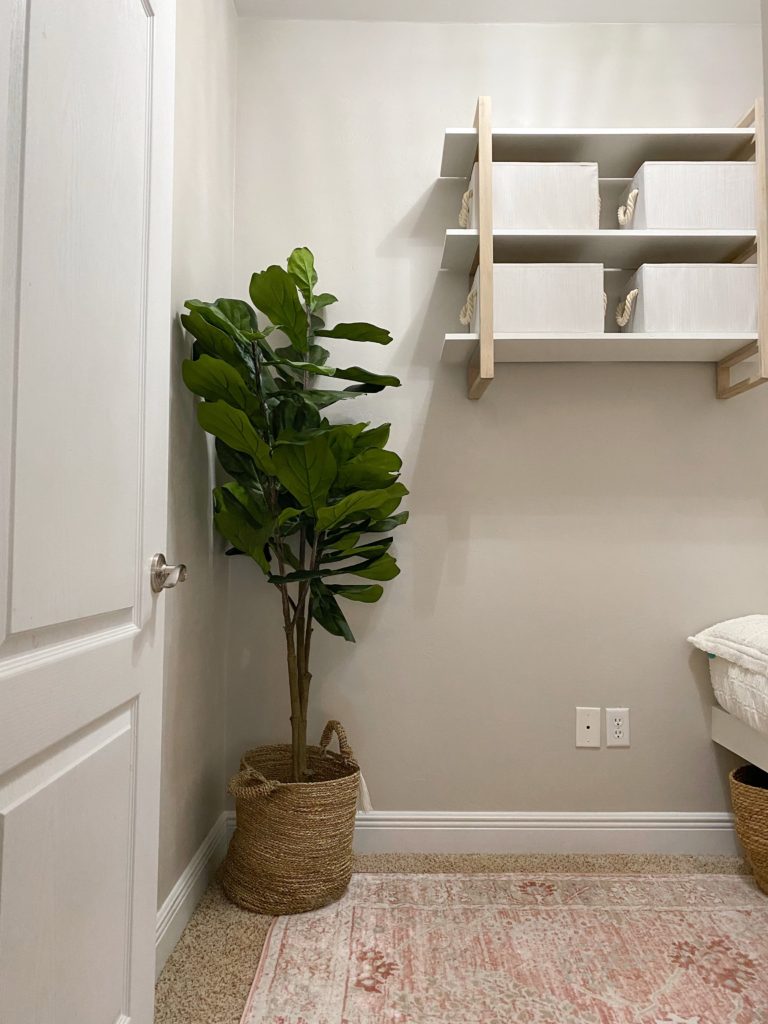
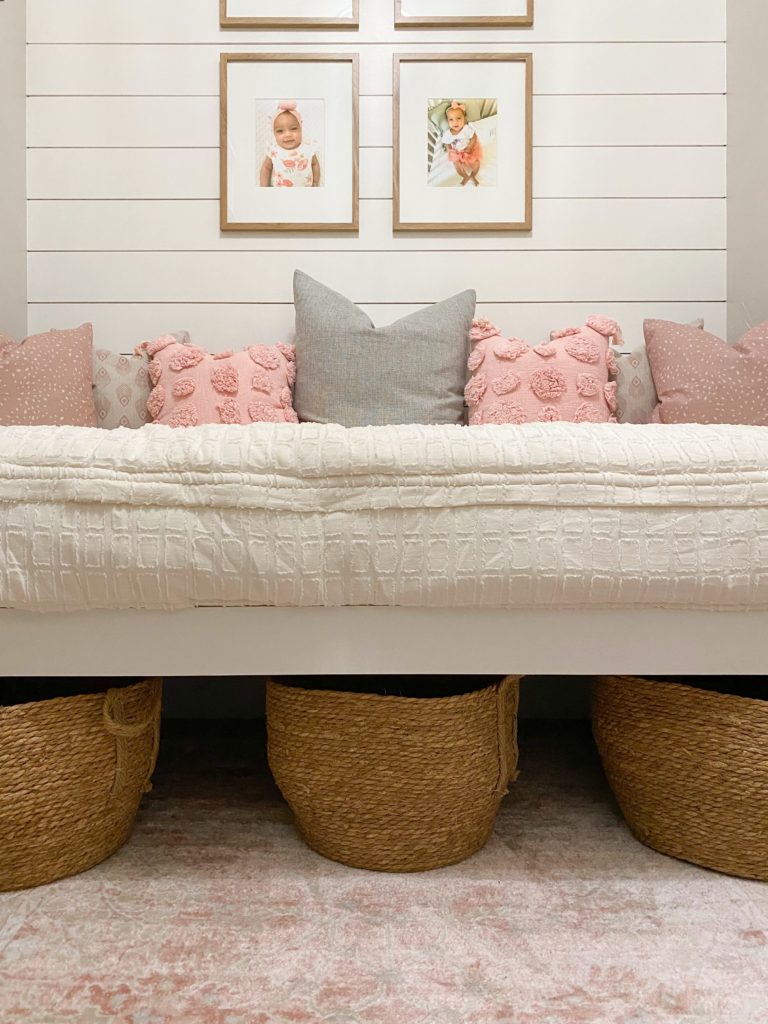
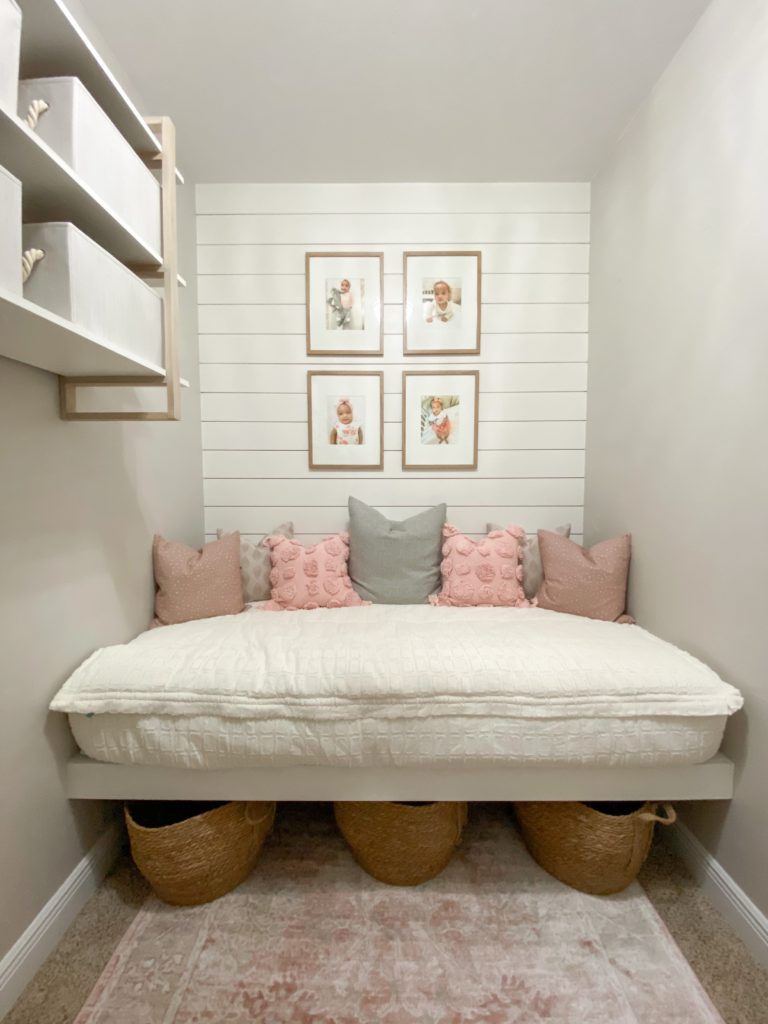
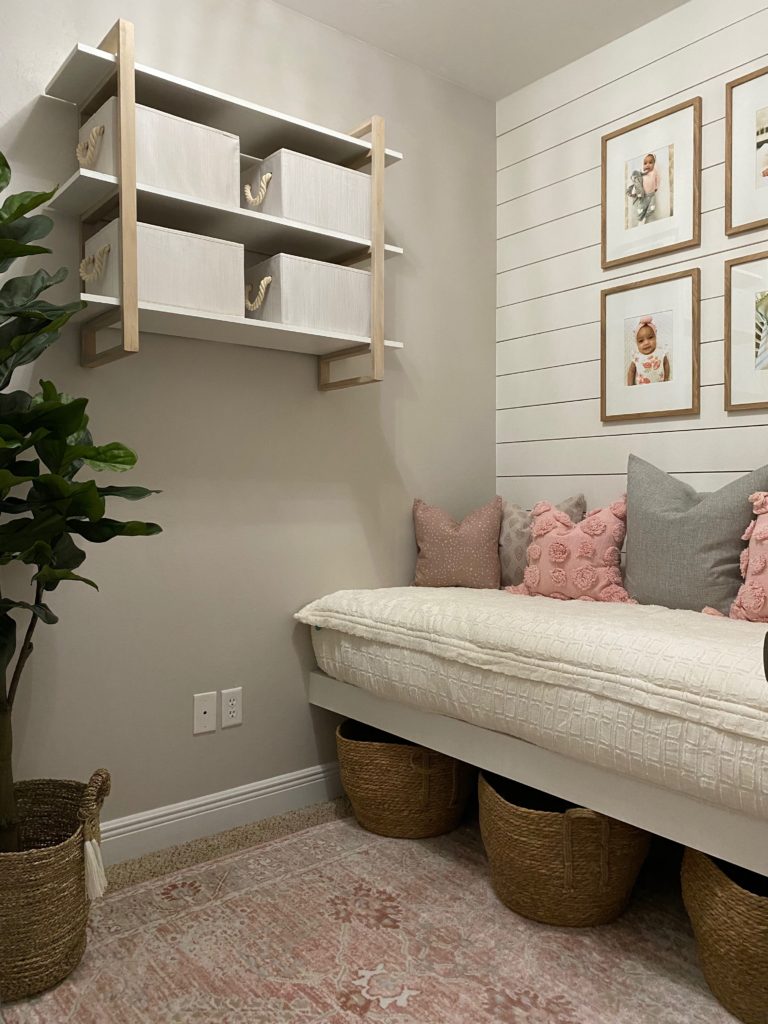
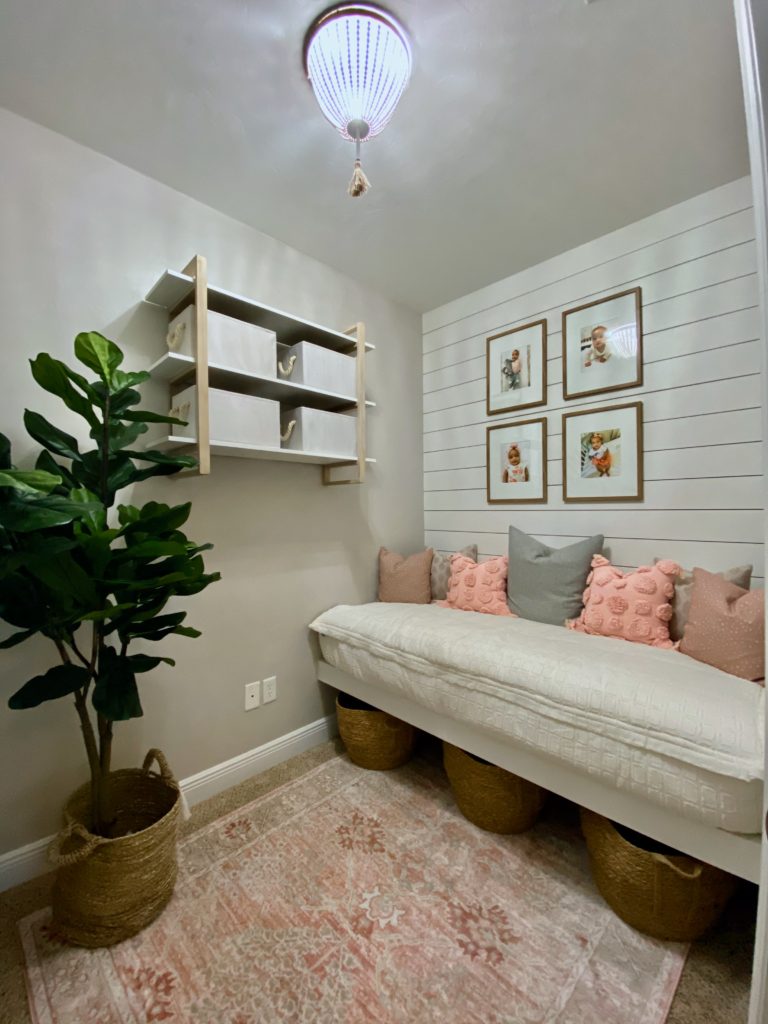
FINAL PLAYROOM WITH FLOATING BED:

PIN THIS FOR LATER:

