I might be the only weirdo on earth who loves having so many empty kitchen cabinets, but my minimalist heart craves it. We have so many empty ones now since I added my DIY stacked cabinets that I shared recently. I decided to make one of my cabinets useful and turn it into a home filing system since our current system isn’t a system at all. More like piles all over the floor and miscellaneous stashes in drawers. Hopefully I’m not the only one. So here’s my DIY Hanging File Drawer in Kitchen Cabinet.

Now I have a designated (read: HIDDEN) space for all our paperwork and I’ll show you how I easily made it during my toddlers nap time. If you’re anything like us, this was our previous method for household paperwork.

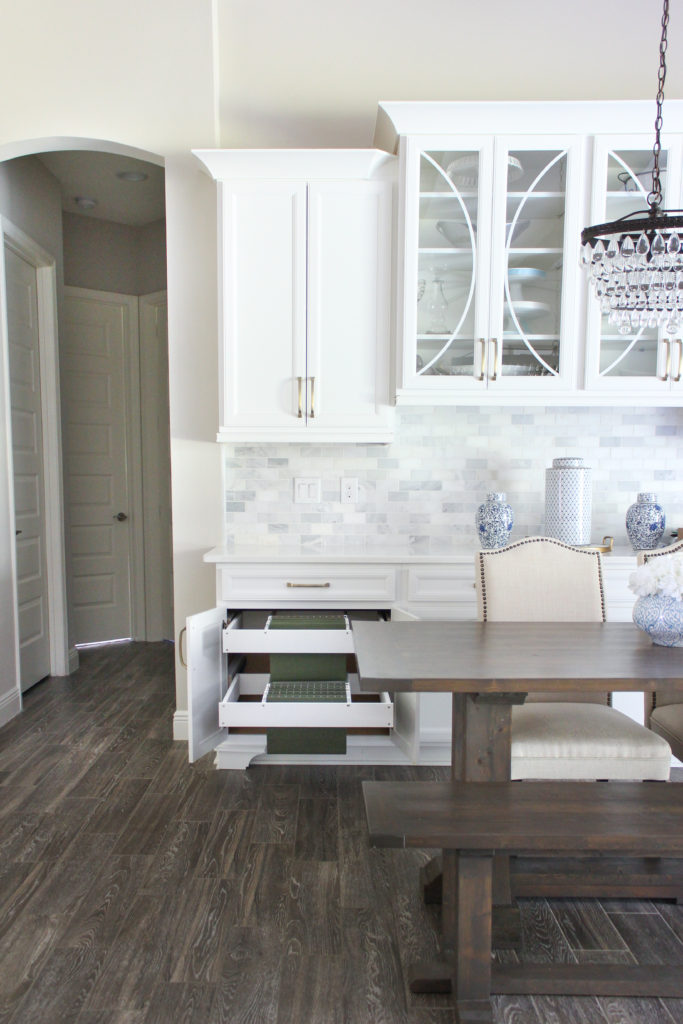
And here is the perfect spot for my DIY hanging file drawer in kitchen cabinet.
The BEFORE

Materials for DIY hanging file drawer in kitchen cabinet
- These 22″ drawer slides
- 1×4 boards (I used scraps)
- 5/8″ wooden dowel
- File Sliders or this alternative PVC Trim I used
- wood screws in various sizes

Depending upon the depth of your cabinet you may need to adjust the size of your slides. There are several length options in the link I gave above but for standard 24″ depth cabinets, the 22″ slides work nicely.
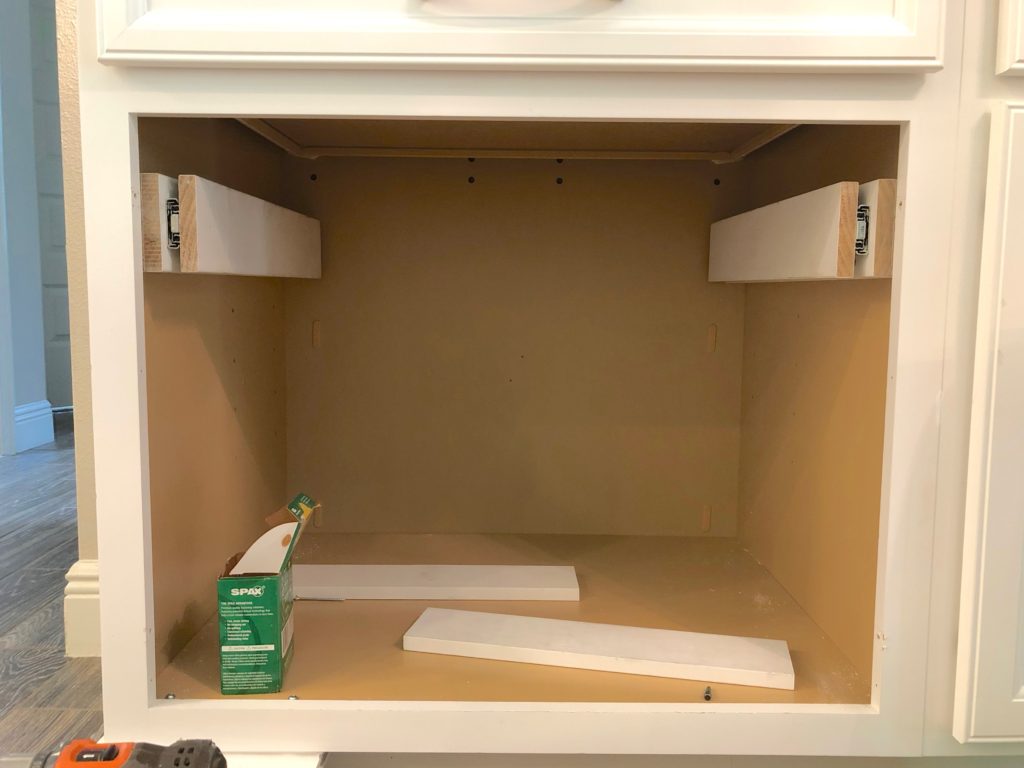
STEP 1: Mount Blocks to Cabinet
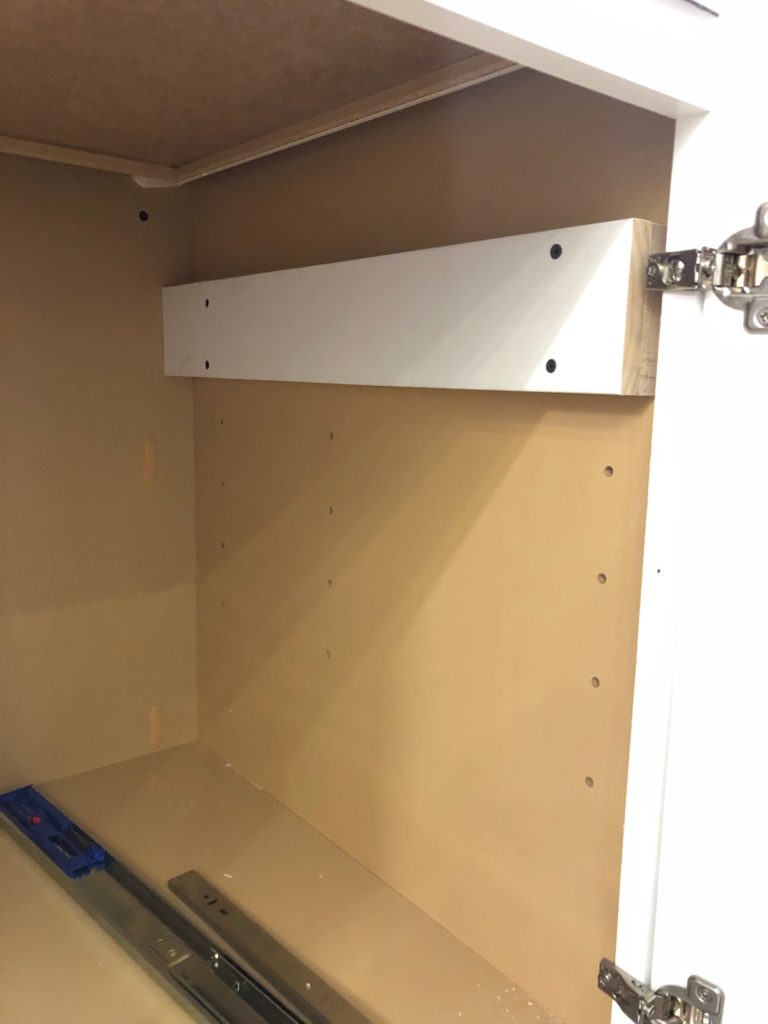
I secured two 1×4’s to the side of the cabinet with 2″ screws at the height that I wanted the top of the files to hang at. I cut them with my miter saw almost the same length as the cabinet. I used two boards stacked on top of each other because ultimately I need the entire pull out drawer to clear the front face frame of the cabinet. One was not thick enough.
STEP 2: Add Drawer Slides to Blocks
Next I screwed the drawer slides into the center of the 1×4’s on each side.
STEP 3: Attach Sides of pull out drawer
Next I pulled the slides out and attached 1x4s the length of the drawer slides using small 3/4″ screws.
STEP 4: Add the front of the drawer

I slid the 2 sides out and attached a 1×4 to the front with 1.25″ screws as seen in the photo above. The front edges do not have to extend past the sides, it’s just the way I did it. Making the box in stages like this WHILE the drawer slides are in place is just the way I chose to do it. Sometimes you will see the entire drawer box is made first and then slid inside. I think both ways are fine, just personal preference.
STEP 5: Back of the drawer

I attached a 1×4 to the back just like I did on the front. It did not extend past the side edges. I used 4 screws in both the front and the back as you can see above. Now the box is complete.
STEP 6: Add hanging bars
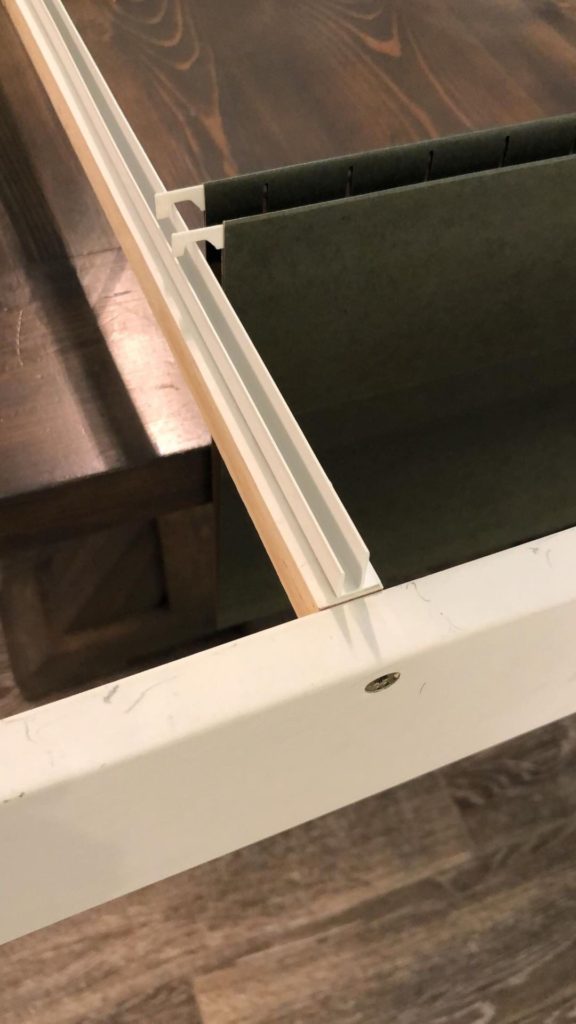
Next I added 5/8″ wooden dowels from front to back of my drawer box and secure with the same 1.25″ screws. You can choose to have these run either direction and have your files hanging side to side or front to back. I chose front to back for easier access, but it’s completely personal preference. It left voids on each side which you can see how I filled below.

Last I added this PVC trim to allow the files to slide easily and not fall off. It’s not made for this exact application, however it was really inexpensive (under $4) and totally serves the purpose. But I linked an item in the materials list above that is actually made for this, just a few dollars more. I secured it to the wooden dowel with gorilla glue. It’s very sturdy.
Finished DIY Hanging File Drawer in Kitchen Cabinet


Above you can see how I filled the empty sides with these mini storage baskets from Target. They are a perfect fit on each side to hold scissors, pens, envelopes and all kinds of office supplies!