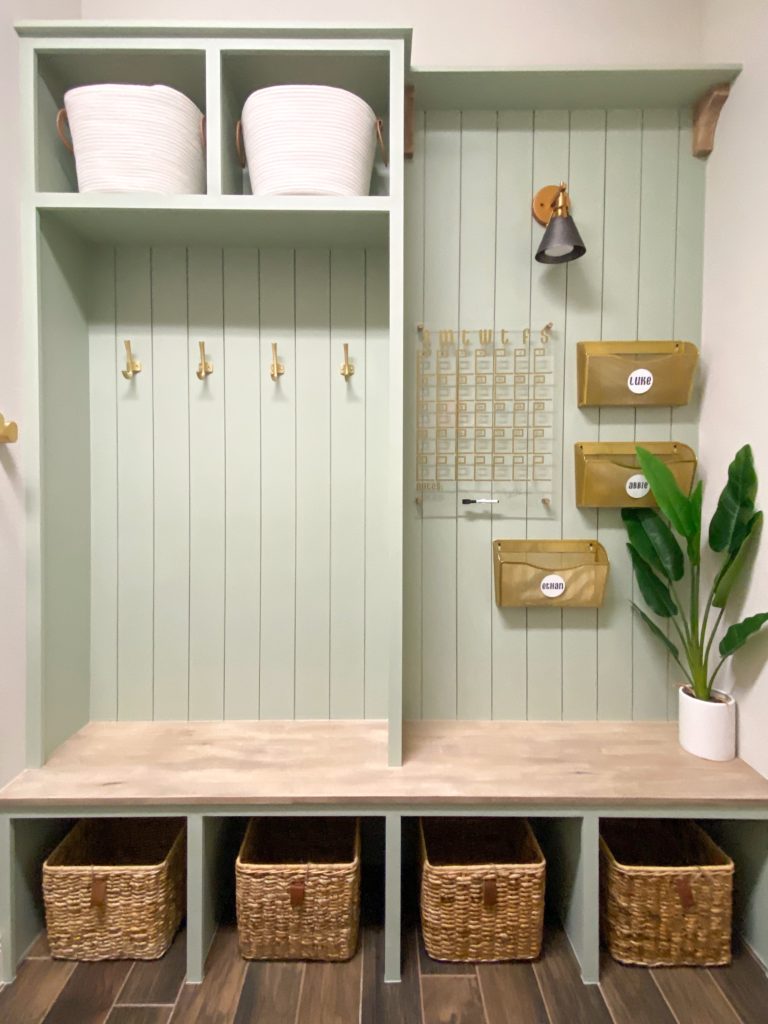
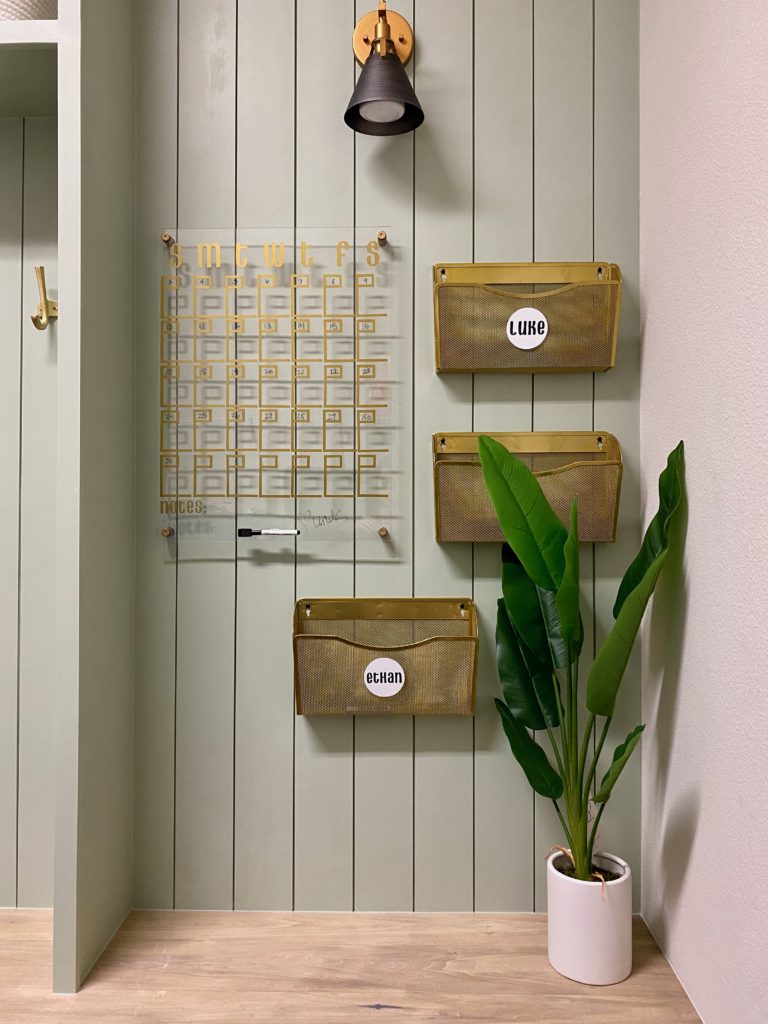
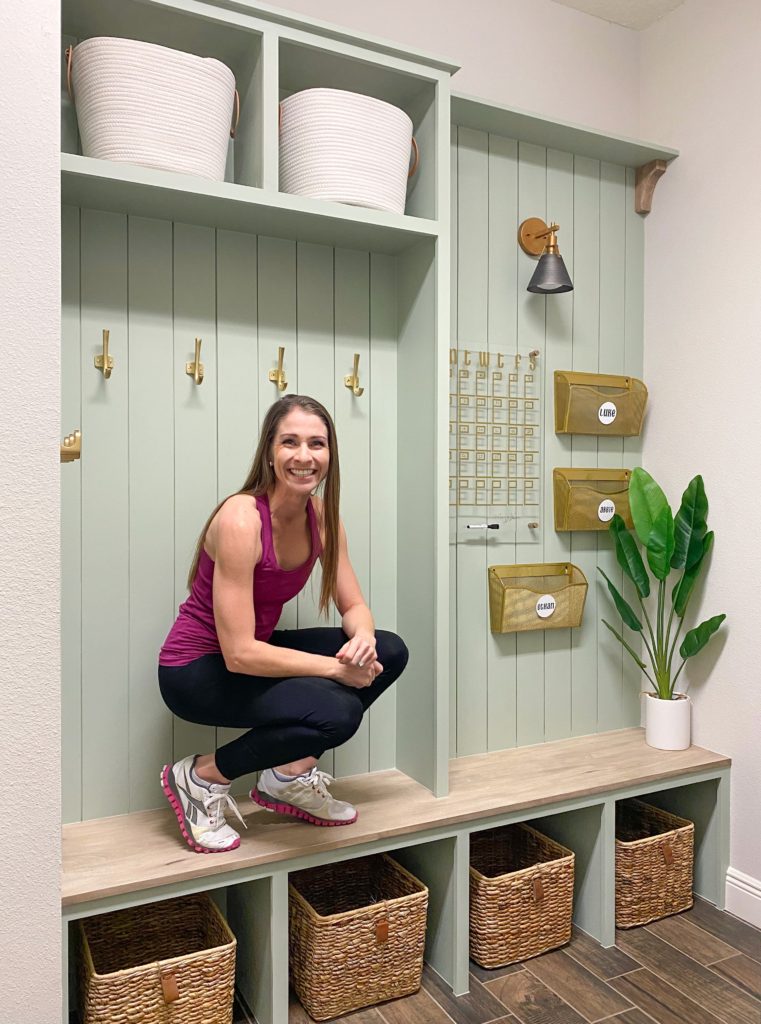
This DIY built-In mudroom is one of my favorite spaces I’ve created thus far. I’ve always wanted a mudroom but have never had one, so the next best thing was to spruce up my neighbor’s mudroom! Since this room is a combination of a laundry room and a mudroom, my goal was to make it functional AND beautiful. They are a family of 5 and use this space every single day. I absolutely love the end result. Below you’ll find a before picture of the space with a step-by-step on how to create a built-in mudroom.
If you want to see each step in detail, you can follow along in this Instagram highlight.
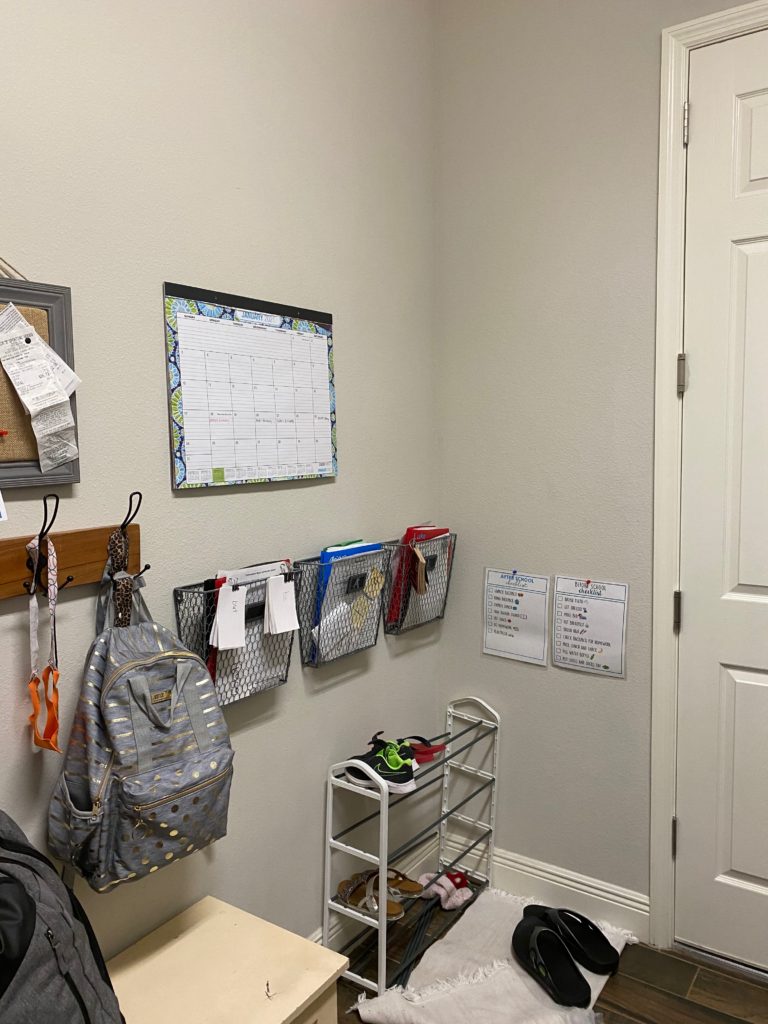
Step 1: Cut Baseboards
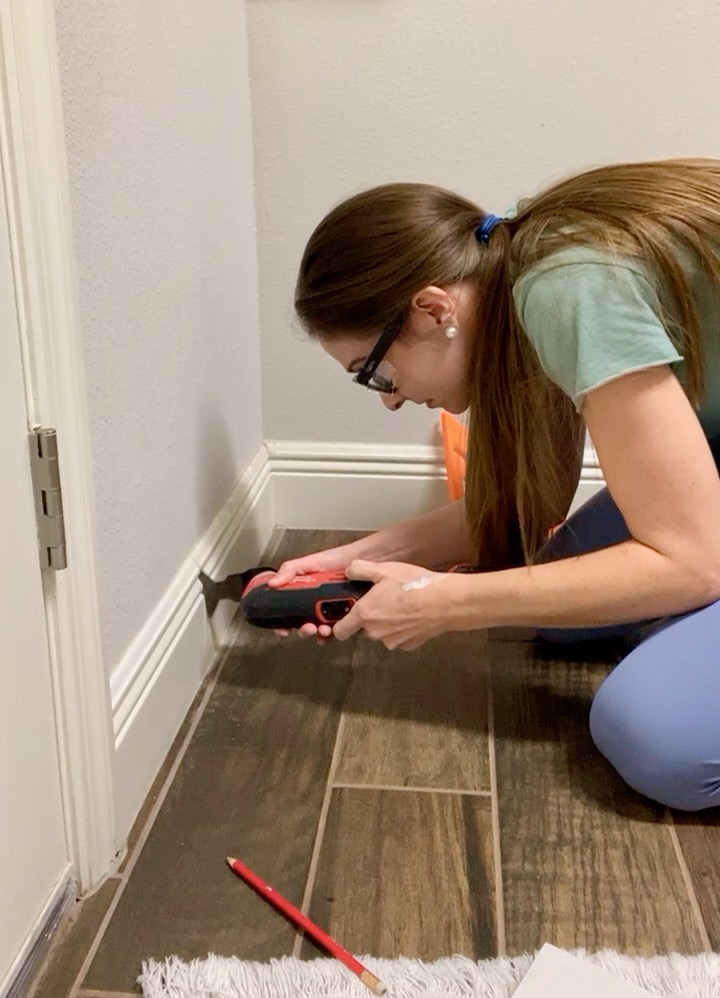
First, I used my multi tool to cut the baseboards where I chose to fit the cubbies.
Step 2: Create Cubbies & Bench Top
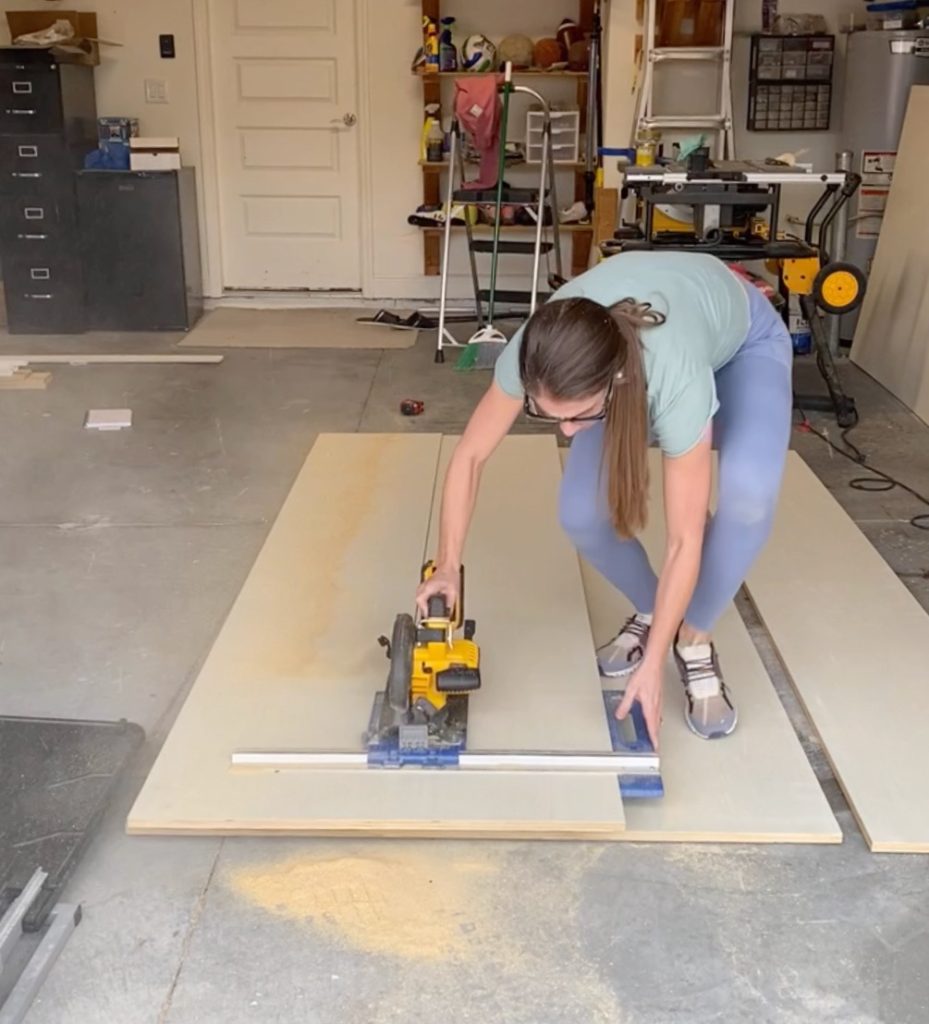
Then, I cut the site of the cubbies with my miter saw and cut the poplar board (plywood) with a circular saw and guide.
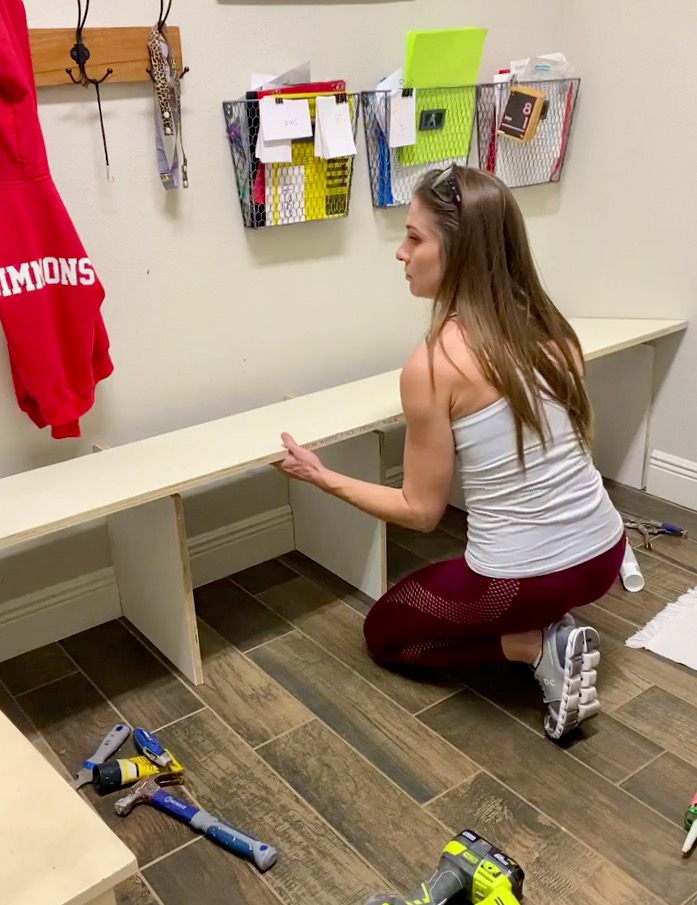
This is how it should look visually, but the top needs some staining and priming. Also, the exposed parts need trim.
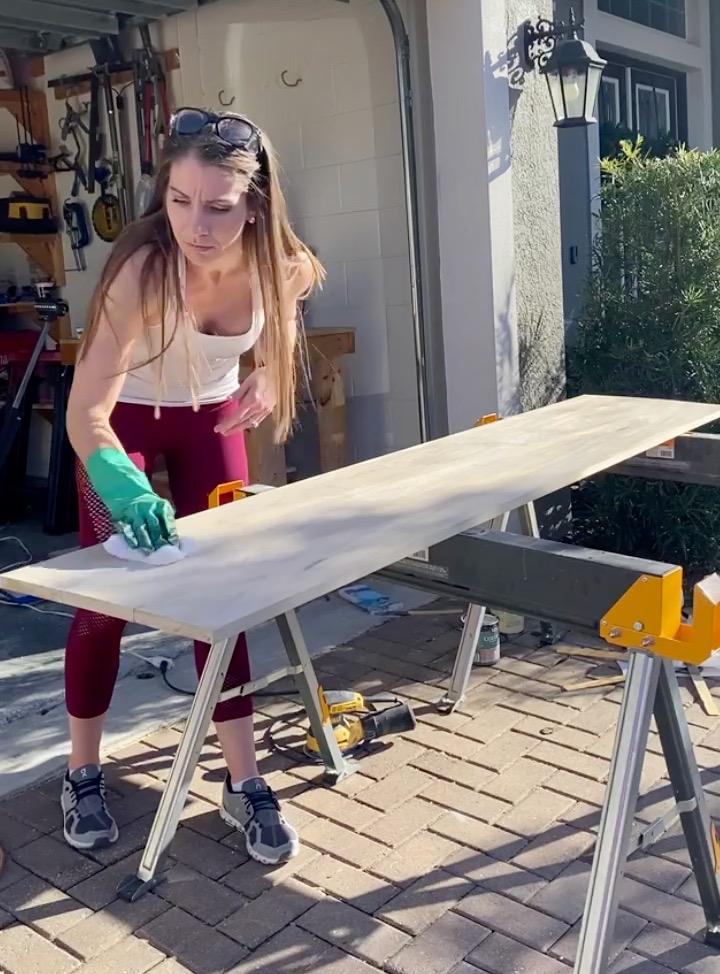
The stain combination that I used was wood conditioner, Minwax white wash, Minwax early American, and varathane briarsmoke.
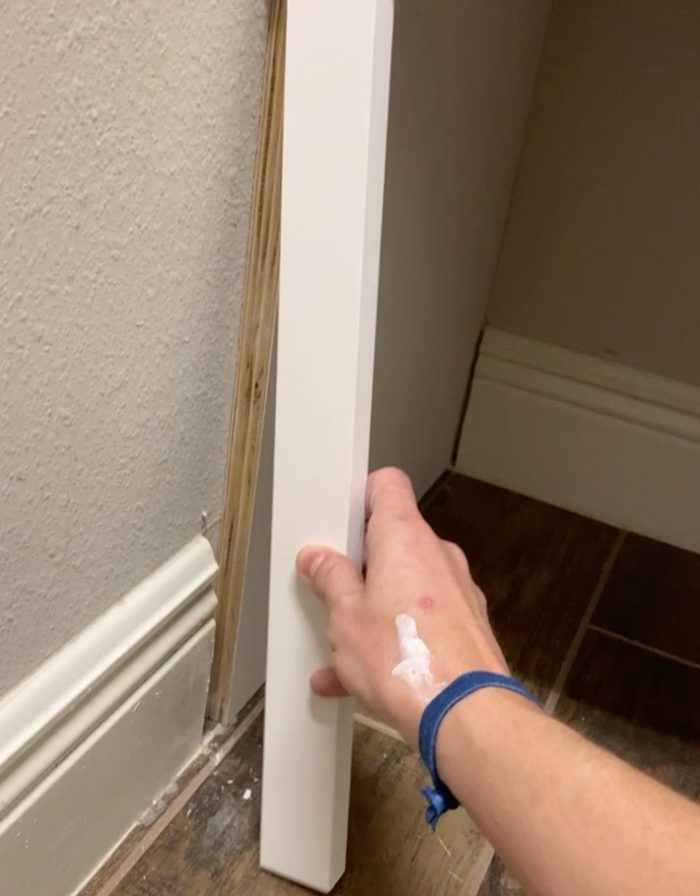
Adding simple 1x2s that I cut using my miter saw to the front of the plywood makes it look built-in.
Step 3: Build Top Half
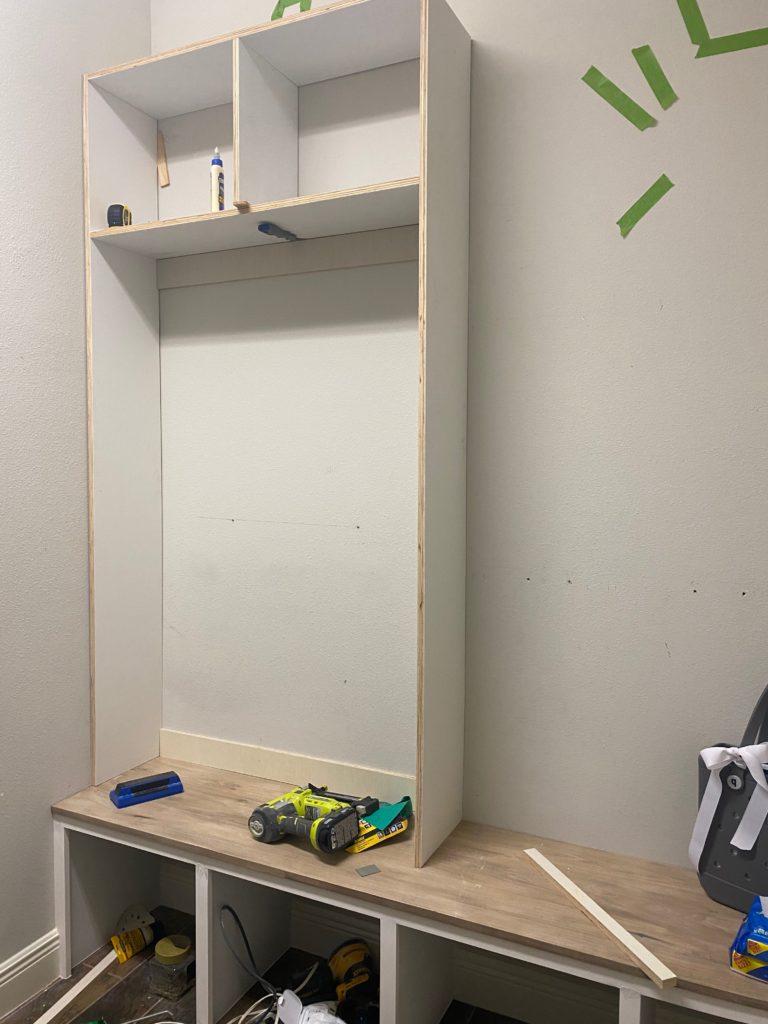
I split the space into two sections and assembled the pre-prime plywood frame first.
Step 4: Shiplap, Trim, & Caulk
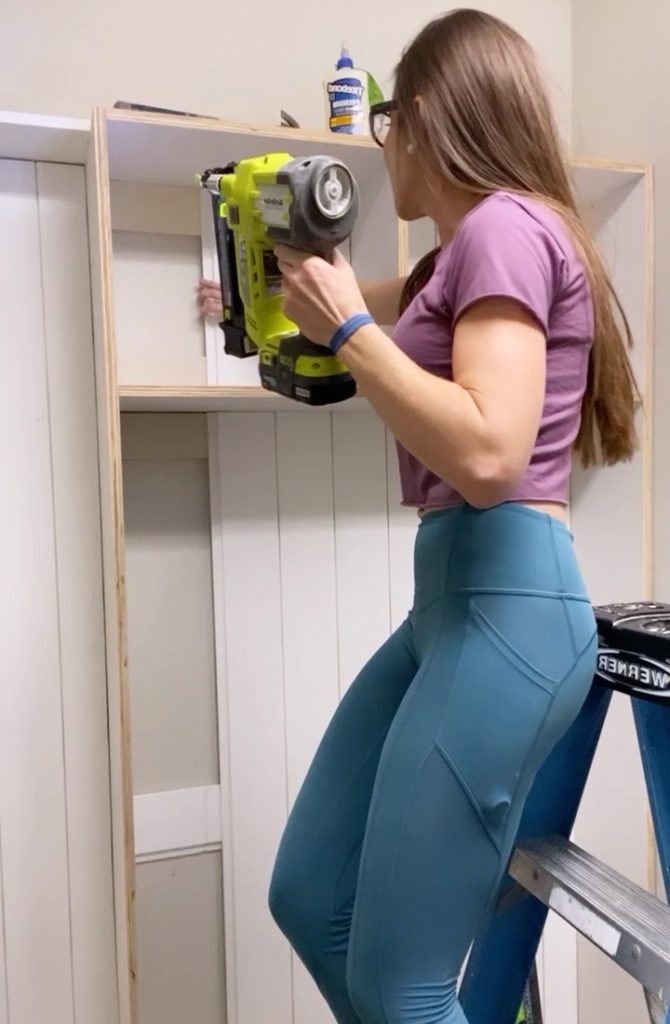
Next, I added vertical shiplap from the left to the right. I attached the horizontal boards to studs which give me something to nail the shiplap into. I made room through the top of the cubbies with my table saw which helped make the shiplap look continuous.
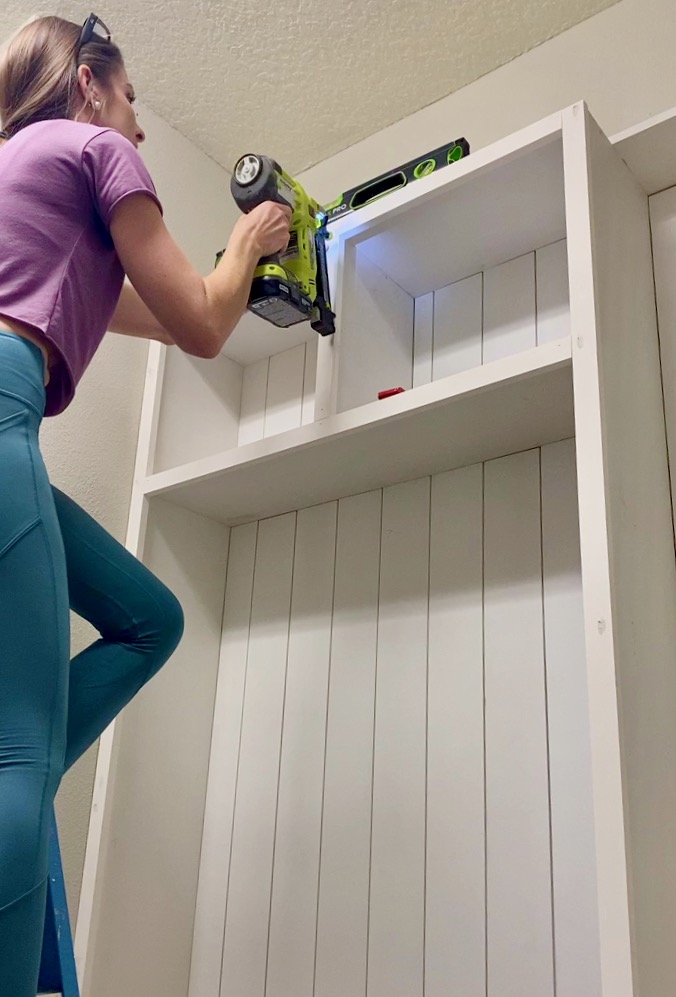
Then, I continued making it took custom by adding trim.
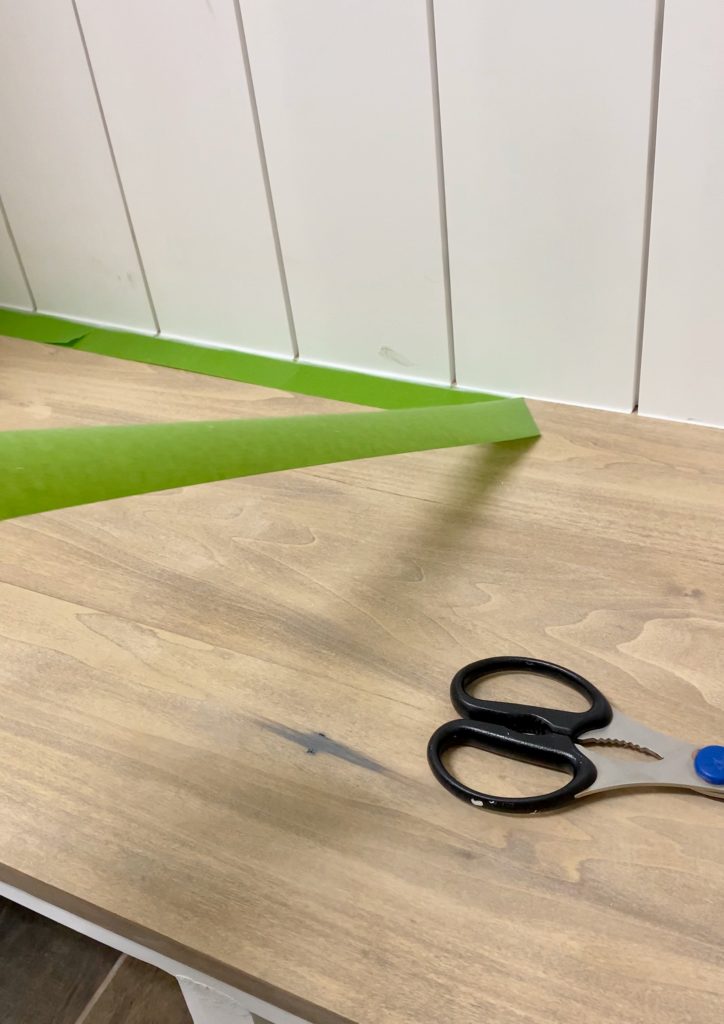
Caulking is extremely important. I always use frog tape and peel it off immediately.
Step 5: Paint
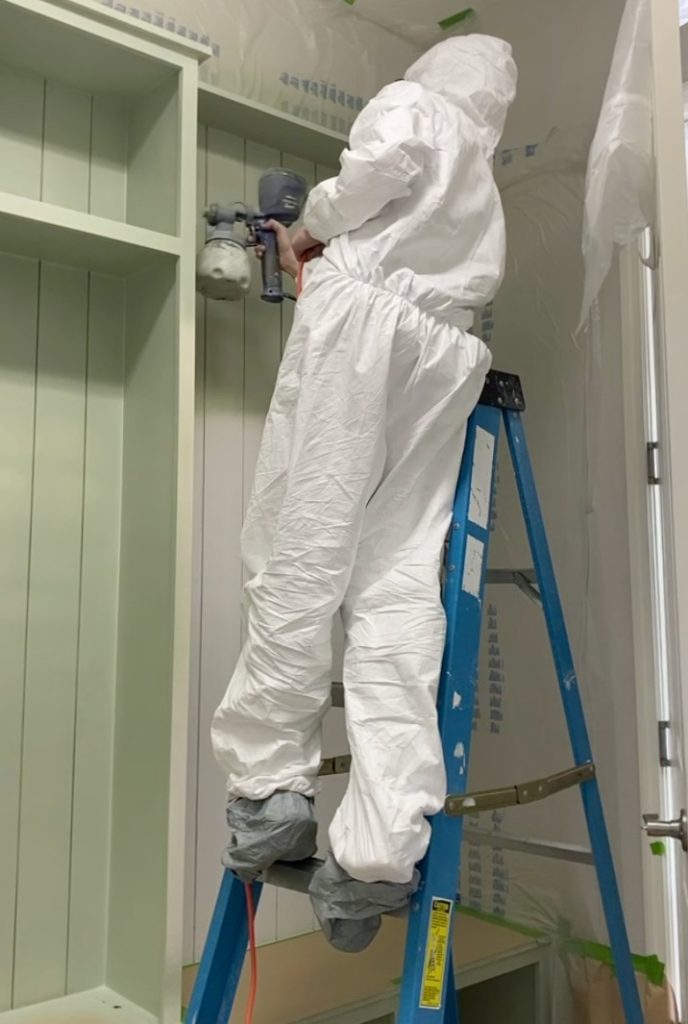
When using a paint sprayer, ALWAYS cover everything including yourself. The color I used is BM Aganthus Green in a glass finish. I did two coats back to back and used a foam roller over the finish to hide brush strokes after.
Step 6: Finishing Touches
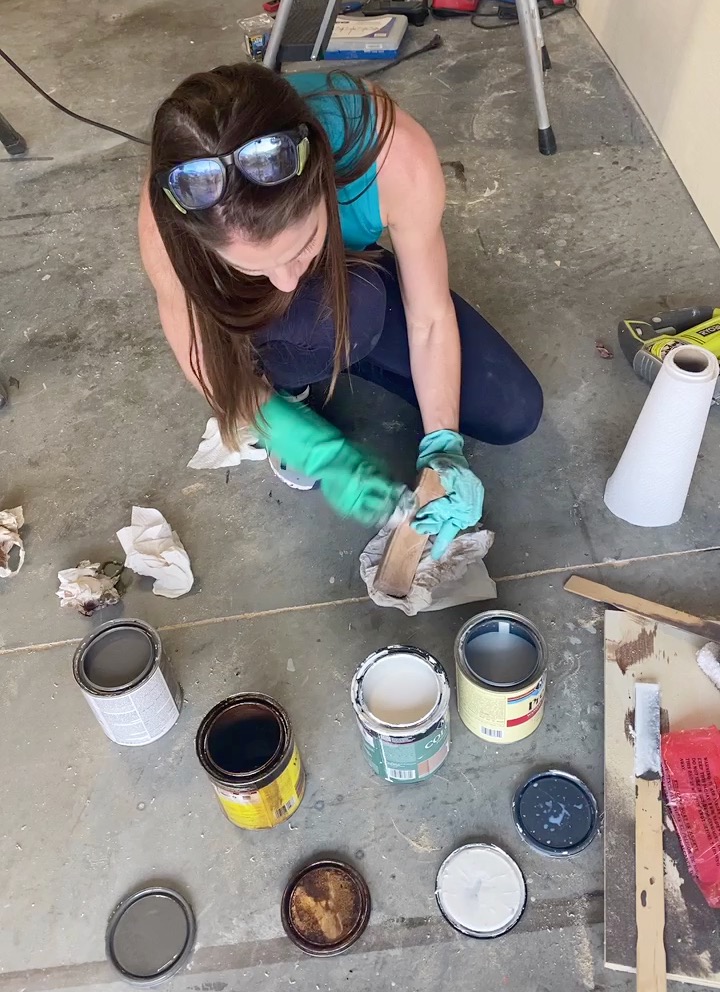
The first finishing touch was staining the corbels and nailing them to the top.
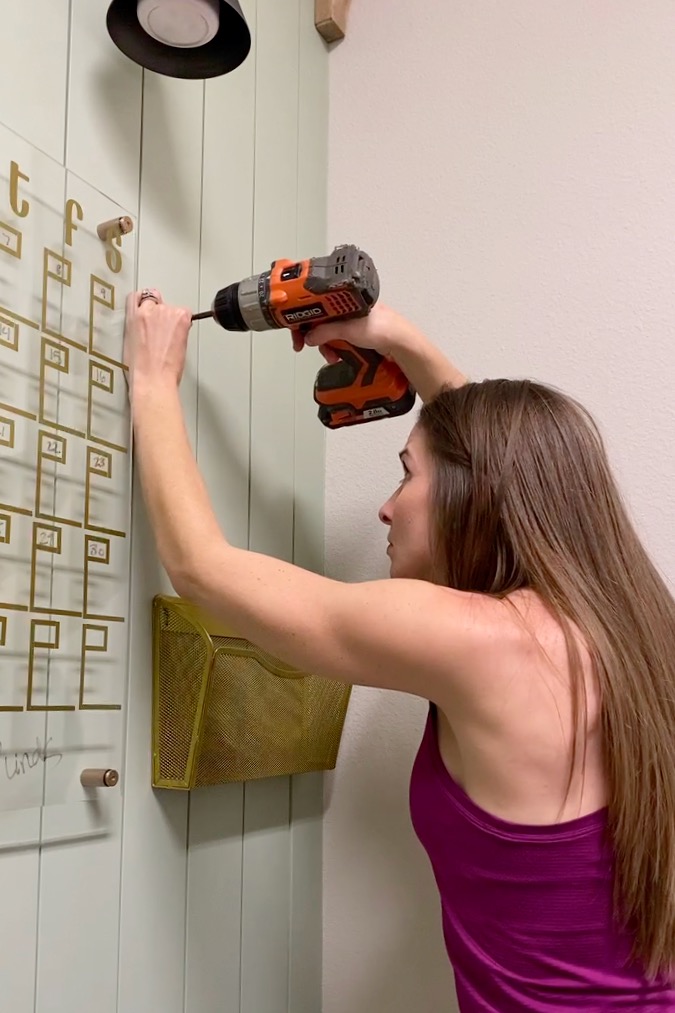
Then, I added a DIY calendar, bins, and a sconce. The PVC attachment and remote puck lights are great if you’re building a mudroom!
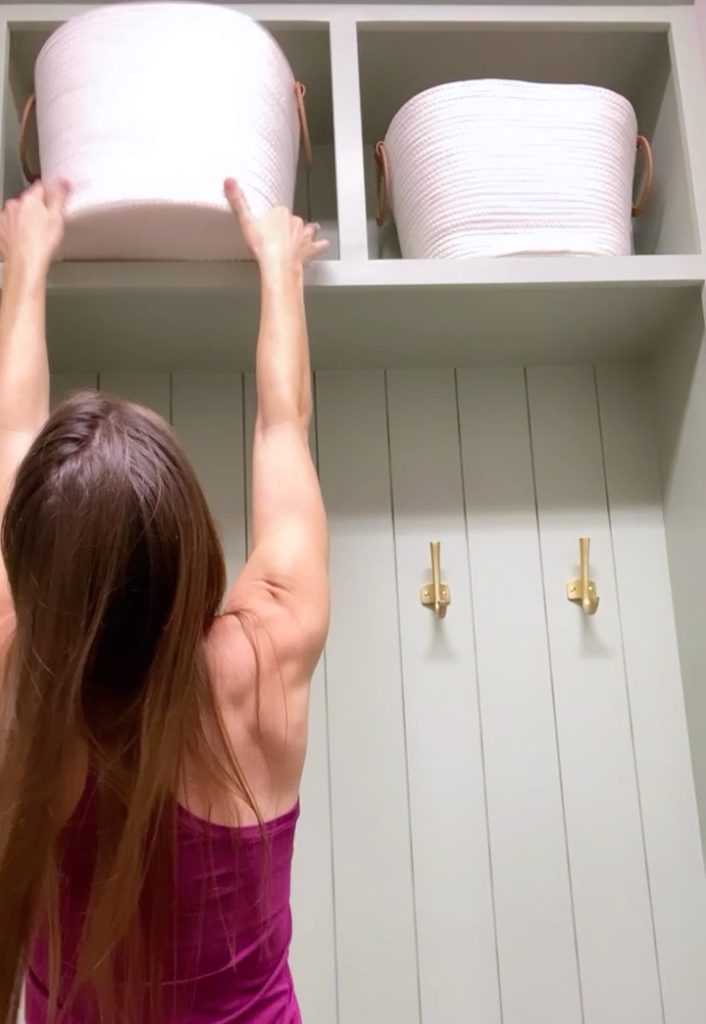
Also, I added these cute bins on top and cute bins in the cubbies.
The Final DIY Built In Mudroom
