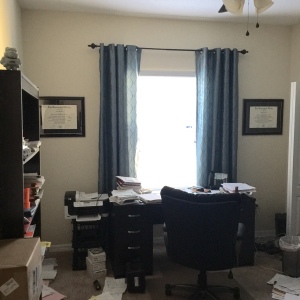
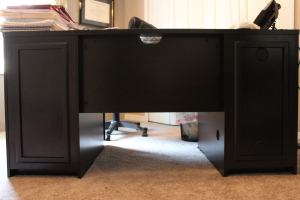
Hey there! Today I’m sharing how I gave my husband’s desk a little DIY facelift for only $10! Yes, TEN dollars! Ryan’s desk is 5 years old, and has faced the wall it’s entire life. It’s great quality, but it was meant to be seen from the front, not the back. Shall I remind you of this cluttered mess I shared in last week’s design so you can remember what it looks like?
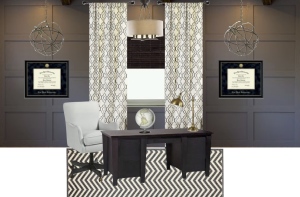
I apologize for that eye sore again. But see how the back of the desk faced the wall/curtains? Well my new plans for the room has the desk turned around facing the door. (It was a fun few weeks convincing him this was a good idea. Not.) Like this:
And when I turned the desk around to face the other way, the back of the desk wasn’t very appealing to the eye. I immediately had the idea that I wanted to add molding of some sort to “dress it up”. But the desk is espresso colored and has a nice slick finish to it, so I had no idea how I was going to be able to add molding, and make it blend with the desk like it was part of it to begin with. I figured the only real way to do that was to paint the ENTIRE desk after I added the molding. And no. Just NO.


That is…until I discovered this. A few weeks ago, me and my stubbornness were searching google and home depot.com for “espresso molding”. I thought it was a long shot, but I actually got some results. My eyes widened and I basically got in the car and drove to Hope Depot. I pulled up the item number on the app on my phone and it told me exactly what aisle to go to. And there it was. Espresso PVC molding. And only $4.94 for an 8 foot piece!? Was this a dream?
I bought 2 pieces and brought them home. I was praying the whole drive that it was going to match his desk. Well, it did. It’s the EXACT color of his desk. This wasn’t a dream.
The first thing I did was make a to-scale drawing of the desk and the molding I wanted to add. You can see by the drawing, and the picture above, that my molding placement was dictated by the cord holes on one side of the desk. I used those as the edges of where I would add the molding. I really just winged my plans for this and decided that one “box” on each side would be good enough.

Here’s a picture of the molding up close. And some of the supplies I used along the way. The mitre cuts I used for these “boxes” were the same principle as my DIY Faux Wainscoting project.
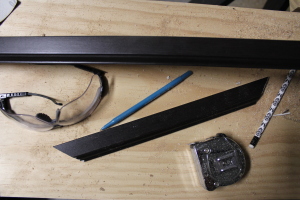
45 degree mitre cuts on each edge using the lengths from my drawing. I sanded the edges after each cut to ensure they were smooth.

I used my nail gun and compressor to nail them straight to the desk, using a level to ensure they were straight.


After I got all 4 pieces on each side nailed up, I used wood filler and a wood stain marker to cover the nail holes. Both of these are found at Home Depot or Lowe’s.
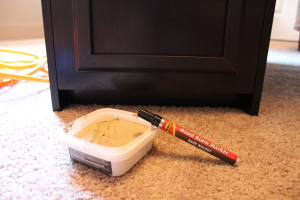

Wiped clean, let the wood filler dry, and then colored over them with the marker twice to get it dark enough.

And here’s the new, upgraded desk!

A pretty big difference, right? And for only $10, you can’t beat it! Comment and let me know what you think, I love hearing from you guys!
