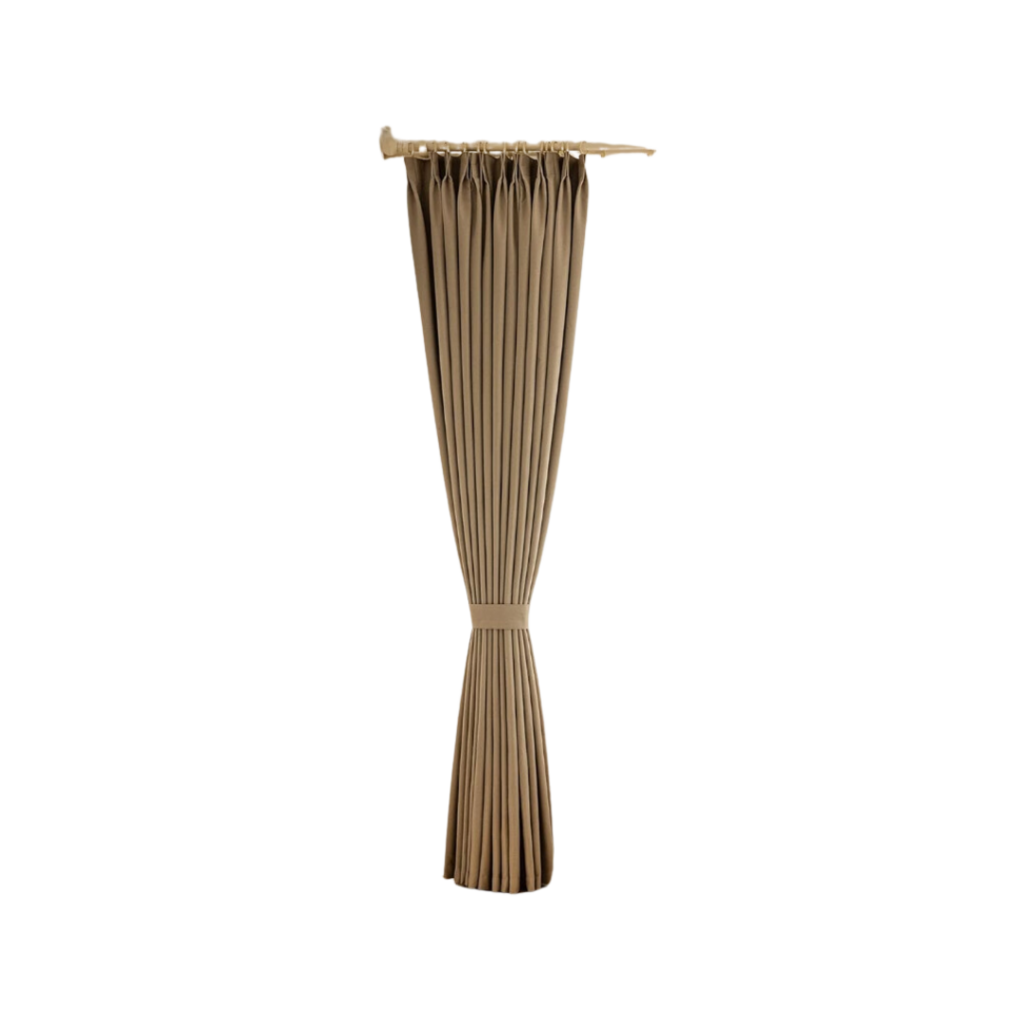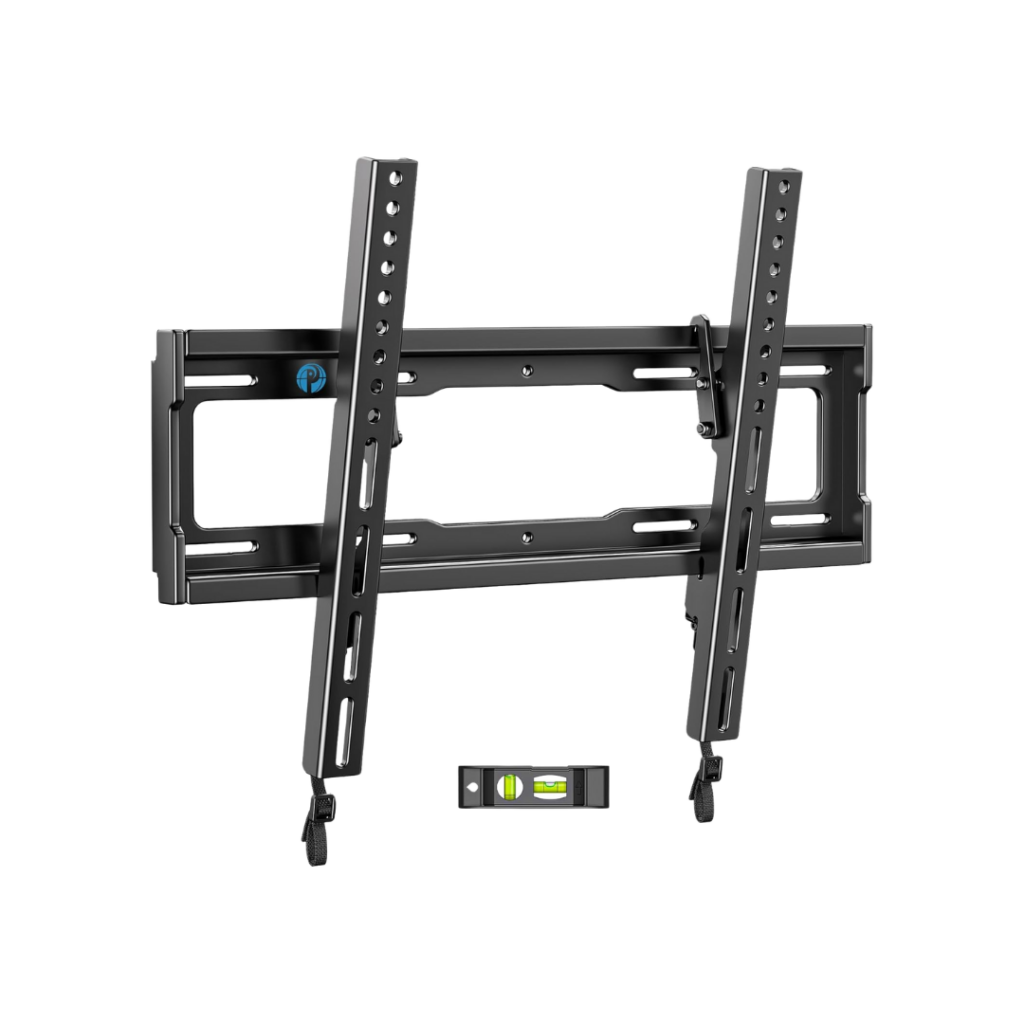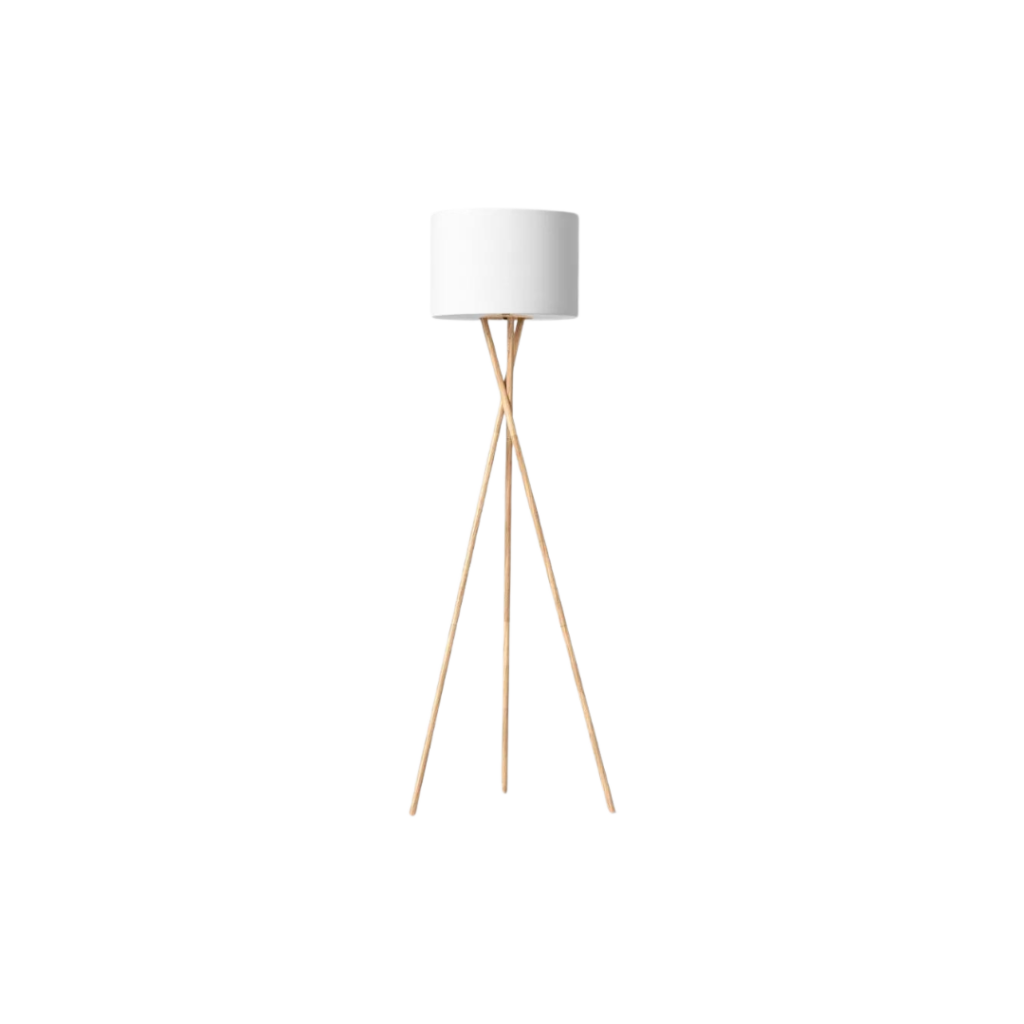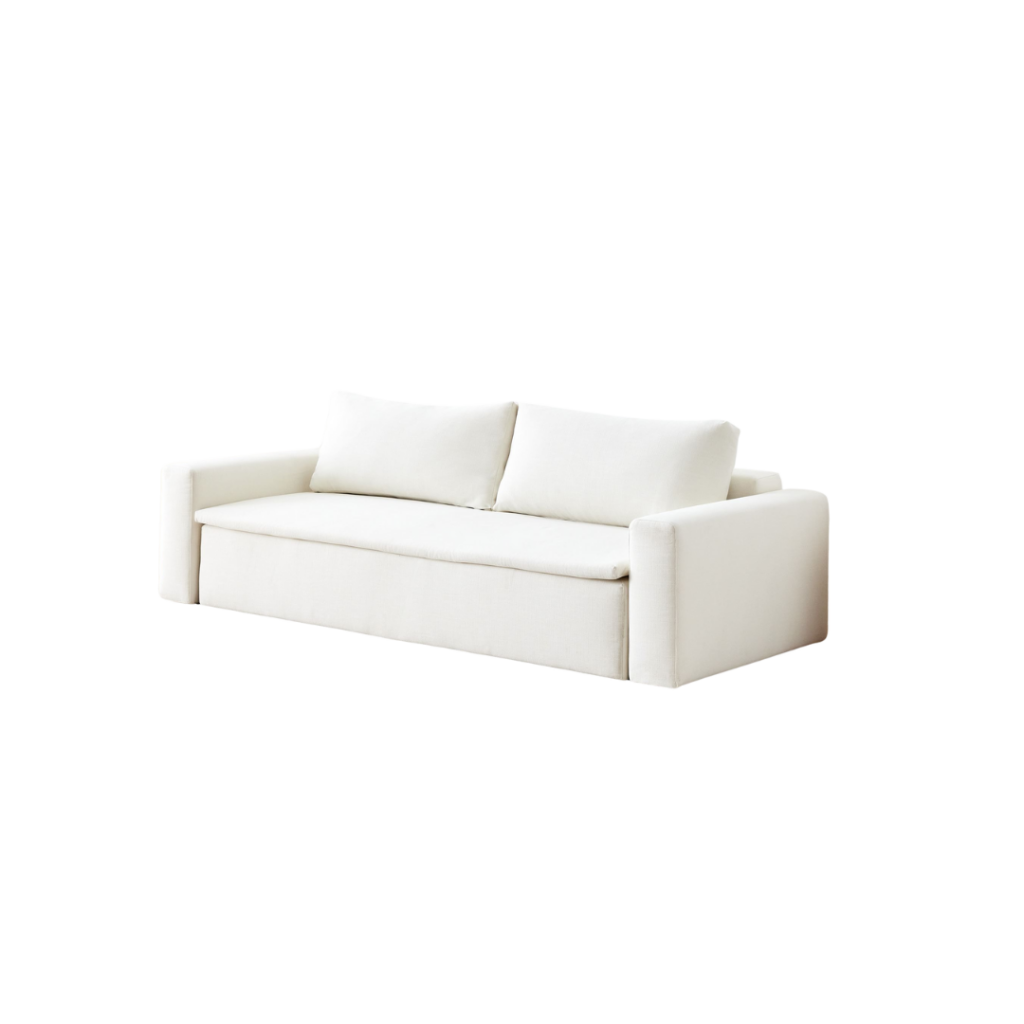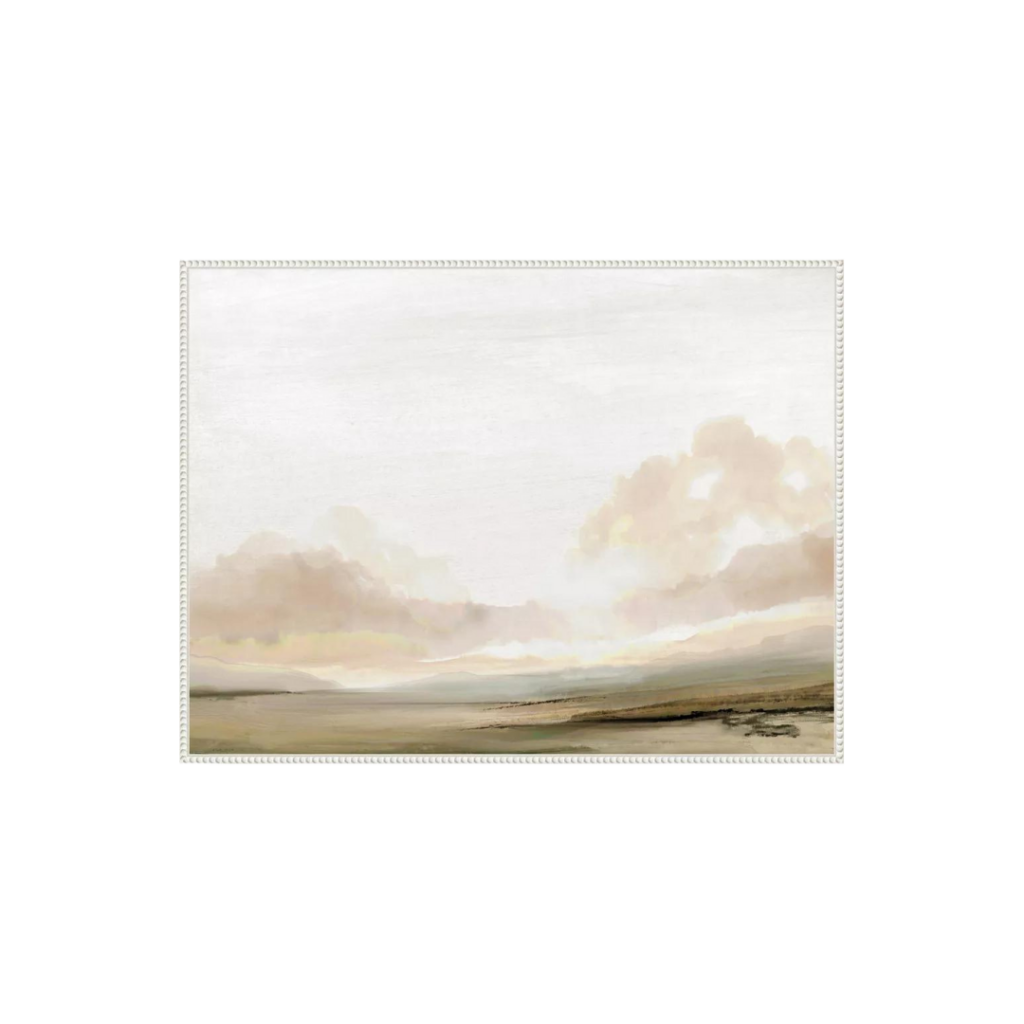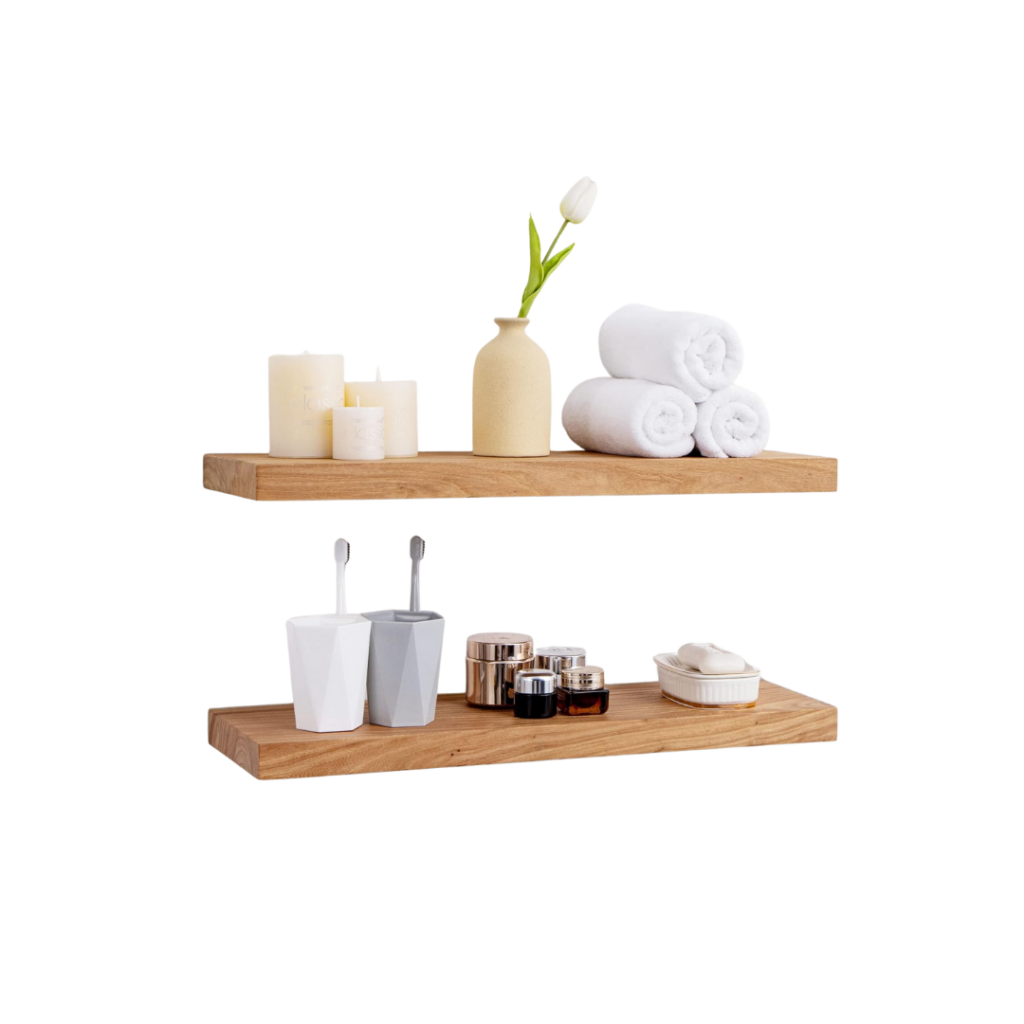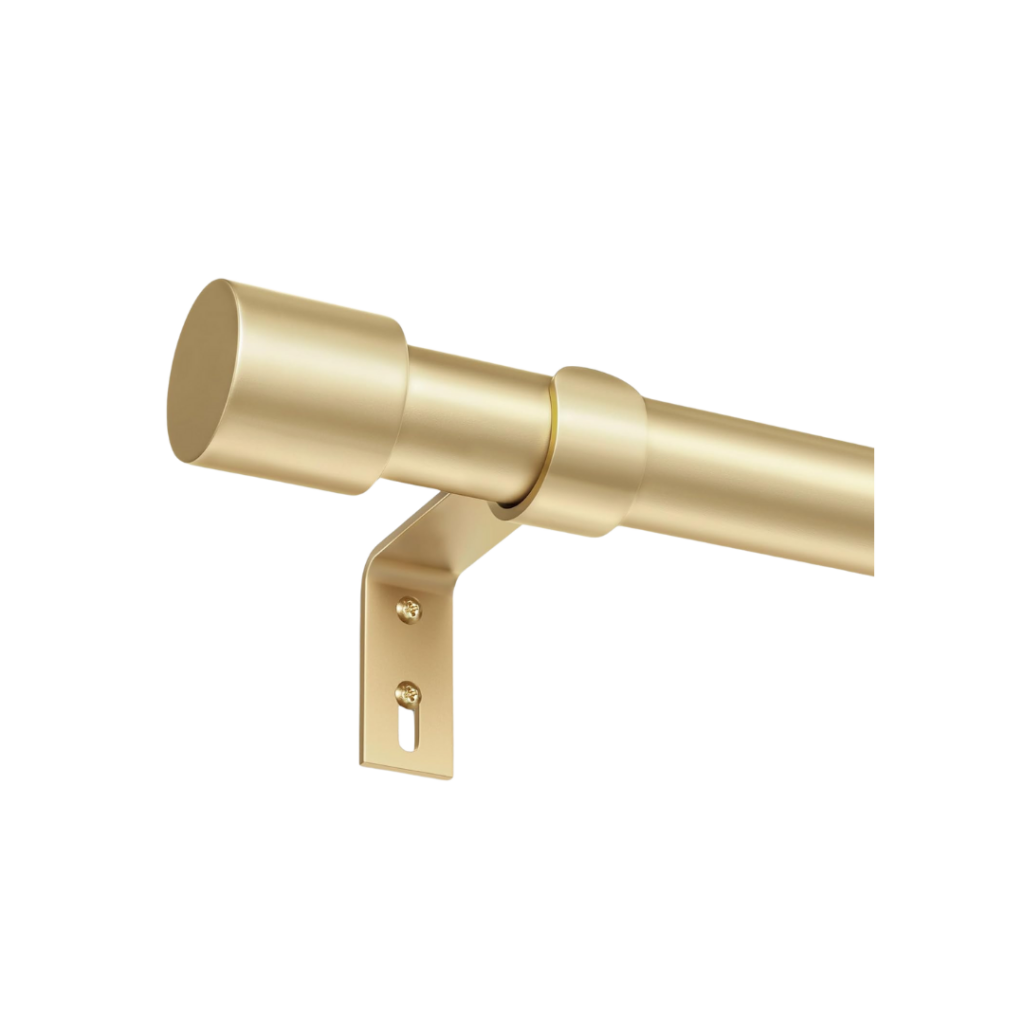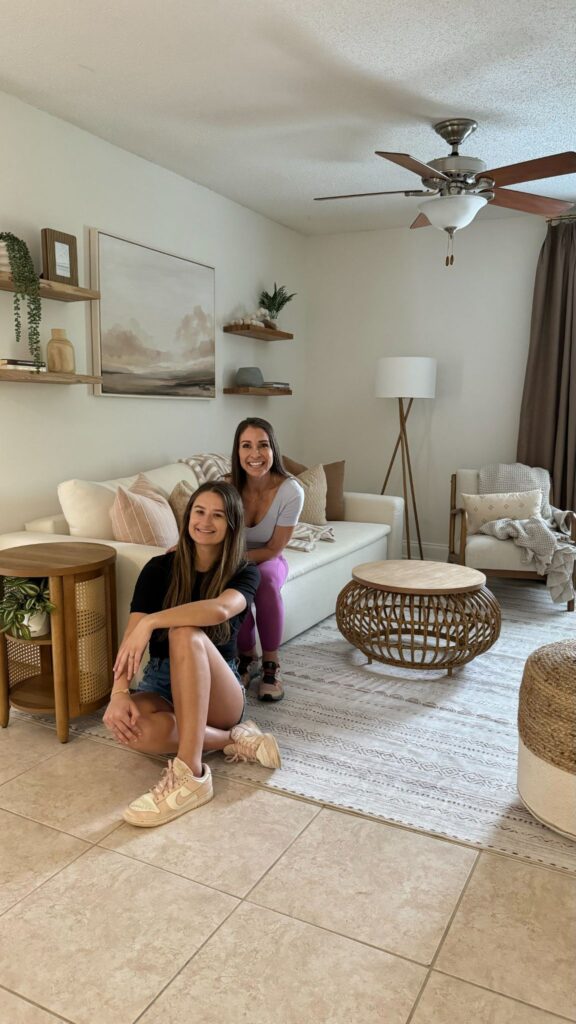
The next project I tackled in Madison’s apartment was her Living room! If you aren’t familiar with who Madison is or the beginnings of this apartment make-over project, click this link to get caught up!
As always, I started by taped it all out so we could have a clear vision of what it would look like. Bringing a vision in your head to life with tape is a wonderful way to get proper spatial visualization. There would be nothing worse than getting these pieces in the room and then realizing they’re too big or too small! Can you picture it??

I then made a design board to visualize how the whole room would look together including colors and photos we were planning on using in this space.

(I use pages on my mac to create these mood boards and simply copy and paste items from retailers and then use the insta alpha tool to remove the backgrounds).
I started by assembling her TV stand we found on Amazon and hung up the TV. The stands are actually two separate pieces but I pushed them together to make it look like one large cohesive piece!

The next thing we did was hang the floating shelves behind her couch. The shelves were from Amazon and came with mounting instructions. I drilled the mount into the wall with my favorite wall anchors. Trust me don’t use the worthless anchors they come with, these go straight into the trash. We decided to have four shelves with a picture in the middle for the symmetry my brain loves!


The coffee table we picked out didn’t have a solid top, so I decided to cut a circle from a scrap piece of plywood and attach it to the top with builder-grade closet-maid brackets. The difference this made from a functionality stand point was night and day, which makes it that much better the design aspects were improved as well.

Here are before and after photos:
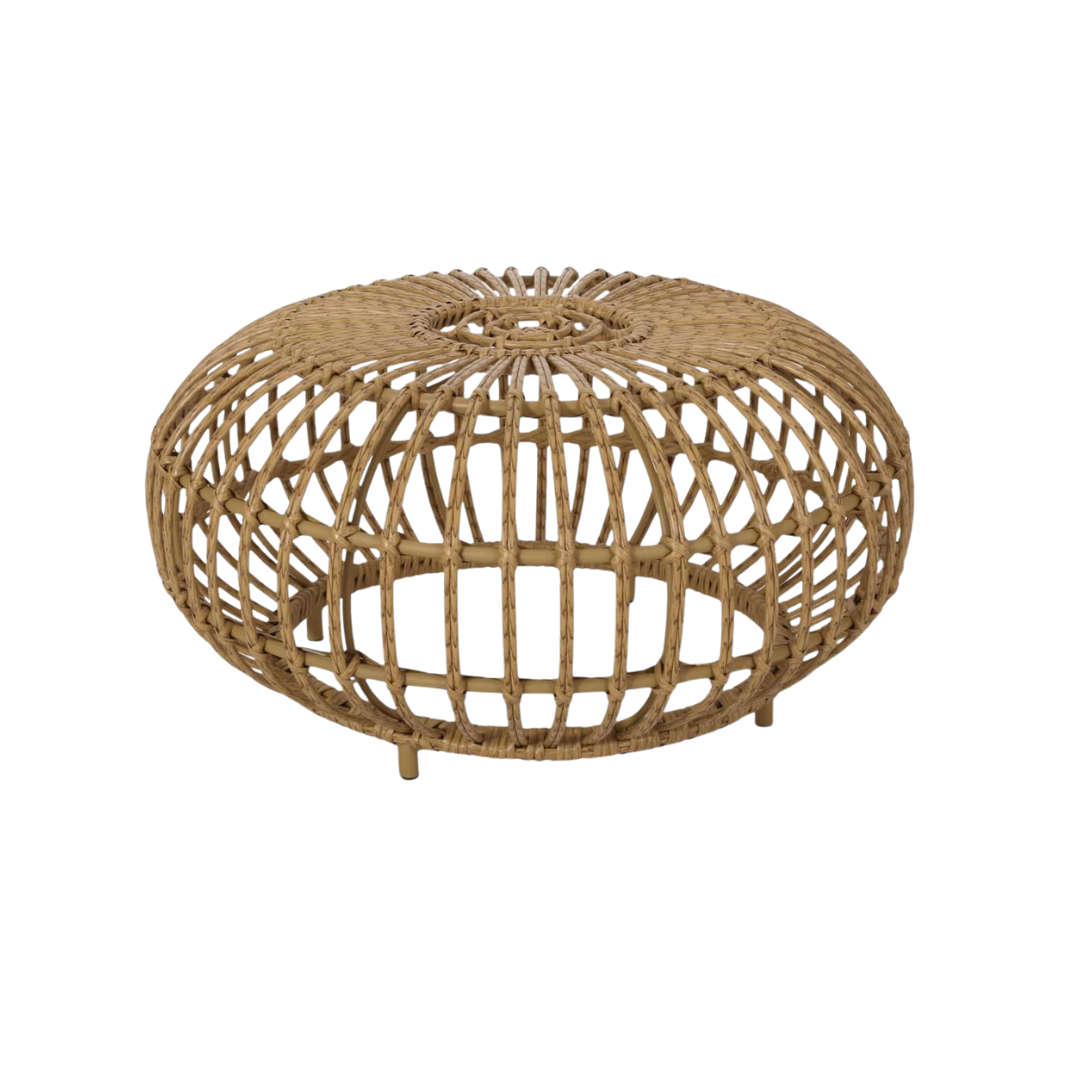

I stained the white oak scrap plywood top with minwax weathered oak and used 3 coats of polycrylic to seal it!
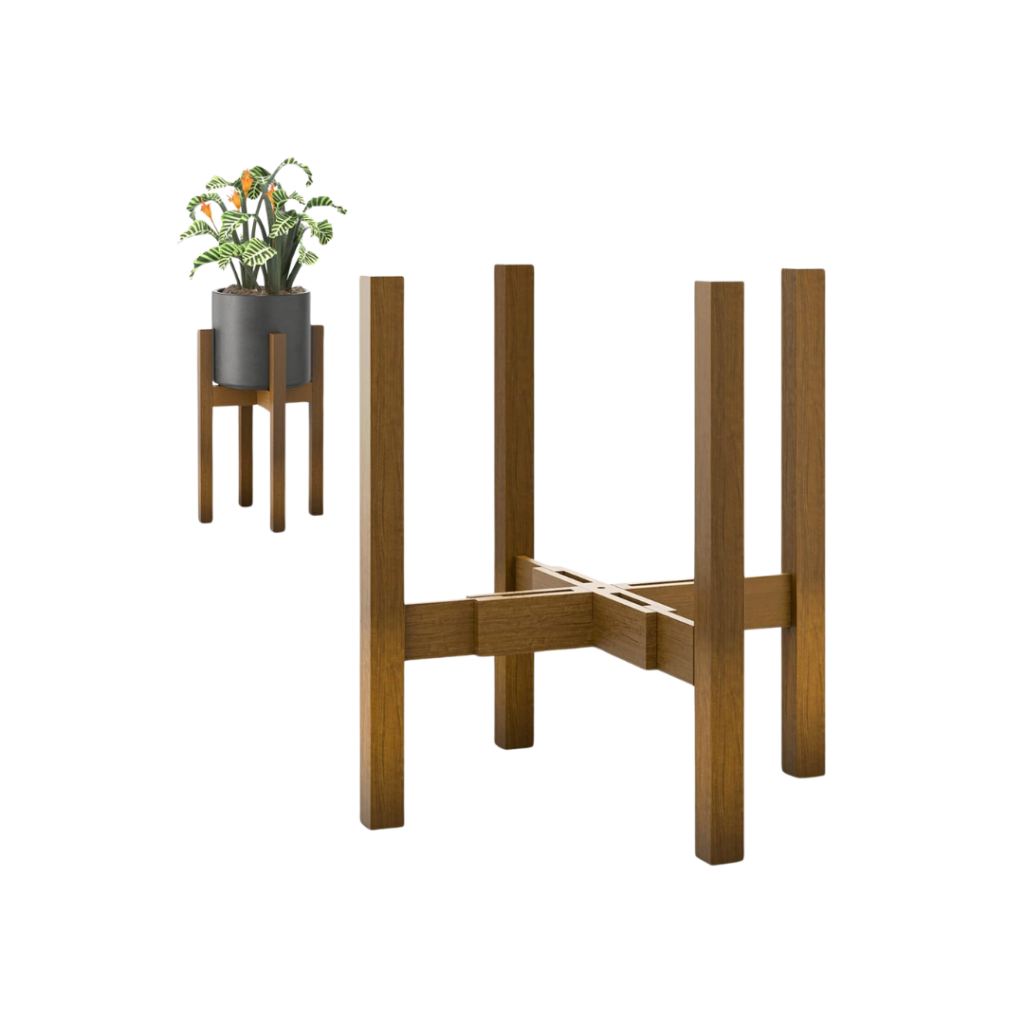
The final touches were to add a cute plant and rug to tie the room together. The neutral tones are what I live for! This was so fun to do and make come to life. I hope she enjoys it as much as I do!


To watch the final living room reveal click here!
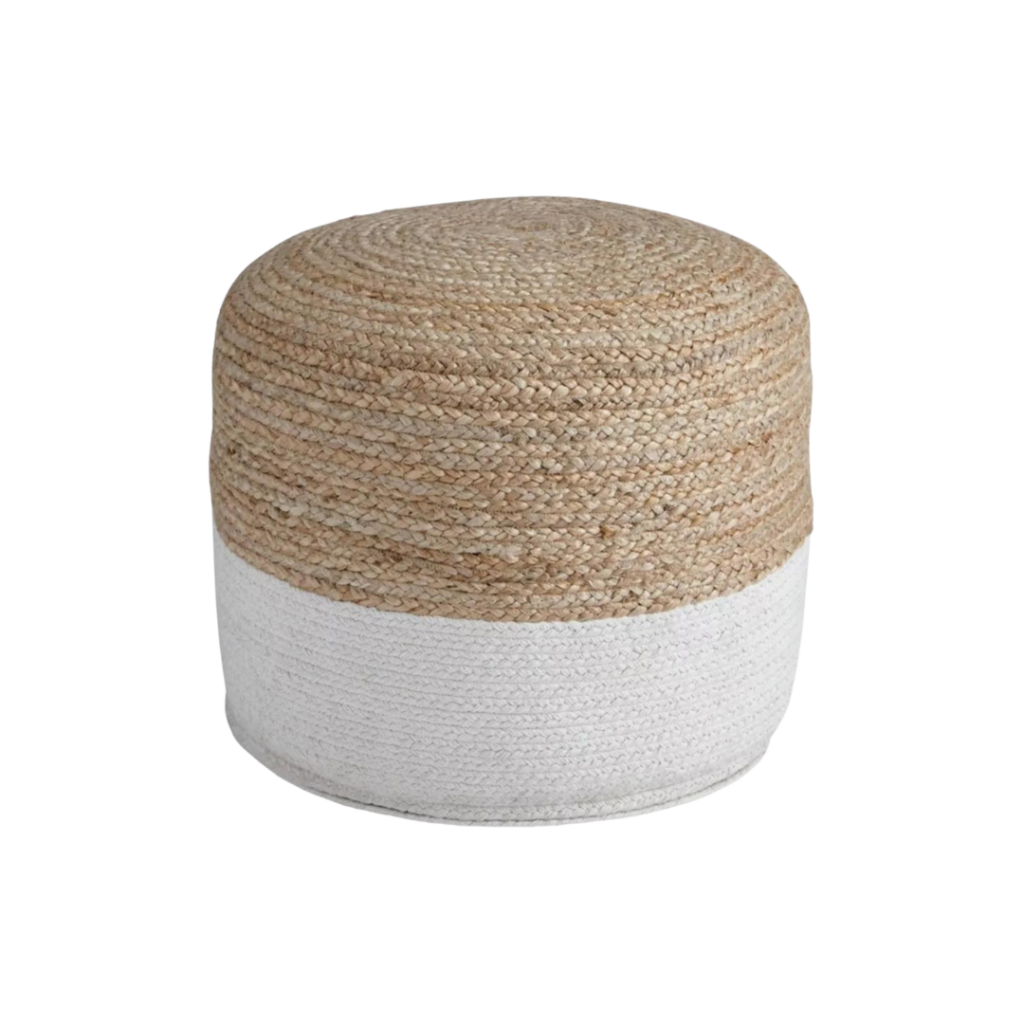
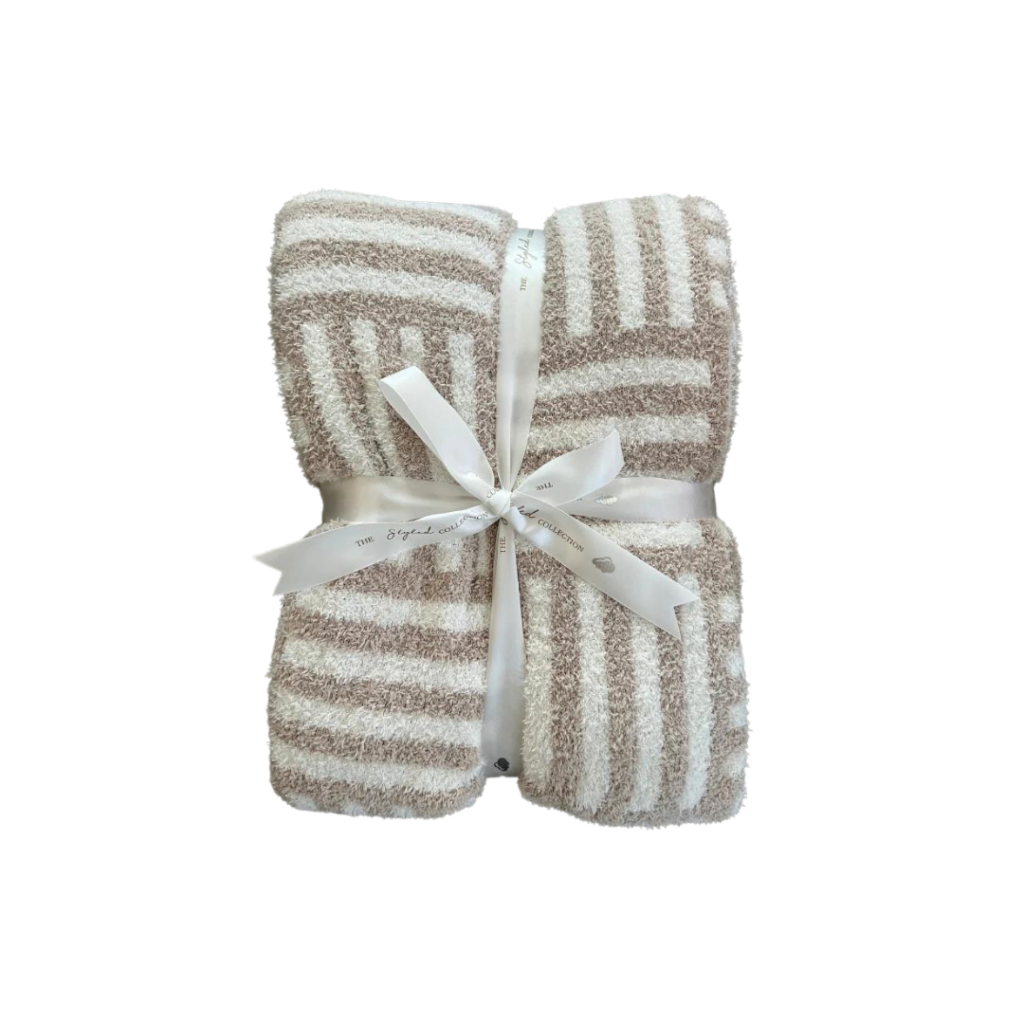
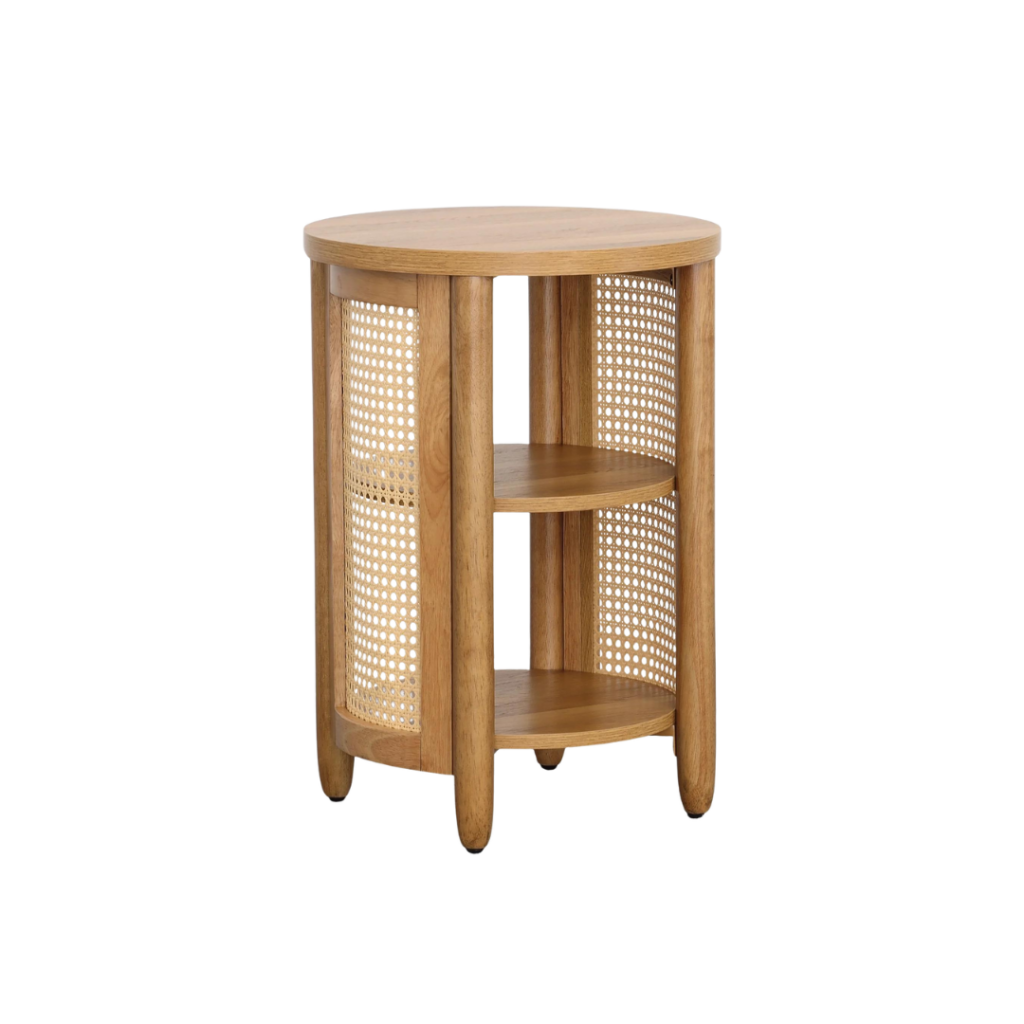
To shop Madison’s living room, simply click the links below!
FAQs: Living Room Edition
Q: How big is her living room?
A: It’s roughly 9’x14’.
Q: What is the paint color on the wall?
A: We aren’t sure because it is an apartment!
Q: What are the floors in her apartment?
A: 18” ceramic tiles but don’t know the details
Q: How tall are the ceilings?
A: The ceilings are 8’.
Q: Where are the pillow covers from?
A: Laurel and Blush, set #183 linked here!
Q: What anchors did you use to hang the shelves?
A: I use these anchors from Lowe’s. I also used them to hang the curtain rod brackets!
Q: What Stain did you use on the coffee table?
A: I used Minwax Weathered Oak, which is the same stain I used for her Dining room table.
