I already revealed my finished sliding door trim on my instagram last weekend, but I’m sharing all the details below for those of you that want to add, or update any door or window trim in your own home! We’ve lived in our home for 2 years this August and I’ve known all along that adding trim to the sliding door was something I wanted to do. It just looked naked without it.
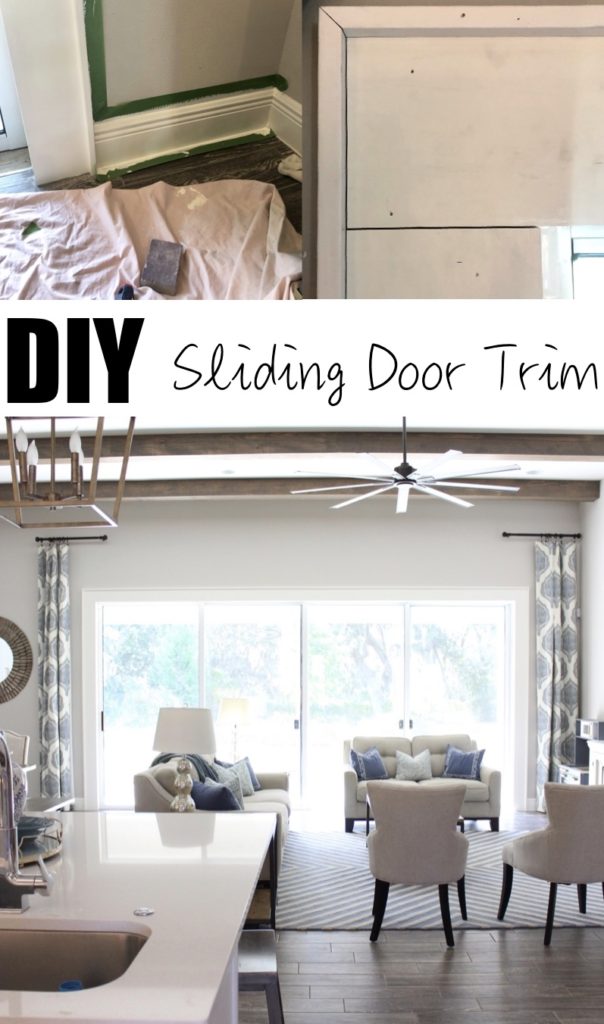
(Be sure to hover over and Pin this image for later!)
Our Sliding Door Trim BEFORE:
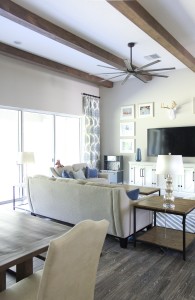
To be honest with you it never bothered me that it wasn’t done yet, but now when I look back at this picture, I’m like wow. It TOTALLY needed it.
I made up the style of trim on my own after searching Pinterest for hours, and coming up with nothing. Most things I found were either farmhouse or craftsman style, neither of which fit my home. I consider our house to be fairly transitional and I just wanted a simple, clean style trim. I decided on doing a 1×6 all the way around and a 1×2 capped around that.
Here are the steps I took for the sliding door trim:
1) Remove the baseboard where the door trim will be
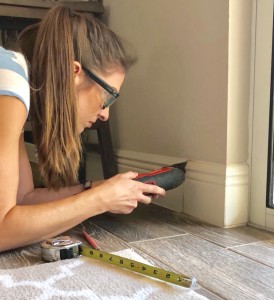
I measured out the width of the 1×6 and the 1×2 and used my handy multitool for cutting a straight line through the baseboard. Honestly when I bought this, I thought it was going to be a one time use tool, but I am continually amazed at how often I use it. It’s definitely something any DIYer needs in their garage. You can even change the head attachment and use it for a variety of different projects.
2) Cut and attach hardboard to inside of door frame
**This step is not applicaple if you already have smooth walls. We have textured walls (because Florida) and covering up the texture is key to giving a smooth and finished look. I use this 4×8 sheet of MDF hardboard paneling all the time to cover texture on walls before adding any trim. I used my table saw to cut it down to size.
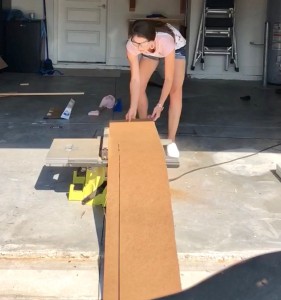
After I cut my paneling into fitted strips, I attached them to the inside of the sliding door frame with liquid nails and my cordless finish nailer. If you don’t have one of these nailers yet, I highly recommend it because I use it for every.single.project I do!
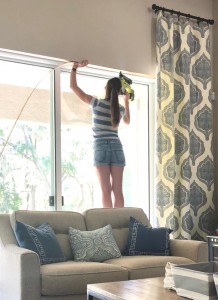
Here’s a peek up close of how it looked after the paneling was up. I filled the nail holes with my favorite wood filler, sanded them, caulked the edges, and painted the hardboard before I moved on to the next step. This is all optional but I like to break up the finish work so it’s not so much at the end! If you want details on filling/caulking/finish work in general, my friend @philip_or_flop on Instagram has a story highlight with the absolute BEST tips on how and what to do to achieve a great finished product.
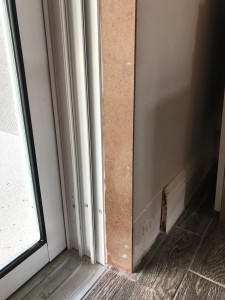
3) Attach the 1×6 door trim to the sides
The sides of the slider trim were pretty straight forward and easy to attach. Here is a link to the exact 1×6 boards I used from Home Depot. I measured the height of the door opening from floor to drywall and cut my 1×6 board accordingly with my miter saw. Using the liquid nails and nailer, I nailed them to the wall. The reason for the liquid nails is because I’m not hitting studs. Just using nails into the drywall alone wouldn’t be a strong enough hold.
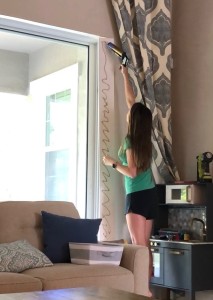
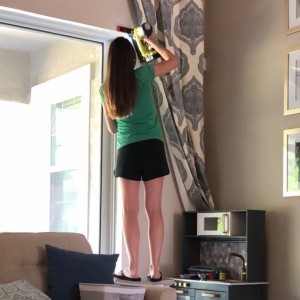
4) Attach the top 1×6 trim
Now the top was a different story than the sides. Remember my slider is just over 16 feet across. And the longest boards you can buy are 16 feet long. So that meant I was going to have to use a 12 foot board and an 8 foot board and have a seam in the middle to join the 2 together. This was the most difficult part of this entire project in my opinion. I wanted that seam to be absolutely perfect so you would never be able to tell it wasn’t one long piece.
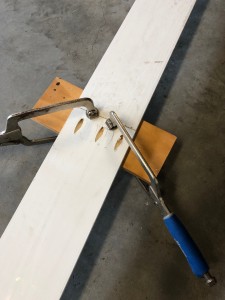
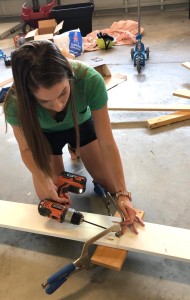
As you can see above, the solution I came up with for this, was to use my kregjig to join the two boards together PRIOR to hanging them on the wall. Walls are often so wonky that if I tried to get them perfectly flush on the wall without doing this, it would have been much more difficult in my opinion. I used 1.25″ pocket hole screws and my kregjig clamps to keep the two boards perfectly flush while I screwed them together in the garage.
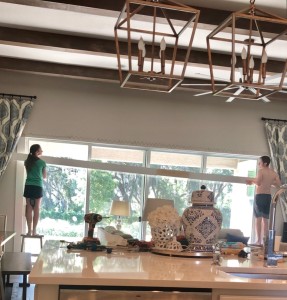
Then I enlisted the help of my husband (which almost NEVER happens) so we could hold it in place while I used my nailer to attach it to the wall. I applied the liquid nails to the wall prior to us hanging it just to keep it less messy.
I forgot to take a picture of this before hand, but I also attached a scrap 2×6 board to the area of the seam before I hung it as well. The reason for this was to give the board more stability while we got it up on the wall. The 3 kreg screws holding it made me nervous and I didn’t give it time to allow for wood glue to dry. I nailed the 2×6 with 3 nails to the front of the board and easily pried it off afterwards and filled the nail holes as usual. This kept the seam area flush and the two boards from falling apart.
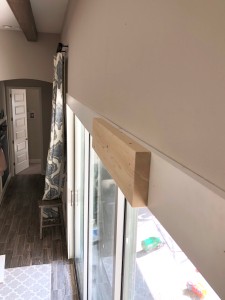
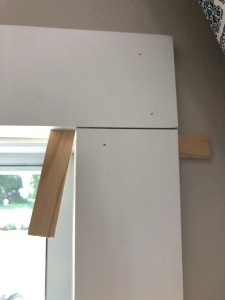
5) Shim the trim boards flush
This step is super important in order to achieve a nice, professional look. I’ll admit this isn’t something I have done from the start, but something I’ve learned along the way, and boy does it make a difference. I buy these $2 wood shims, but you can also use scrap pieces of wood you have lying around. The purpose of shimming is to get the joint of 2 boards to line up flush with each other. So that when you fill the seam and paint over it, you’ll never see it. I lightly hammered the shims in on each side until the 2 boards were flush. I pulled them out a tad, and again used my multitool to cut these while they were in place. Then tapped them back in with the hammer so they are not exposed at all. Caulking the edges will hide all of this.
6) Add the 1×2 trim
I actually had enough leftover 1×2 trim from the last project I did to cover this project as well, but this is the link for the 1×2 boards I bought. I mitered the corners at 45 degrees and also mitered the seams along the top run at 45 degrees. This makes for a cleaner joint. I did not attach them with the kreg screws prior to install like I did with the 1×6. I shot most of nails so that the nail went into the side of the 1×6 board. This is better stability than nailing to the drywall and therefore didn’t need to use any liquid nails for these boards.
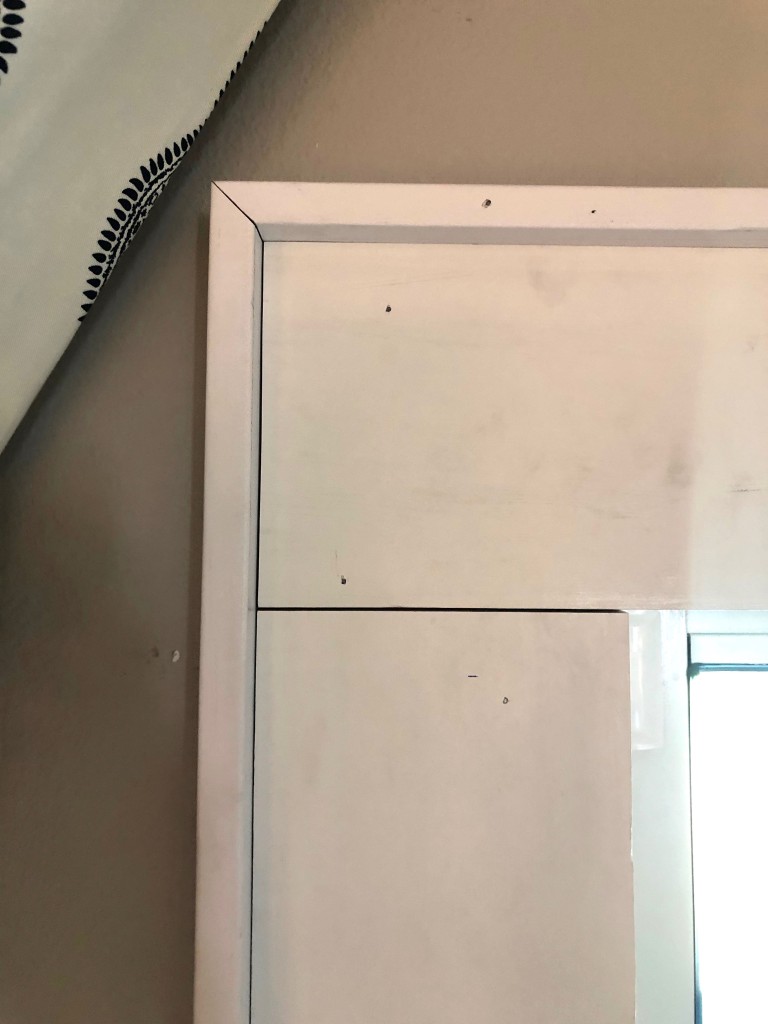
Below is a close up of how I turned the 1×2 boards on their side for this style door trim.
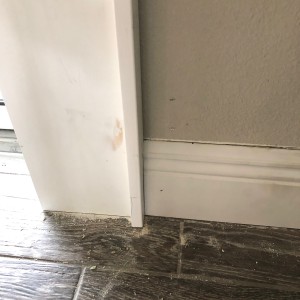
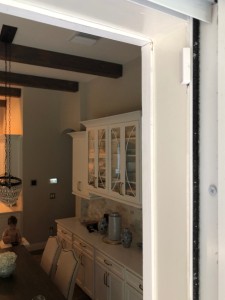
I wanted to share a view from the backside of the trim looking in. I purposely left an overhang instead of trying to make it perfectly flush with the drywall. Again, walls are so wonky that getting it perfectly in line would not be possible. This look fixes that 🙂
7) Fill, sand & caulk
I applied my favorite wood filler into the front facing joints of all the boards, let dry, and then sanded them flush. I also used the wood filler for any nail holes. After all the sanding, I used a tack cloth to wipe everything clean and remove any dust.
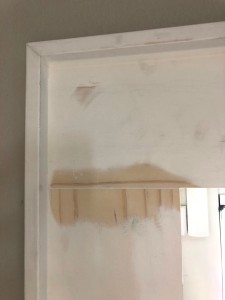
Then the final step (before paint!) was caulking. This is the caulk I use. I caulked where the 1×2 trim meets the wall, the 1×2 trim meets the 1×6, the 1×6 meets the hardboard paneling, and the hardboard paneling meets the edge of the slider.
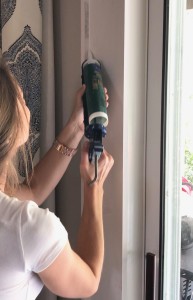
8) Tape and paint the slider door trim
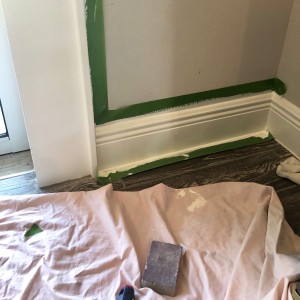
I hear great things about frog tape so I gave it a try for the first time. And it definitely provided a great result. I used Sherwin Williams pro-classic paint in a semi gloss finish. I won’t disclose the color I used because it’s the trim color the builder used in the rest of my home that I don’t particularly love. But painting alllllll of the trim in our house a new color overwhelms me significantly.
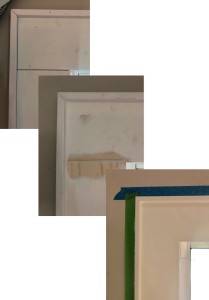
Below I’ve included a collage that shows the difference finish work makes on your project & how important it truly is.
And the finished project!
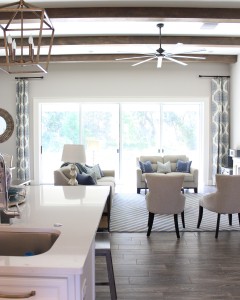
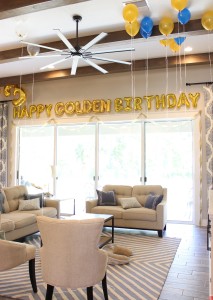
This large window is hard to photograph and at night you can see the contrast easier. It’s still decorated for my son’s birthday so these pics will have to do for now 🙂

Cost of project
- Three 8 foot 1×6 boards, and one 12 foot board for a total of $60.
- I used 1×2 boards I already had, but if purchased would cost $21
- I used leftover hardboard paneling for the inside but if purchased $9
- Finish supplies such as caulk, paint, wood filler, shims etc. I already had
The total cost for trim materials if purchased would be less than $100. And it adds HUGE wow factor and character.
As always, I love hearing your feedback! Let me know your thoughts or if you have any questions below. Thanks for stopping by!
