Today I’m bringing you another closet makeover. I will admit, it’s not nearly as glamorous as my master closet renovation I recently completed. (You can read all the posts related to that fancy closet HERE.) But this one was for the hubby’s office, so it needed to be functional and full of storage space as opposed to wallpapered and garnished in gold.
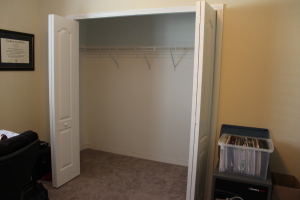
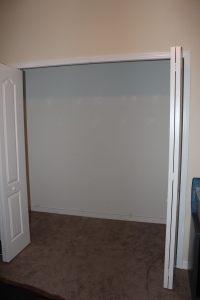
Take a look at the before. Standard closet with the long wire rack all the way across. This may work fine for a bedroom, but for an office? Not so much. My husband has lots of binders, paperwork, equipment, and chachki that needs stored in his office. And prior to me starting this room’s makeover, that stuff all sat right in the middle of the floor. Not kidding. (Hense my “eye rolling something fierce” reference in the Design Board post). So it goes without saying that I needed to install a whole lot of shelves that would house a lot more “stuff” than the wire rack.
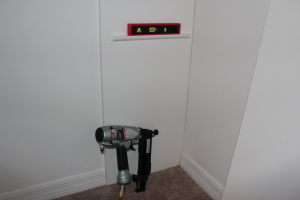
I’ll be honest and tell you that I did something with this closet makeover project that I NEVER do. And that’s build without a plan. I ALWAYS draw or sketch out a plan first. But for this, I knew there were going to be so many shelves and I was just going to keep hanging shelves until I ran out of wood to be quite frank. So I brought in the nail gun, the multitool, and went to work.
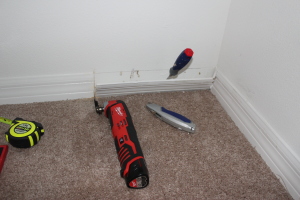
First thing I had to do was remove that wire rack, patch the holes with spackle and paint over them with pure white paint. Then I started removing the base boards with my multitool where the wood was going to be against the wall to give it the “built in” look.
I bought several {read: 14} 8 foot wide by 16″ wide pieces of Melamine from Home Depot for this project. That, and some basic quarter round, were the ONLY two materials I used. The melamine boards are specifically meant for closet projects like this. They are MDF boards that have a nice white finish to them so there’s no painting involved. Granted, they are more expensive than buying the plain MDF and painting them yourself, but in my opinion they have a much nicer, and more durable finish to them. And for an office, or something heavily used like this, I definitely recommend the melamine over the unfinished MDF.
I used the same steps repeatedly during this project. I started on one side of the closet, nailed an 8 foot piece to the side wall every 12″, and then placed another vertical 8 foot board about 36″ away from the first (or however wide you want your shelves).
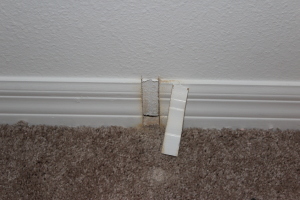
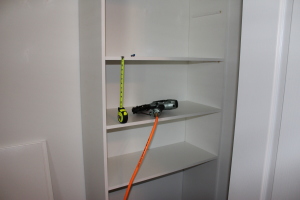
This picture shows where I cut a tiny section out of the baseboard the width of the melamine where the next vertical board was going to stand up. Then I nailed a 12″ piece of quarter round to the first board at the height where I wanted my first shelf to be. I used a level to ensure it was perfectly straight and then held the first shelf up in between the two vertical boards, and nailed another piece of quarter round under the shelf on the other side.
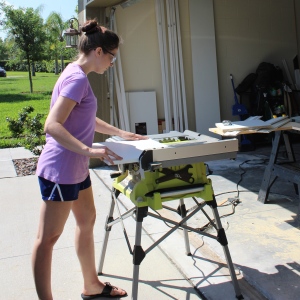
I made the shelves from the same melamine boards I mentioned above, just cut to size using my table saw.
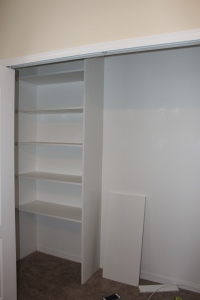
Here’s a progress picture with the first section of shelves put in. The “suspended” vertical board in the middle of the closet gets more and more sturdy as you attach each shelf. Make sure you have plenty of nails loaded because it sure does take quite a bit!
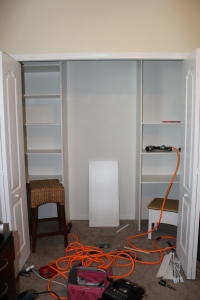
After the first section was complete, I started on the opposite end of the closet repeating the same steps as above. (I did this for extra sturdiness.) That left me with a large section in the middle that I was going to divide into 2 smaller sections, one that would house his file cabinet.
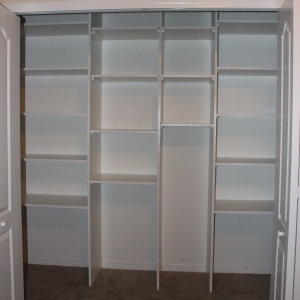
I added the vertical shelf in the middle to create those two smaller sections, and continued adding the quarter round, shelf, quarter round. Nailing everywhere at every step of the way. I used the height of his binders to determine where I was going to place the next shelf as I went. Once again, NO plan! Crazy, I know. That tall skinny section I left out is exactly the size of his file cabinet so it now has a home in the closet and is not a huge eye sore in the room. Winning!
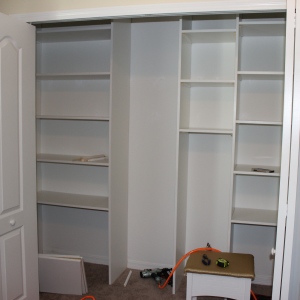
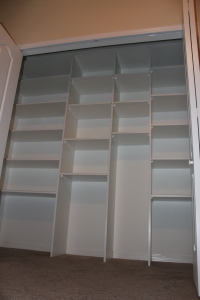
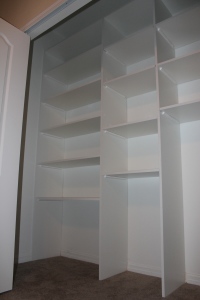
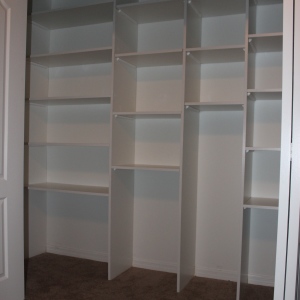
And here’s the finished product!
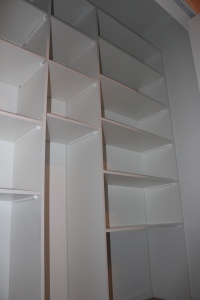
At the angle of these pictures, you can see how I laid another piece of melamine across the very top of the vertical boards to close them off. The ceilings inside the closet are actually close to 10 feet high, however the vertical boards are only 8. So there’s actually almost 2 feet of empty space up there that we can store stuff if we want, but it’s almost pointless. If you need to store stuff that high up, you probably don’t need it in the first place. But I love throwing things away, so I may be the wrong person to ask!
I caulked the nail holes and used touch up paint on them as well. I also had to paint the ends of the quarter round white to make it blend.
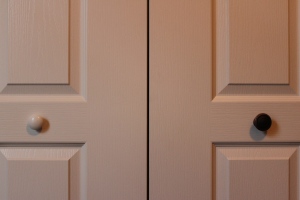
I also changed out the knobs to these big bronze ones and love how that changes the look.
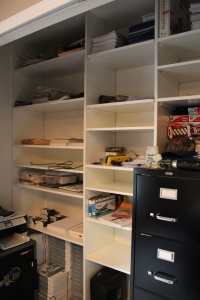
Here’s a peek of how my husband has already cluttered it up quite a bit. I can’t believe I’m showing you this, so let’s just admire it empty again, shall we?
Now remember, I didn’t go all out and add the chunky molding to the fronts of the shelves, or add the bells and whistles that my master closet has, but it does the job just fine for the hubs office! If you’re looking for a quick closet upgrade, I definitely recommend these melamine boards to create a custom fit built in closet.
What do you think? Do any of your closets need better storage? Comment and let me know if you have any questions on how I did this.
